Walkthrough for reviewers
This guide walks you through the reviewer workflow within annotation tasks. As a reviewer, you can evaluate annotations from multiple annotators and commit final decisions to ground truth.
As a reviewer, you may also need to annotate documents yourself. See the Annotator workflow for step-by-step annotation instructions.
Getting started with reviewer mode
Accessing reviewer mode
Reviewer mode is available in the annotation data viewer. There are two ways to navigate to an annotation task:
- From the Annotate tab: Click Annotate in the left-side menu, then select your task from the list.
- From the Datasets page: Click Datasets in the left-side menu, select your dataset, go to the Linked annotation tasks tab, then click the task you want to work on.
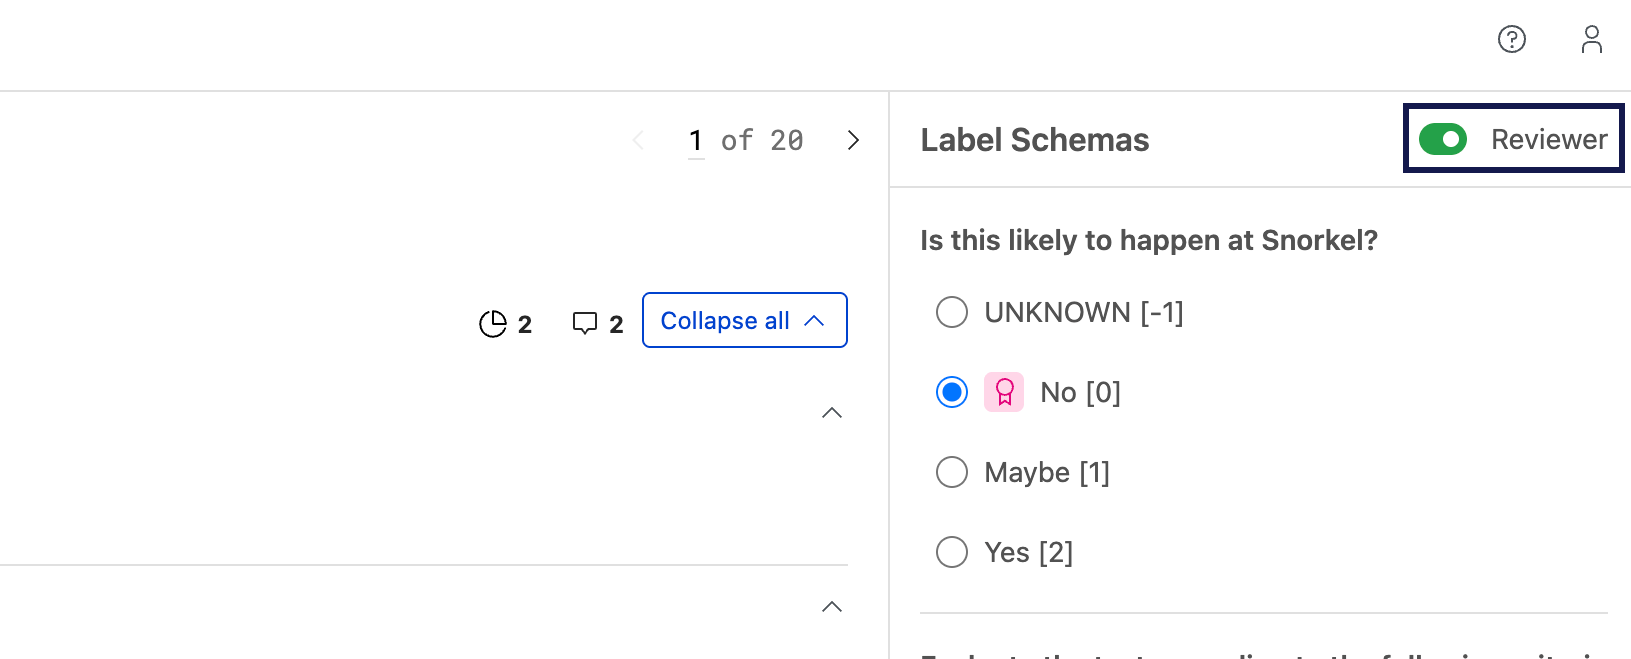
Once you're in the task, you can access the annotation data viewer from the Overview tab. From the Overview tab, select the Review button. This takes you to the annotation data viewer with the reviewer mode toggled on for you. There are two modes within this dataviewer:
- Annotation view: Your personal annotation interface
- Reviewer view: Interface showing all datapoints with annotator submissions for review
You can toggle between these modes using the reviewer toggle.
Understanding datapoint status
Each datapoint progresses through these status stages:
| Status | Description |
|---|---|
| Needs assignees | Minimum number of required annotators annotators have not been assigned to this datapoint |
| In annotation | Annotators are currently working on this datapoint |
| Ready for review | Minimum number of required annotators have completed their work and the datapoint awaits your review |
| Completed | You have reviewed and committed the annotations to ground truth |
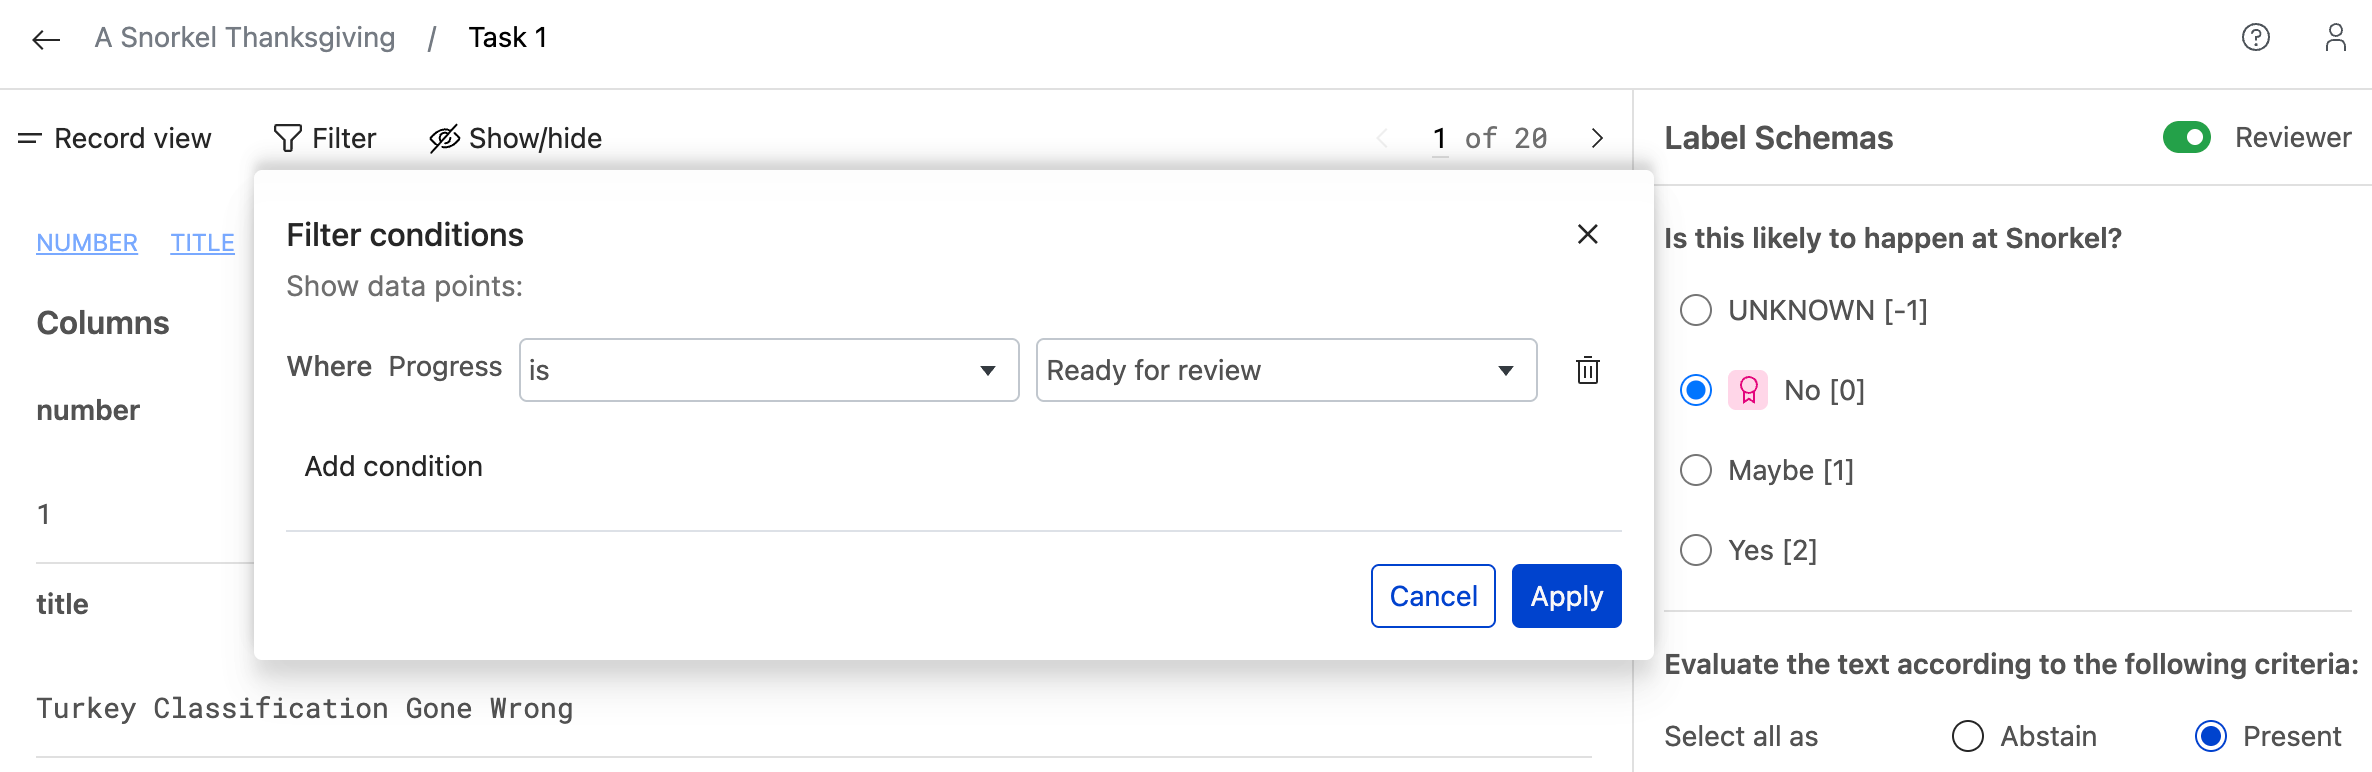
Filtering and finding datapoints
Use the filtering options to focus your review efforts on specific datapoints based on your workflow needs. Filter by Ready for review status to see only datapoints that have completed annotations and are waiting for your review. This helps you efficiently manage large annotation tasks by viewing targeted subsets of data.
Reviewing annotations
Review tools and interactions
While reviewing annotations, you have access to several tools:
- Comments: Add explanations for why you agree or disagree with specific annotations. Access this tool via the comment
 icon in the top right corner of the document.
 - Slices: Create document slices (e.g., "contains-disagreements") to categorize datapoints. Add or manage slices by clicking the slice
 icon in the top right corner of the document.
Reviewing different question types
The review interface adapts based on your task's label schema configuration. Learn how to review each question type:
- Reviewing single-label questions
- Reviewing multi-label questions
- Reviewing text label questions
- Reviewing sequence tagging questions
Finalizing ground truth
When you're ready to commit
After reviewing all annotator submissions and making your decisions, you'll finalize the ground truth for each datapoint. It is recommended to commit annotations to ground truth by going through each datapoint individually, but there is also a bulk commit option.
Committing annotations per datapoint
Commit requirements:
- Complete all questions for the datapoint by making your selections
- The commit button will turn blue when the datapoint is ready to commit
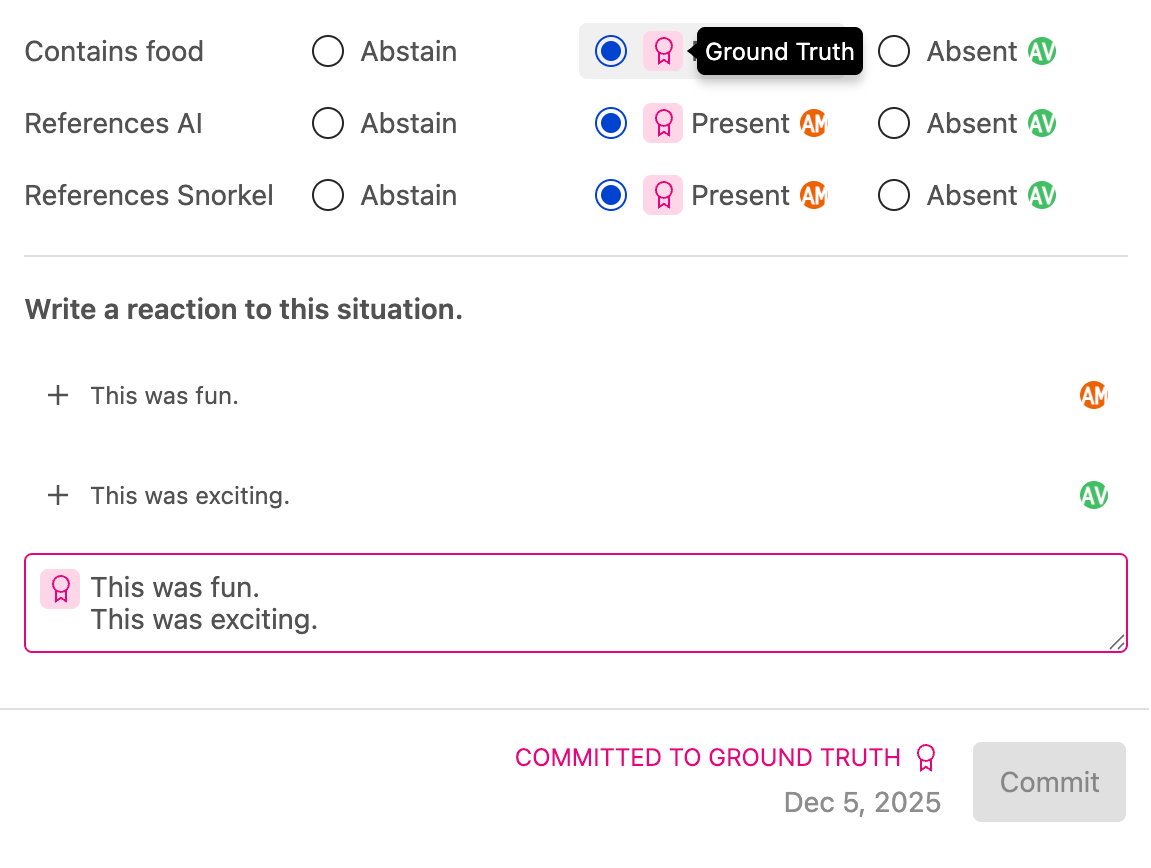
Committing ground truth
When you press the Commit button:
-
Initial commit:
- Your selections are saved as ground truth with pink badges marking each committed label
- A timestamp appears showing exactly when you committed
- The datapoint status changes to Completed
-
Making changes after commit:
- Modify your selections as needed
- Press Commit again to update
- Timestamp updates to show the latest commit
- Pink ground truth badges will update to reflect your new selections
- Status stays Completed
Committing annotations in bulk
You can only bulk commit annotations on datapoints that are Ready for review. If you select datapoints that are not ready for review, they will automatically be skipped. To commit annotations in bulk, complete the following steps:
- Navigate to table view.
- From table view, select the datapoints you'd like to commit.
- Press the blue Commit annotations button in the top right hand corner of the dataviewer.
- Confirm you'd like to commit annotations.
Bulk committing annotations will also move datapoints from Ready for review to Complete.
The bulk commit algorithm automatically aggregates the annotations depending on the type of label schema.
- Single label schema: majority vote between all annotations and ties are broken randomly
- Text label schema: all annotations are concatenated together to create one text label
- Multi label schema: simple union where the label (present or absent) with the most votes wins. Ties are broken randomly
- Sequence tagging: a superset of all annotations is created, including overlapping sequences where applicable
Ground truth is attributed to a new aggregation source and should be visible in the UI after the bulk commit process completes.
Working with existing ground truth
Some datapoints may already have ground truth from:
- Data imports
- Other tasks on same datapoints
What you'll see:
- Pink ground truth badge indicating existing ground truth
- Datapoint will not show as Completed for this specific task
What you need to do:
- Review the existing ground truth and correct any errors
- Press Commit to mark the datapoint as completed in this task context
- This confirms this datapoint is completed for your current task
- For tasks with many datapoints that have existing ground truth, you can use the SDK to complete multiple datapoints at once rather than completing each one individually