Walkthrough for annotators
This page walks through the process of manually annotating documents. This walkthrough is designed for users with the Annotator role, who need to access the Snorkel AI Data Development Platform to annotate the documents that are assigned to them.
Access your tasks
After you log in to the Snorkel AI Data Development Platform, you need to access your tasks to start annotating. A task is a collection of documents that are assigned to you to manually annotate. A task typically contains a subset of the total documents. Learn more about tasks here. For many use cases, using the Snorkel AI Data Development Platform reduces the number of documents that need to be manually annotated.
To access your tasks, click Annotate on the left-side menu.
The Annotate page shows the tasks for you to annotate:

The following information about each task is available:
- Task: The name of the task.
- Description: The description of the task.
- Date assigned: The date the task was assigned to you.
- Data points remaining: The number of datapoints that you still need to annotate.
Now, you can start annotating your documents!
Annotate your documents
Once you click Annotate, your screen will look similar to the image below:
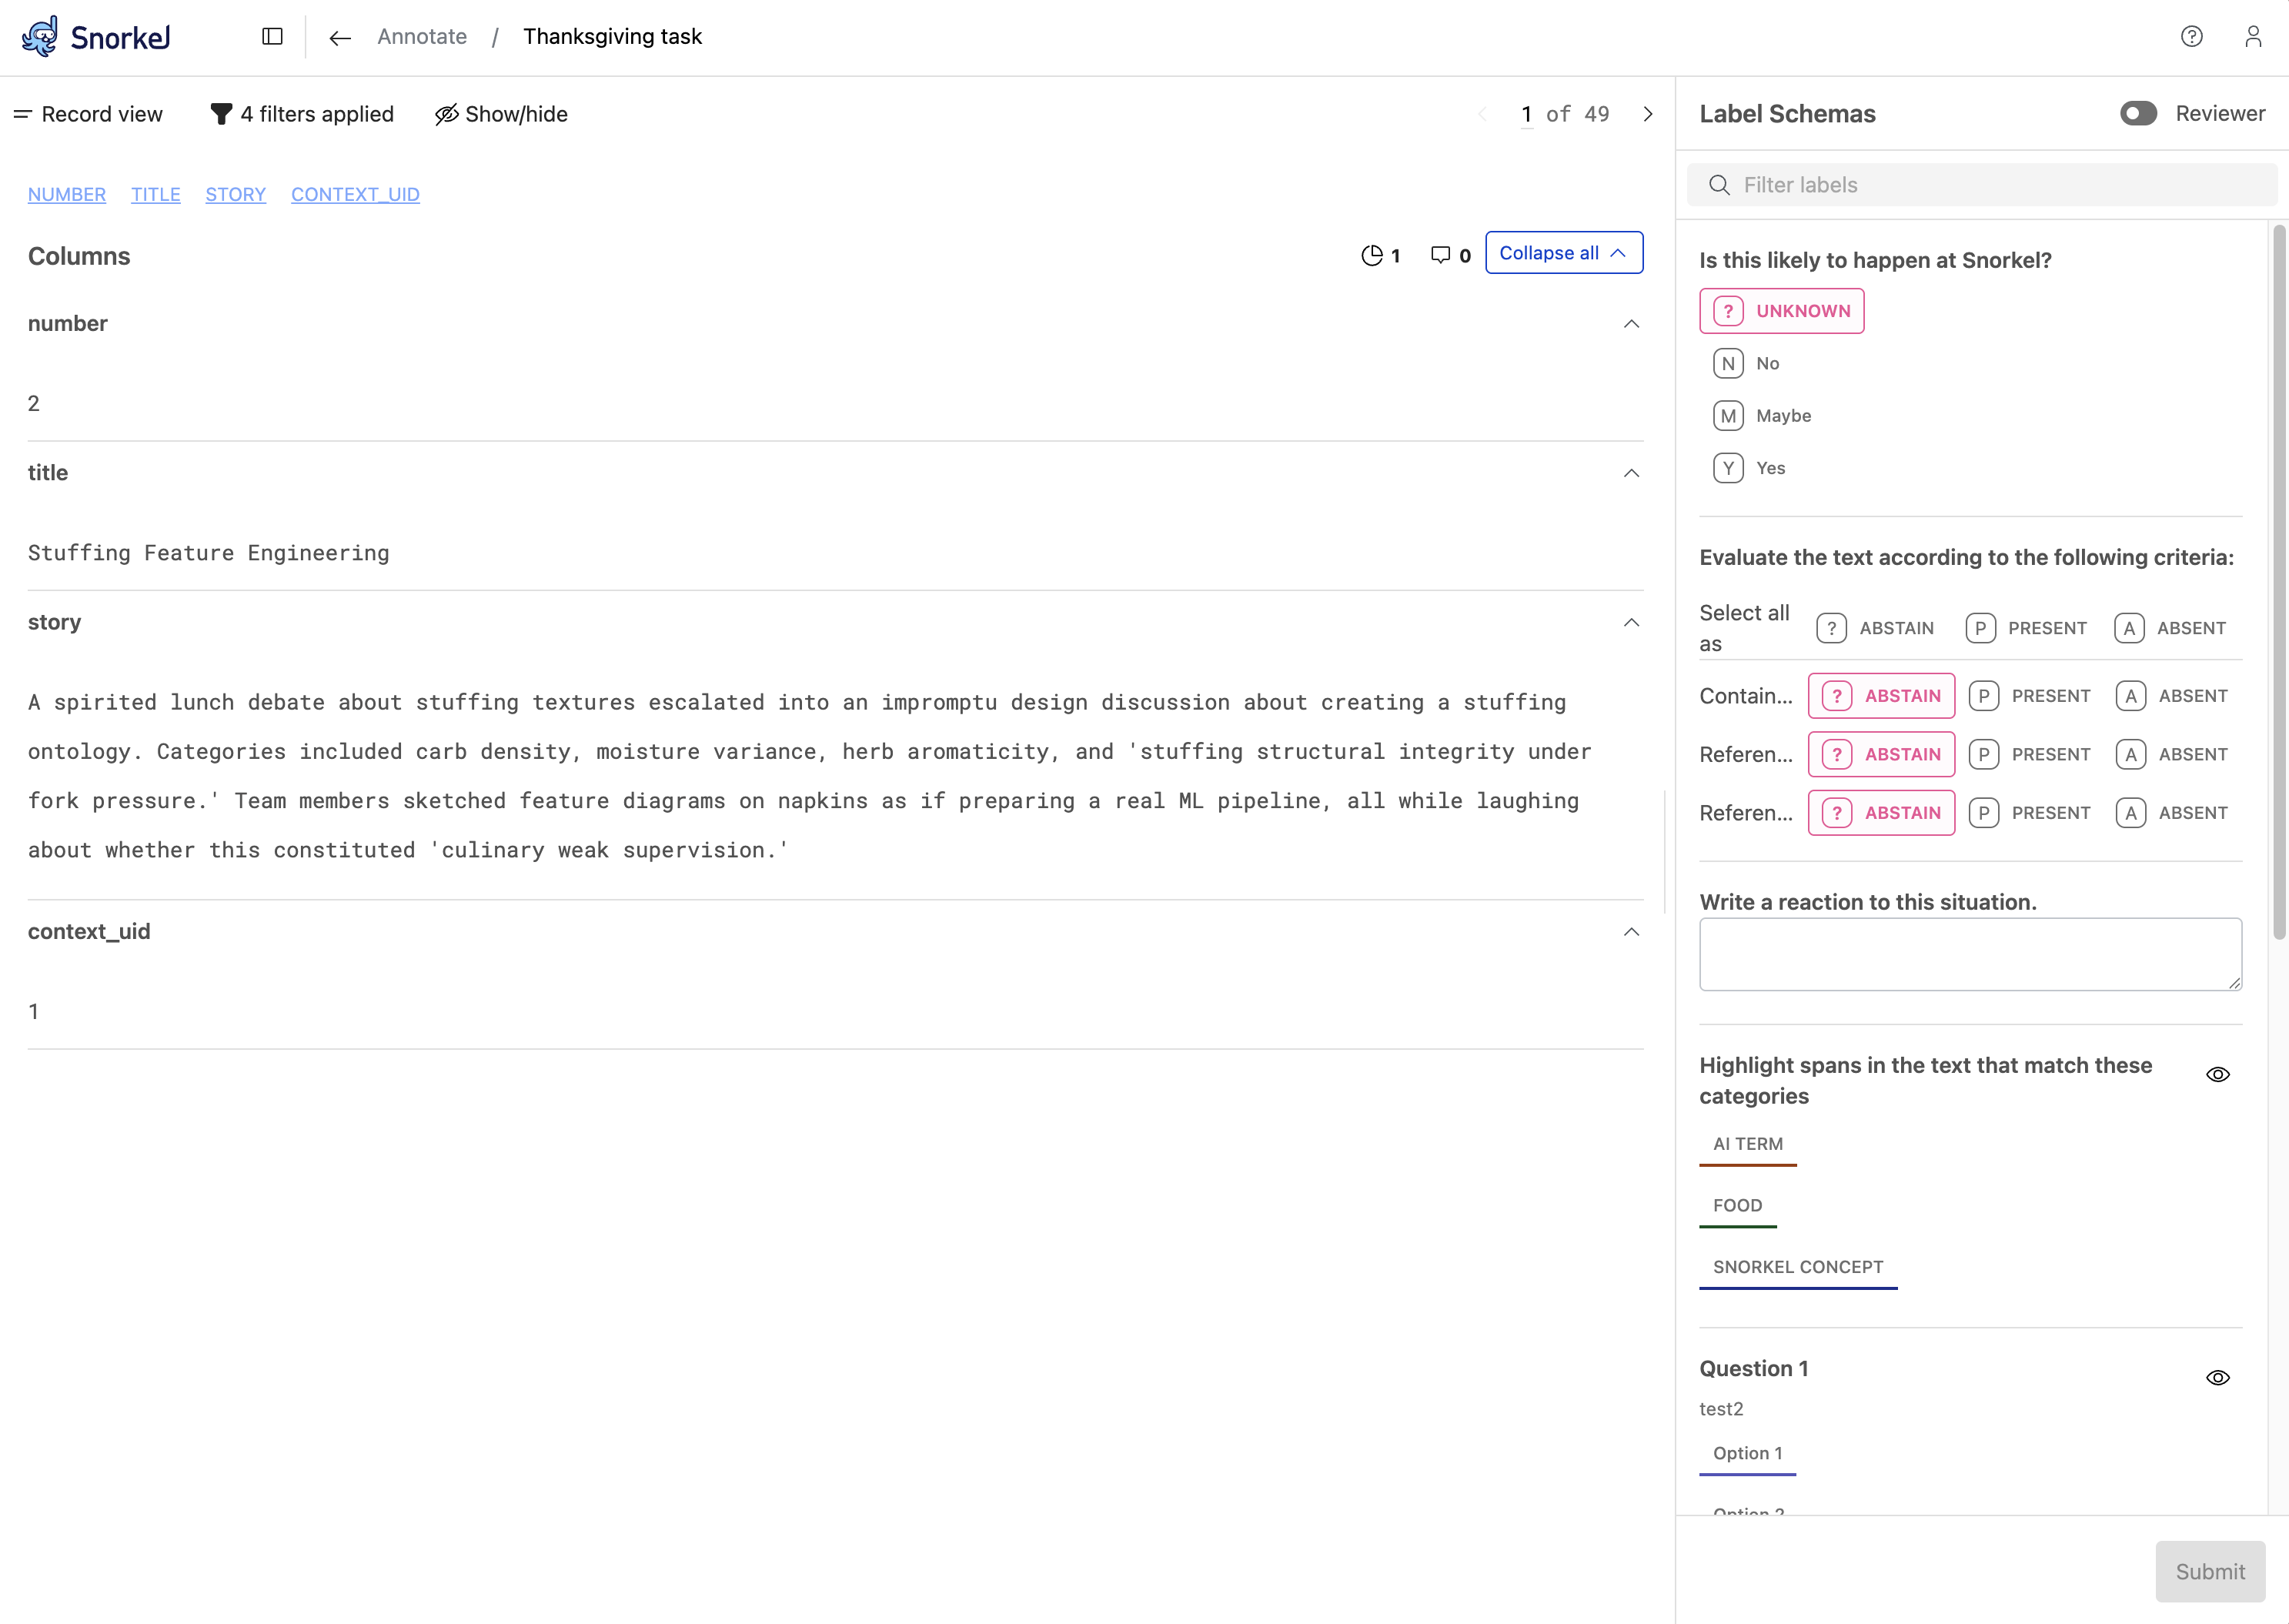
The main canvas shows the document text. The right side-pane shows all the labeling questions you need to answer about the document.
Here is some information about the various buttons that you can see on your screen:
- Click Record view (or Table view) to change the appearance of the documents in the main canvas.
- Click the filter
 icon to filter the documents that are shown to you.
 - Click the show/hide
 icon to configure which columns you can see in the main canvas.
 - Click the arrow
 icons to page through the documents.
 - Click the slice
 icon to add slices to the document.
 - Click the comment
 icon to add comments to the document. For example, you can write a comment to explain your reasoning behind a selecting a particular label.
 - Click the arrow up/down icons to expand and collapse individual columns.
How to Annotate
The Snorkel AI Data Development Platform supports four different question types. Learn how to annotate each type:
Check progress
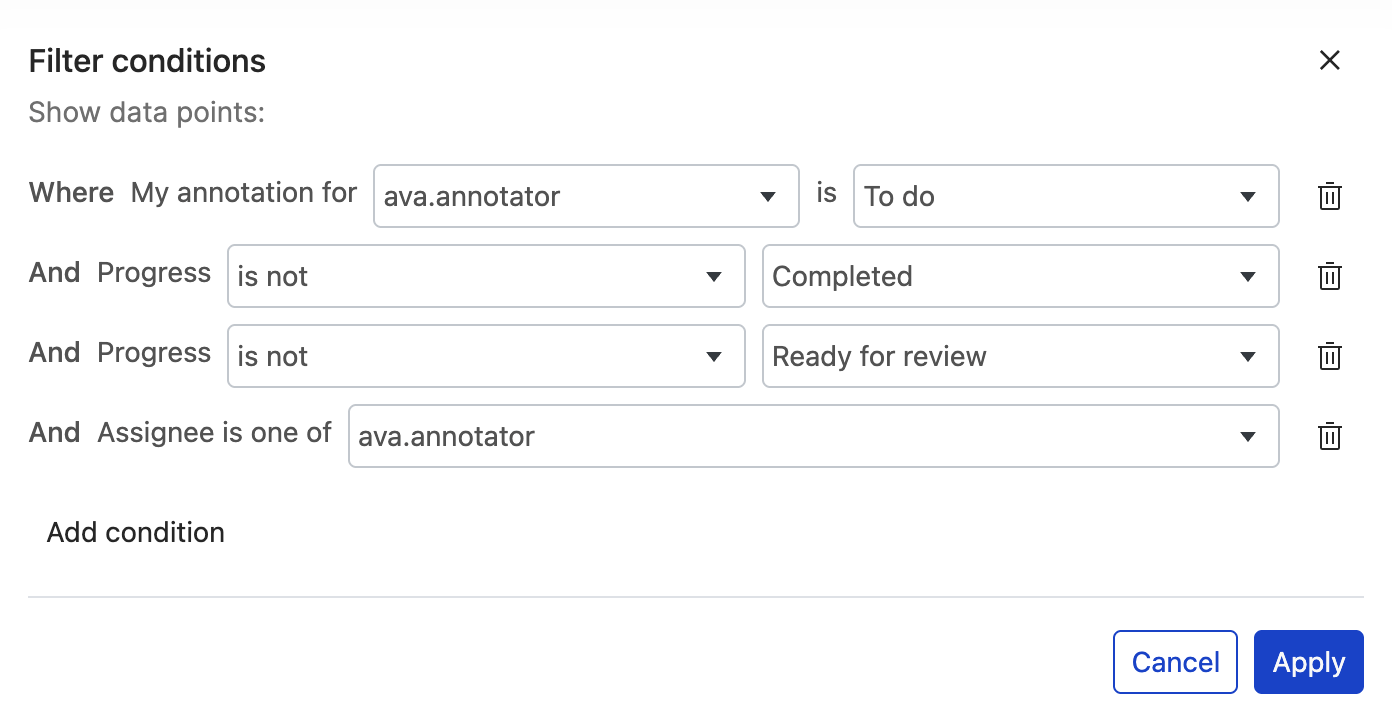
While you are annotating documents, you can filter by Submission status to see only the data points that you still need to annotate. Once you have submitted annotations for a data point, it will transition from to do to submitted. Your annotations are saved immediately when you make them, but the status is not updated until you click the submit button.
By navigating back to the Annotate page, you can see progress across all your tasks. Each task card includes the number of datapoints remaining for you to annotate.
Review comments and slices
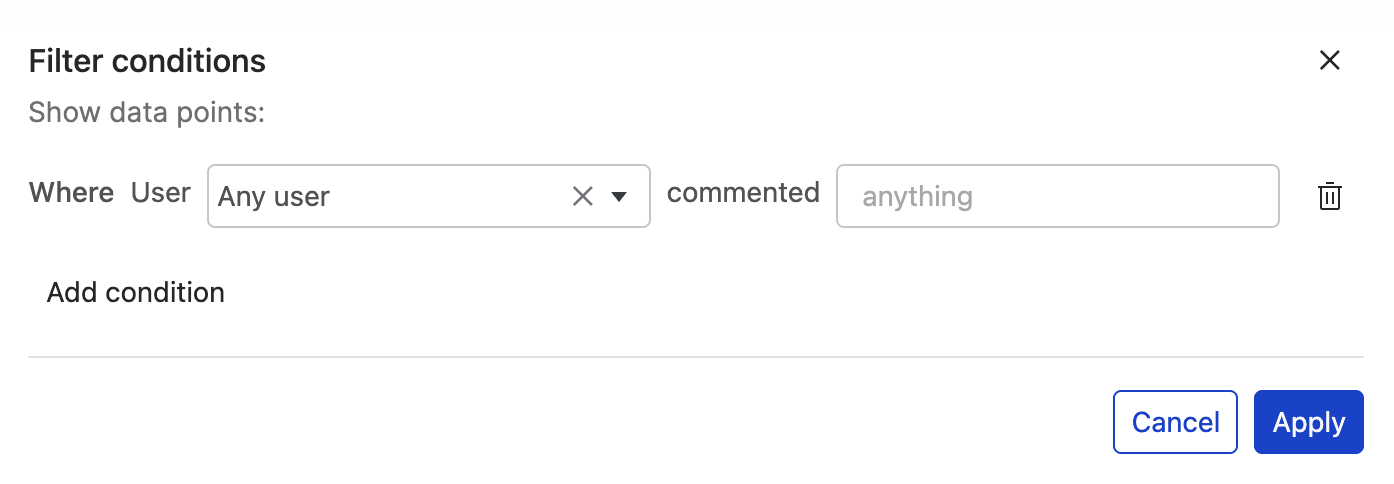
Occasionally a reviewer will leave comments on documents. For example, if you left a comment asking a clarifying question, a reviewer may respond to your comment. To see all documents with comments:
- Click the filter icon.
- Click Comments.
- Under User, select the person that you want to see comments from. Alternatively, you can select Any user.
- Click Apply to save the filter.
Now, just the documents with comments are shown, making it easier for you to review any comments.
You can follow similar steps to filter documents based on slices:
- Click the filter icon.
- Click Slice.
- Under Slice, select a slice option.
- Under Operator, select is if you want to see all documents with that slice or is not if you want all documents with that slice removed from view.
- Click Apply to save the filter.