Managing tasks
This page walks through how to manage annotation tasks. Here you can learn how to add data points, how to create questions for your task, and how to assign annotators to data points.
You must have first created a task in order to manage it. There are two ways to manage tasks. You can access tasks through the Linked annotation tasks tab under a specific dataset or you can view all your tasks from the Annotate tab in the left hand sidebar.
To manage tasks you must have the Reviewer role. For more information about access and permissions, see Roles and user permissions.
The all tasks page
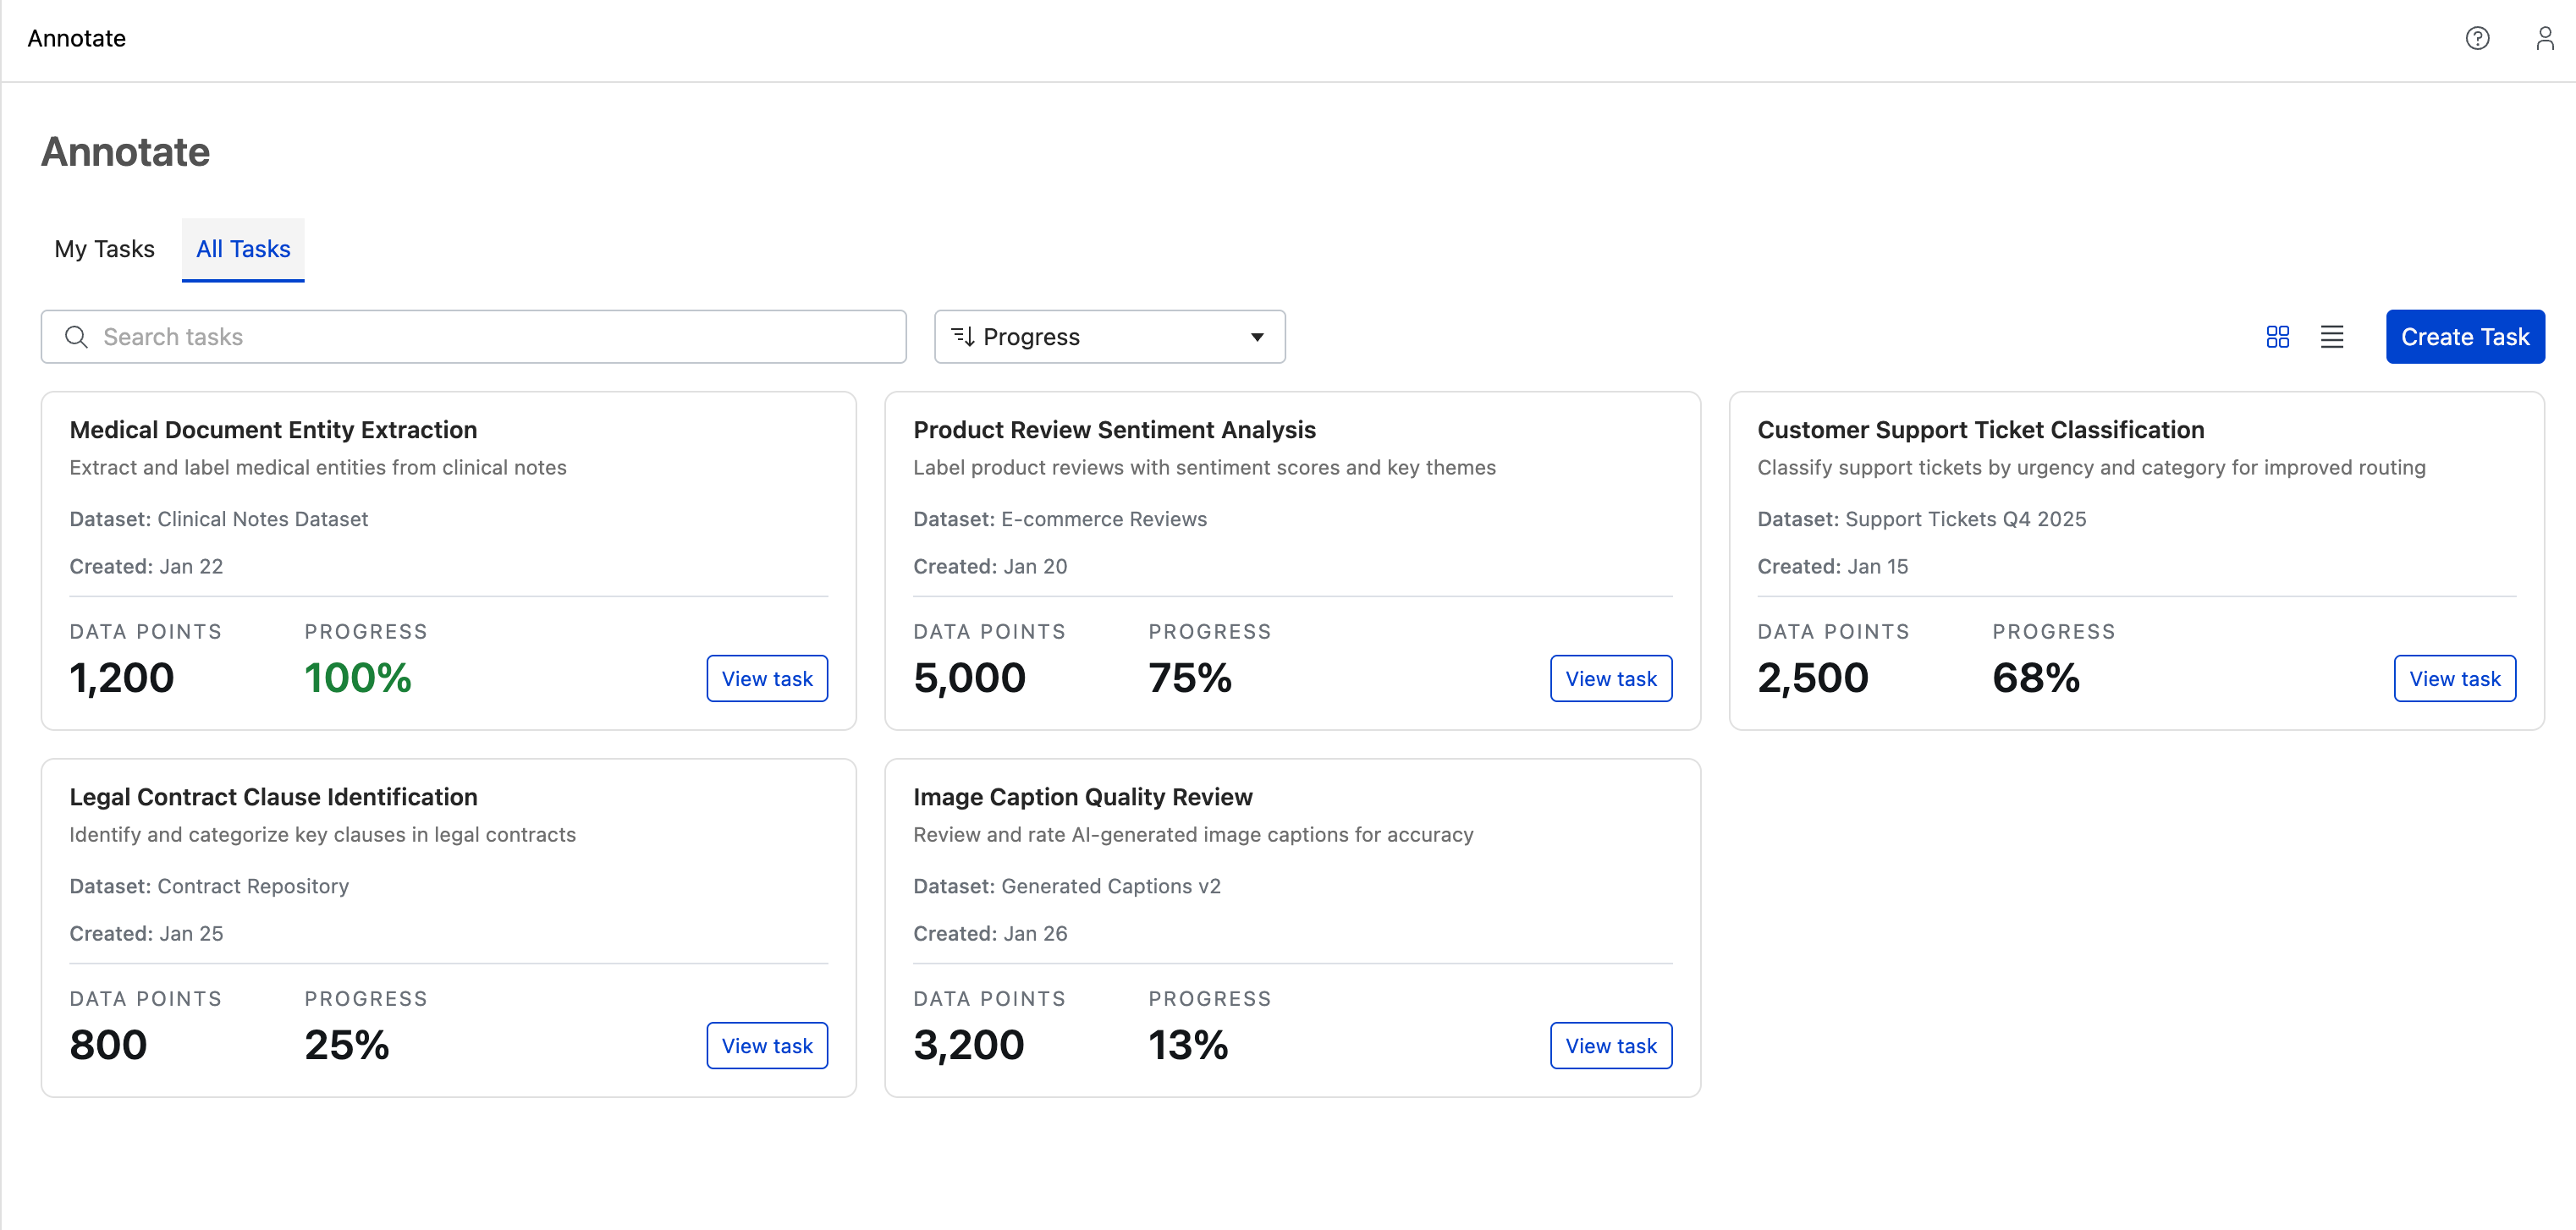
To view all tasks across all datasets, navigate to Annotate in the left sidebar. The My Tasks tab shows tasks assigned to you, while the All Tasks tab displays every task in the workspace.
You can search for tasks by name and sort using the controls at the top of the page.
The linked tasks page
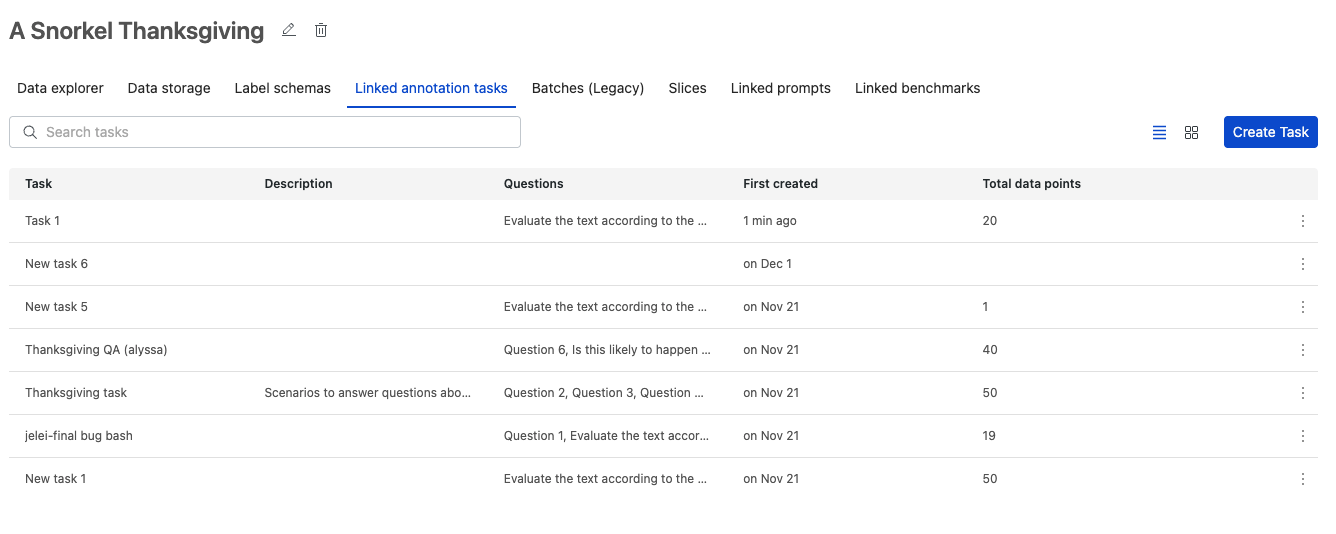
After navigating to a given dataset, under the Linked annotation tasks tab, you will find the list of all tasks associated with the given dataset. Clicking an entry in the list will navigate you to the task management page. On the right hand side of each item in the list is a menu with options to delete a given task, or begin annotating it.
The task management page
Clicking on a specific task will take you to the task homepage. From the task homepage, you can view the Overview with stats about the task progress or navigate to the Configuration tab to configure the following:
- Task title, description, and number of annotators per data point
- List of data points assigned to the task
- List of questions asked for each data point in the task
- List of annotators assigned to the data points
Task overview
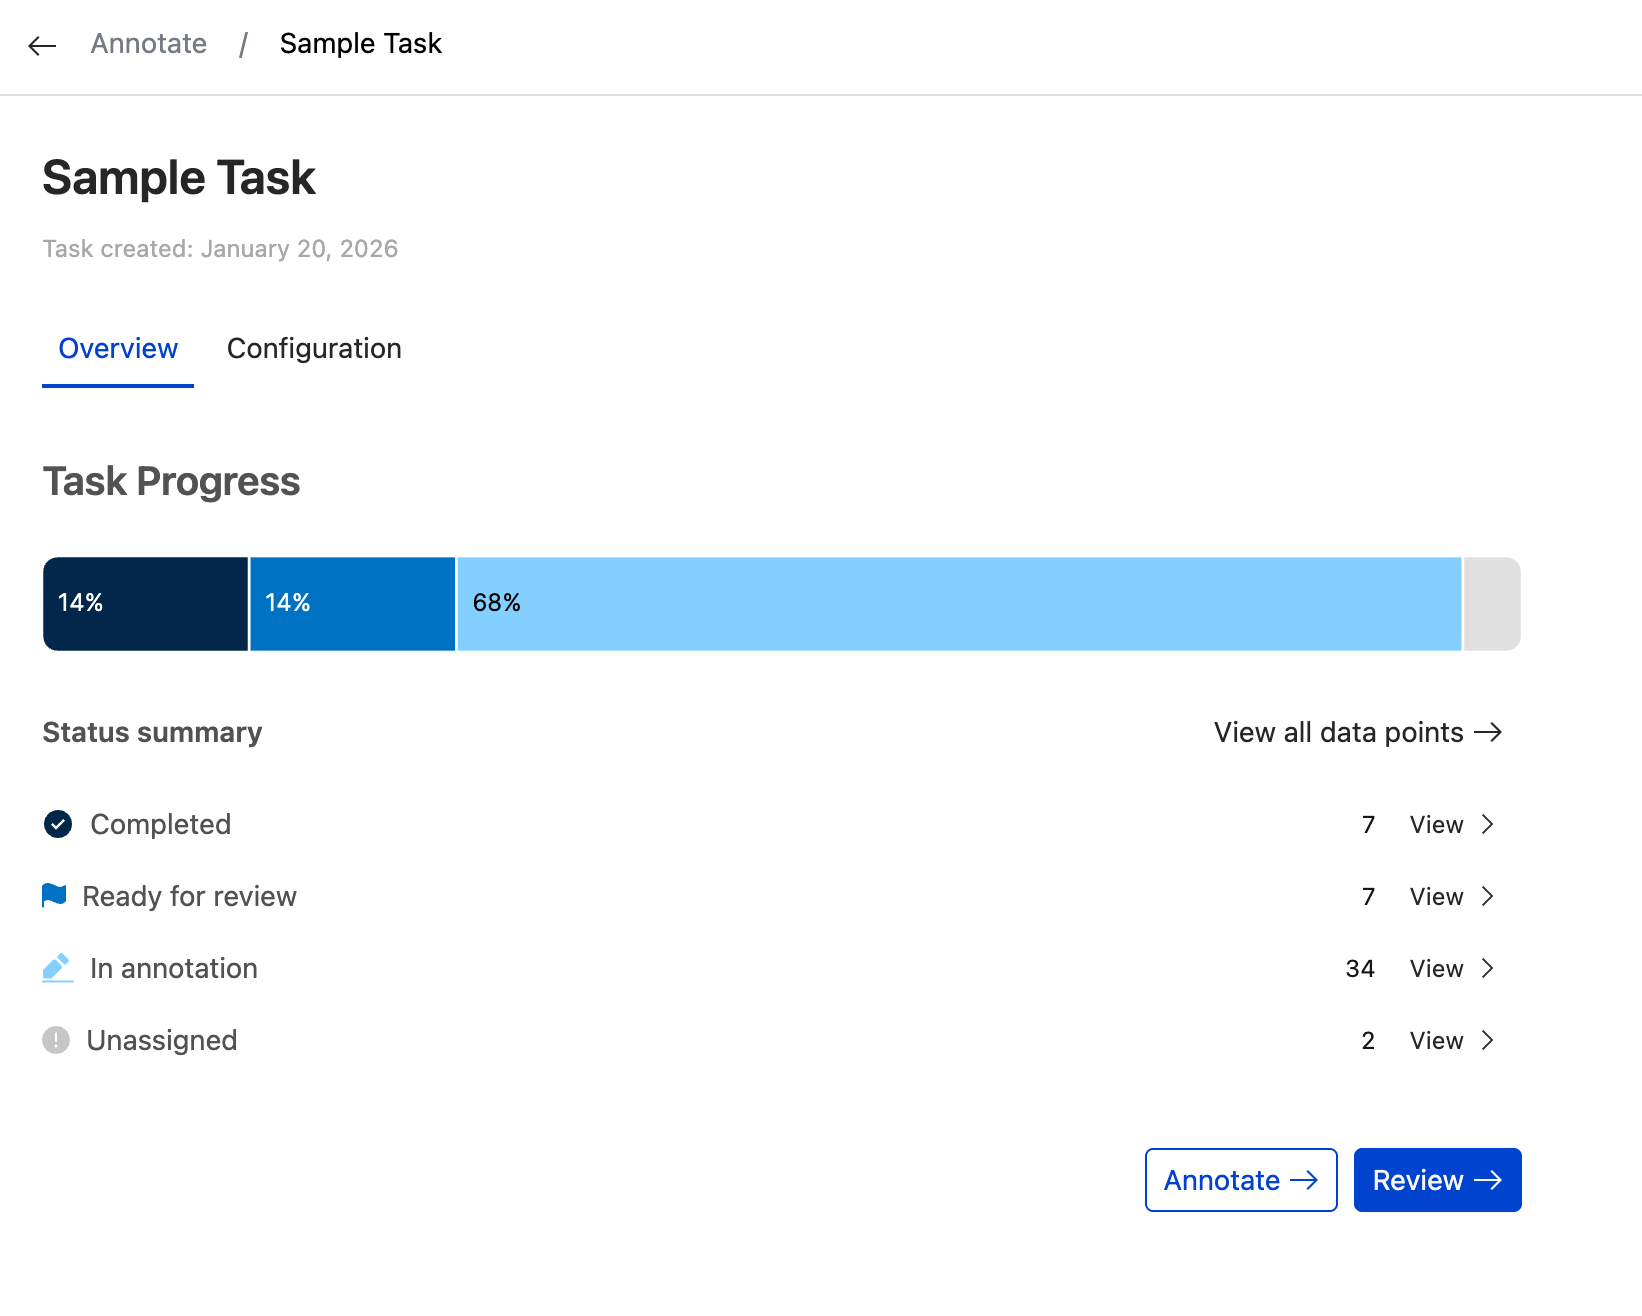
The Overview tab displays your task's progress and status at a glance. A progress bar shows the overall completion percentage, and the status summary breaks down data points by category:
- Completed: Data points that have been committed to ground truth.
- Ready for review: Data points awaiting reviewer approval.
- In annotation: Data points currently being annotated.
- Unassigned: Data points not yet assigned to enough annotators.
Click View next to any status to see those data points, or use the Annotate and Review buttons to jump directly into the corresponding workflow.
Task configuration tab
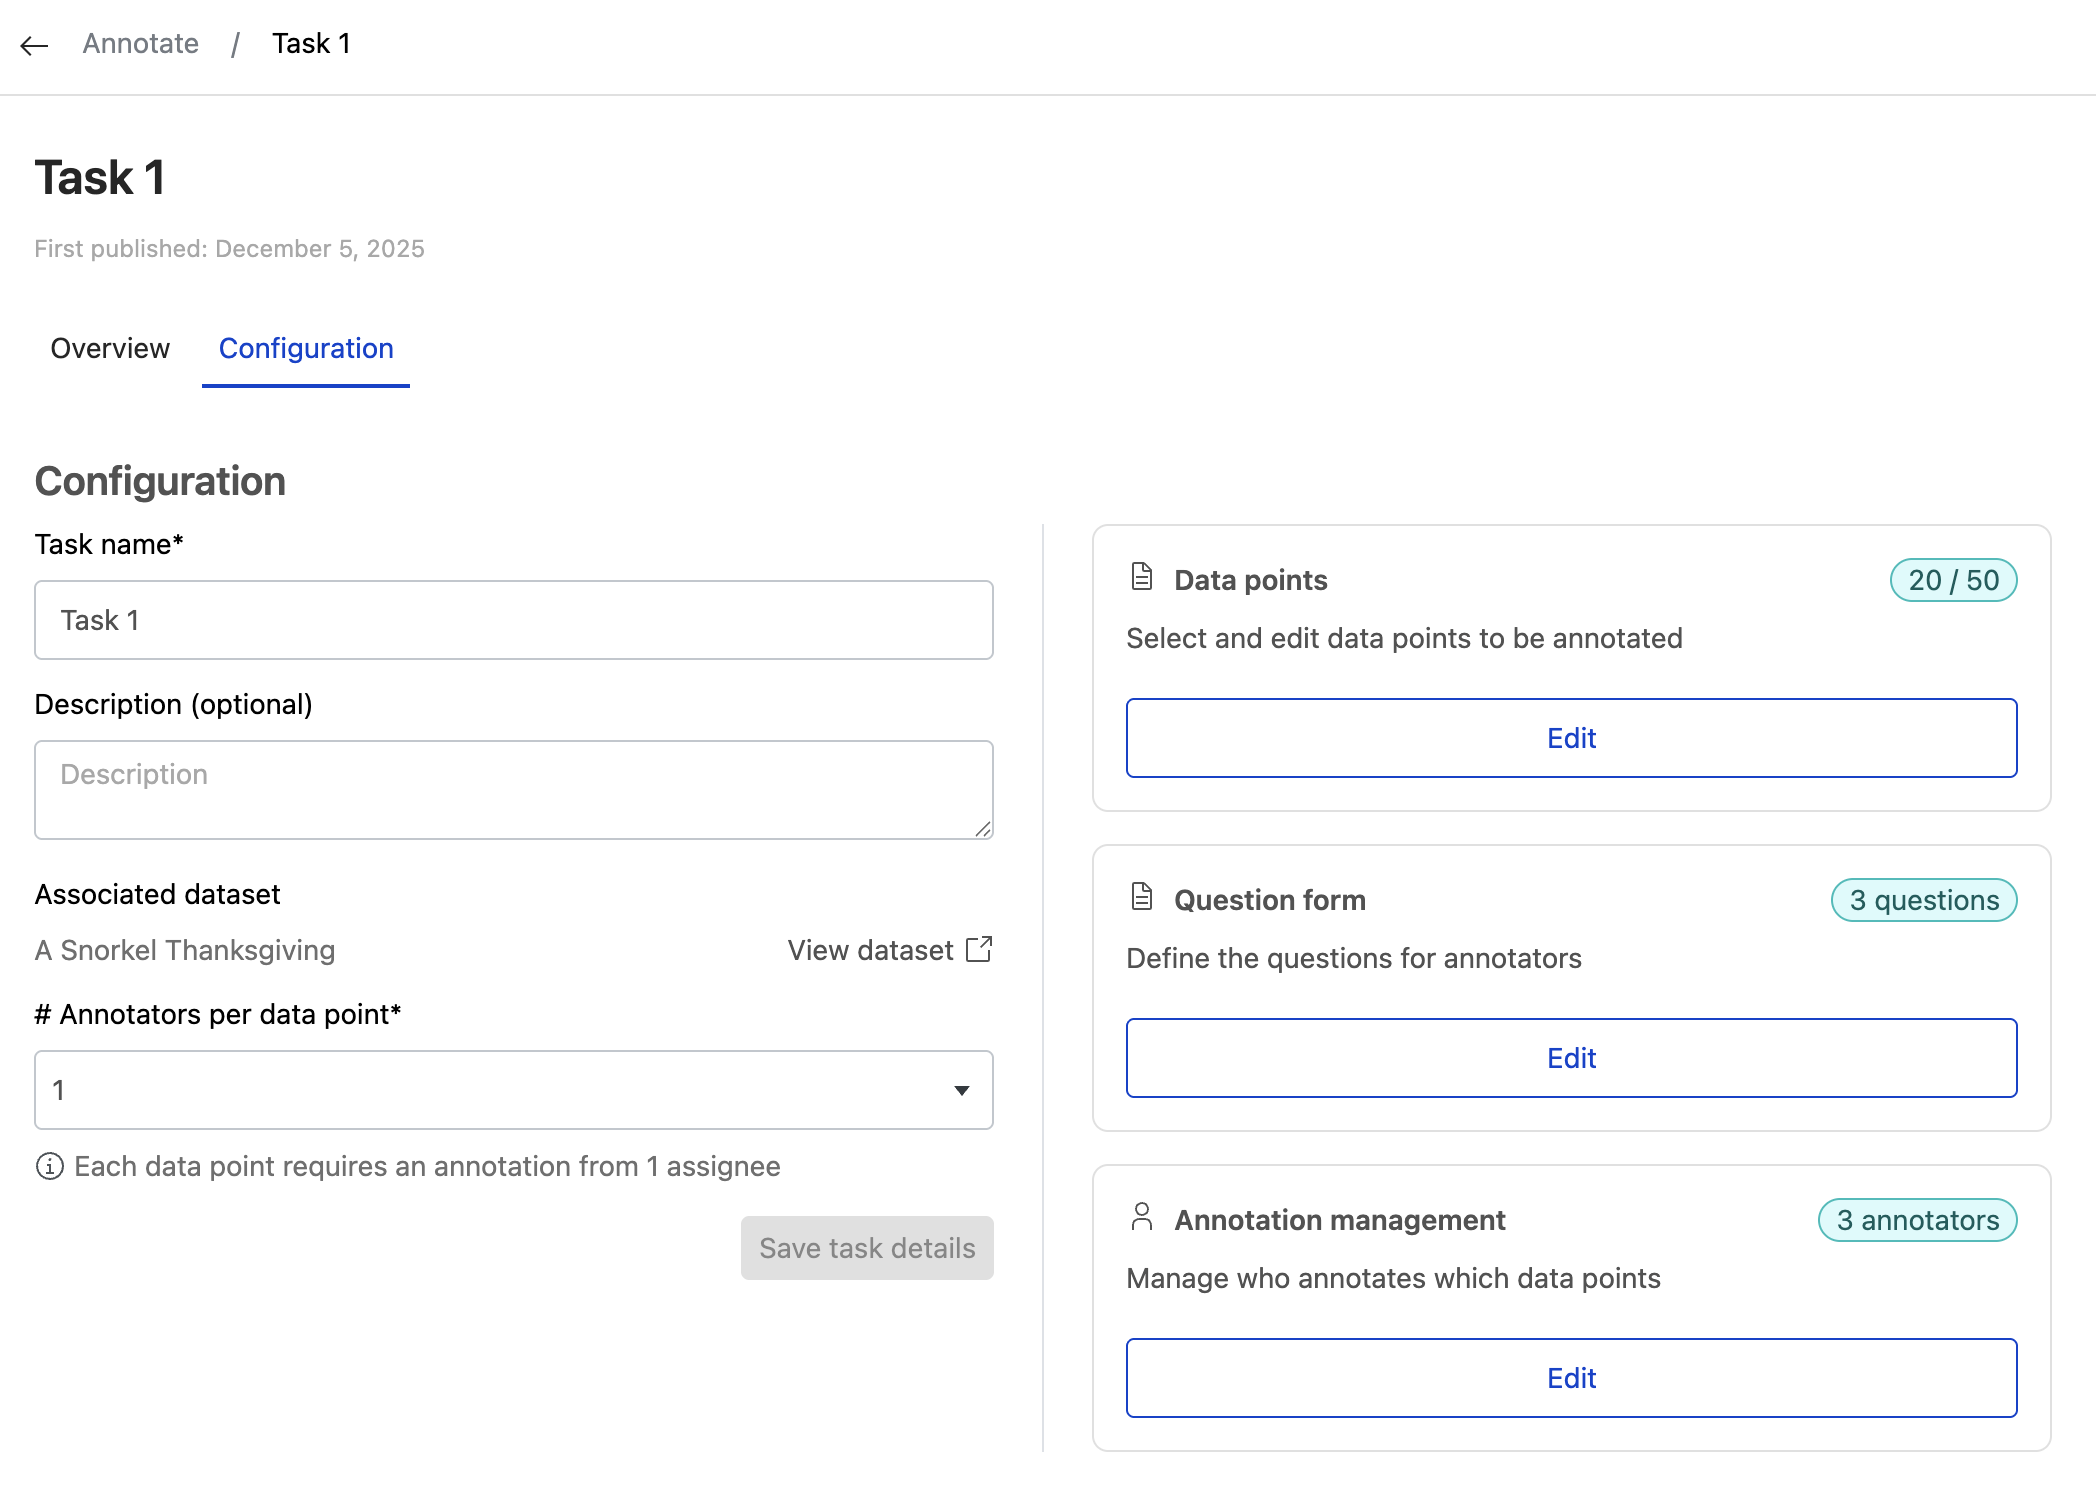
On the left side of the configuration tab, you can modify the name and description of your task. You can also adjust the minimum number of annotations per data point, which determines how many annotators are required to move a data point to 'In annotation' status, and how many annotations are needed for 'Ready for review' status.
Click Save task details to save your changes.
The right side of the configuration tab provides links to the three steps required to complete your annotation task setup: add data points, create question forms, and assign annotators.
Managing data points
The first step of configuring an annotation task is to add data points. Click Add (if the task has no data points) or Edit (if the task already has some data points) in the "Data points" section to view all available data points in the dataset associated with this task.
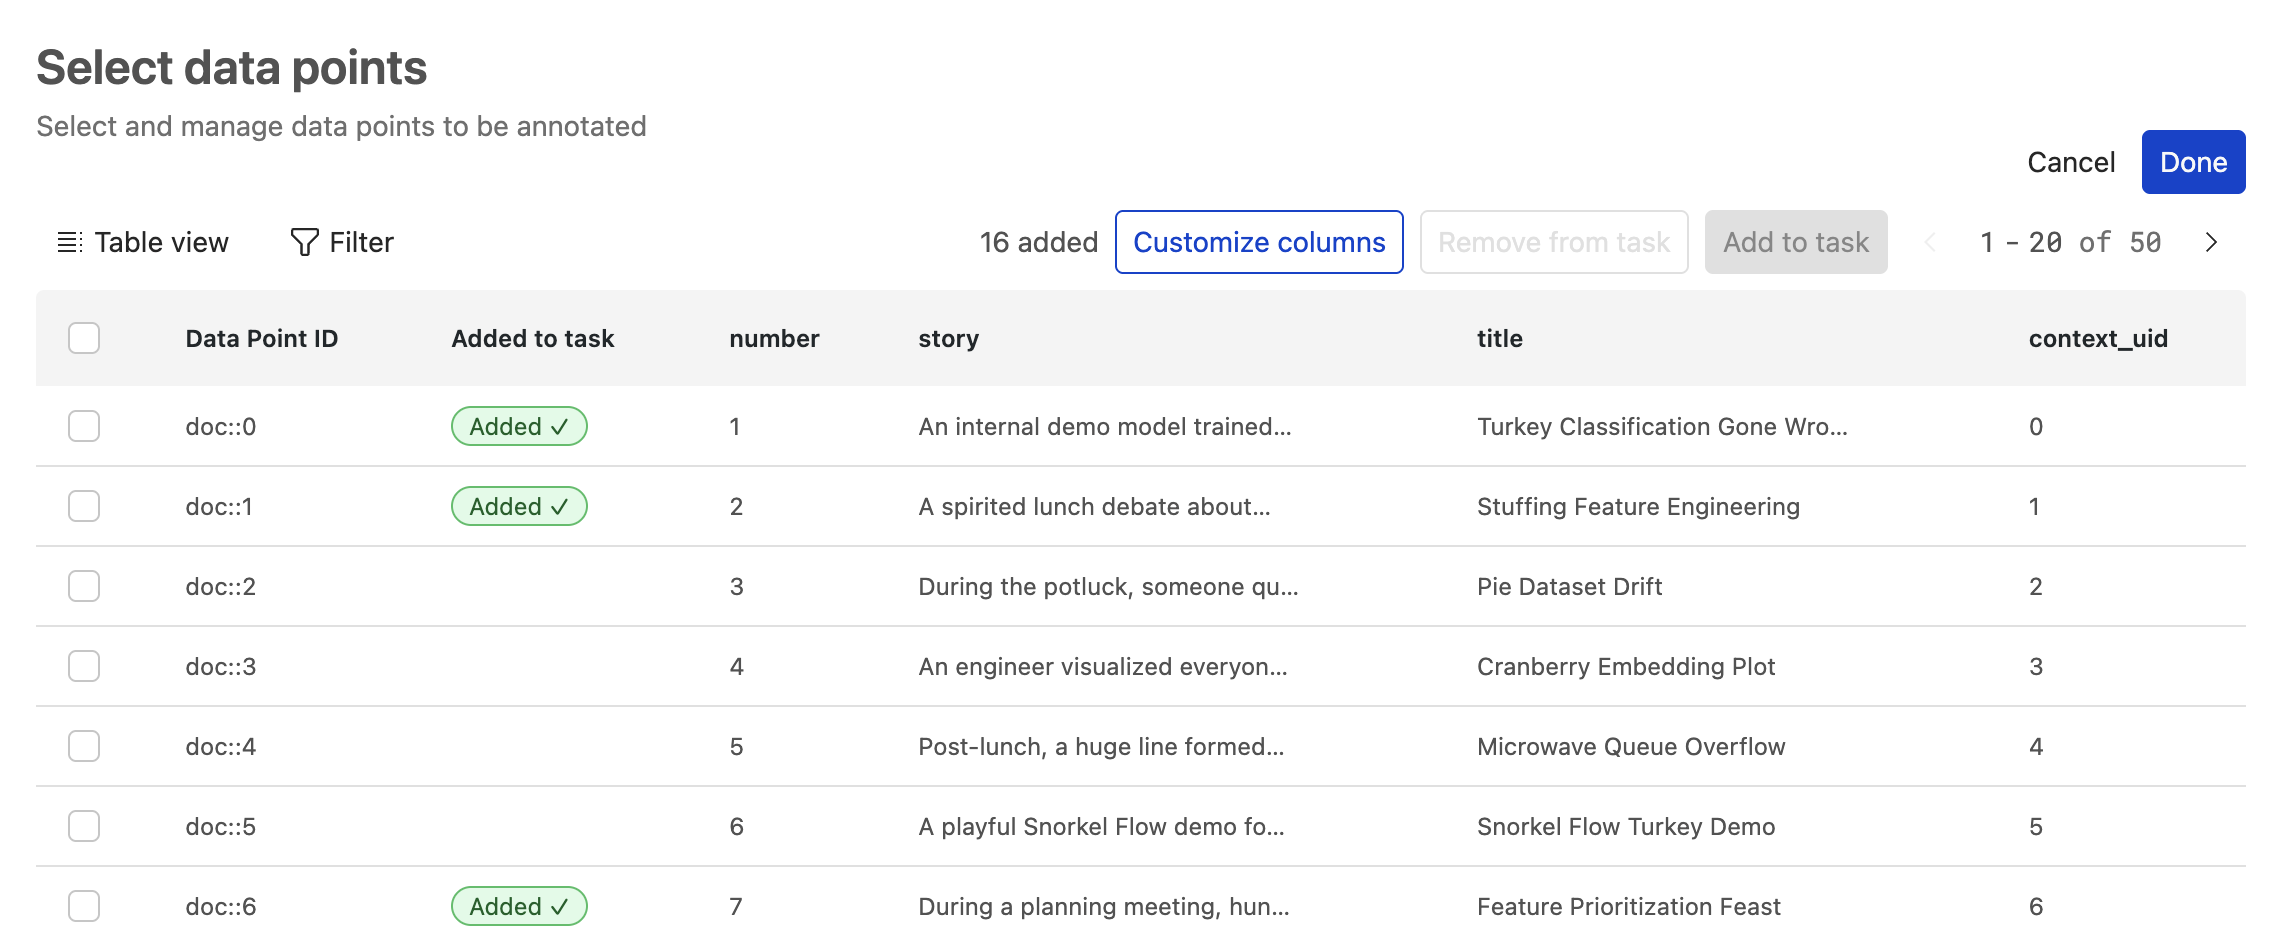
Here you can view the data for each data point and see whether it has been added to the task. Click Done or Cancel to return to the task configuration page.
Add / Remove data points
At the top right of the table you will see a count of how many data points have already been added to the task, as well as Remove from task and Add to task buttons.
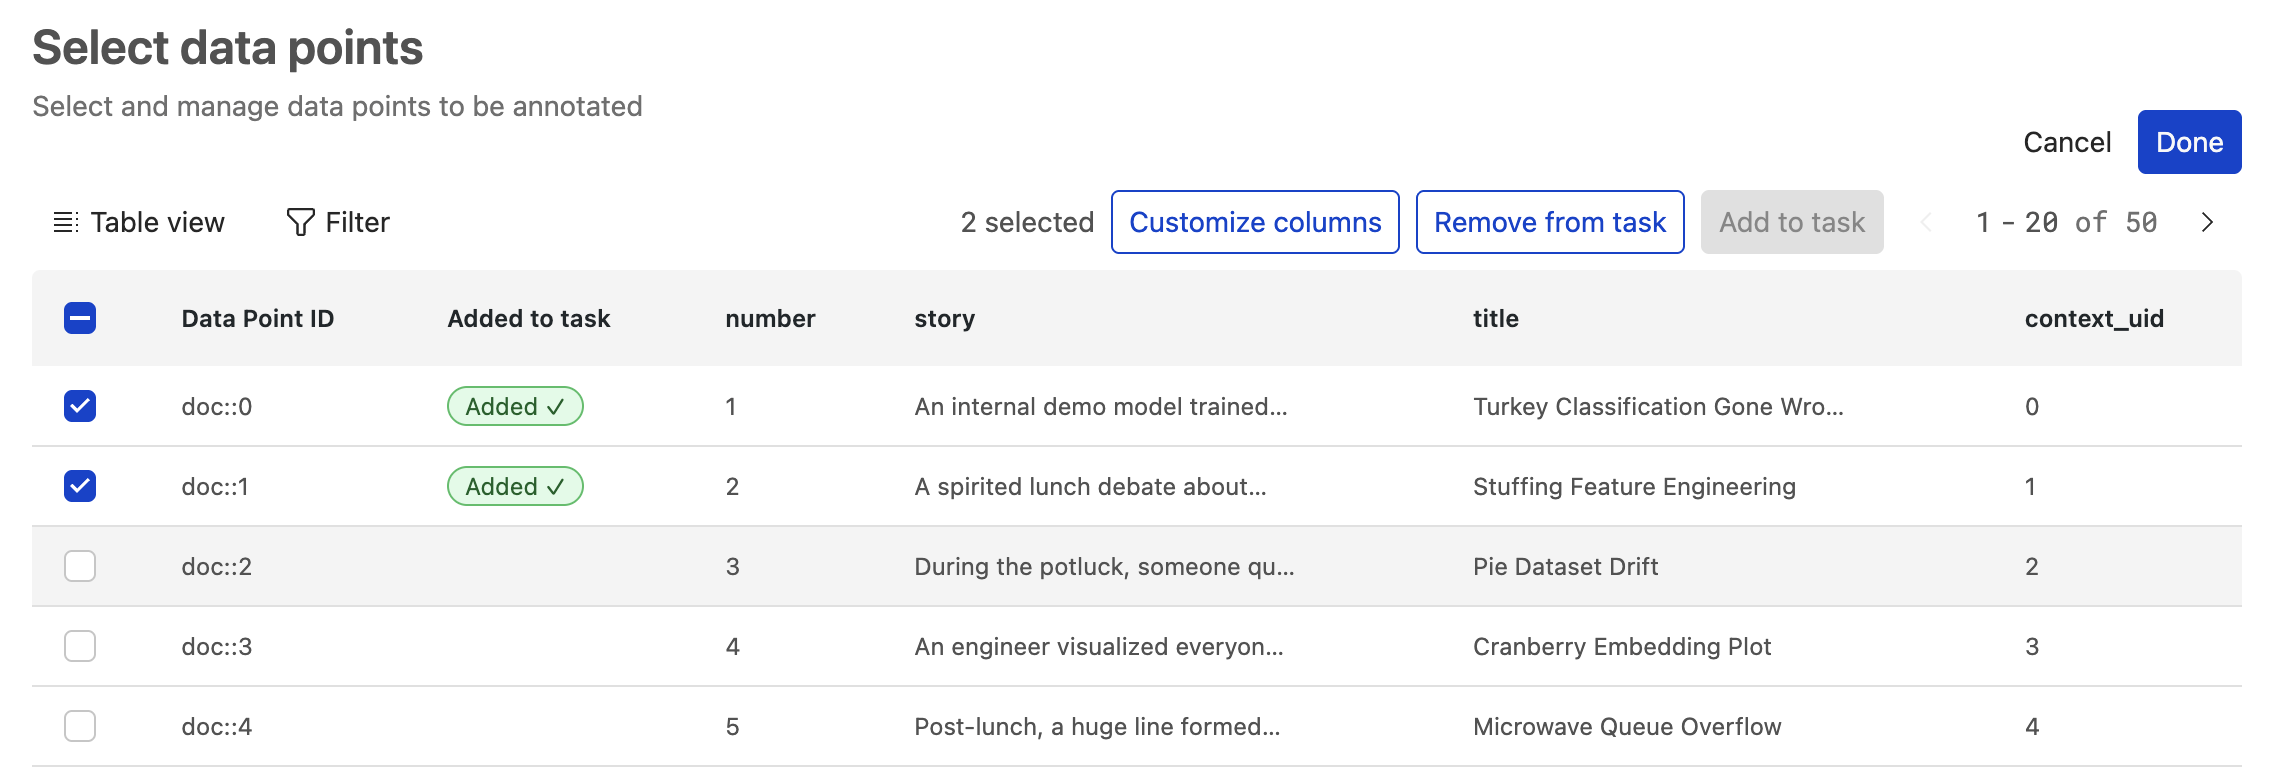
To add or remove data points, first select them using the checkboxes on the left side of the table. You can also select the checkbox in the table header to select all data points on the current page, with an option to select all data points in the dataset.
Once you have selected data points, click Add to task to include them:

Or click Remove from task to remove them:
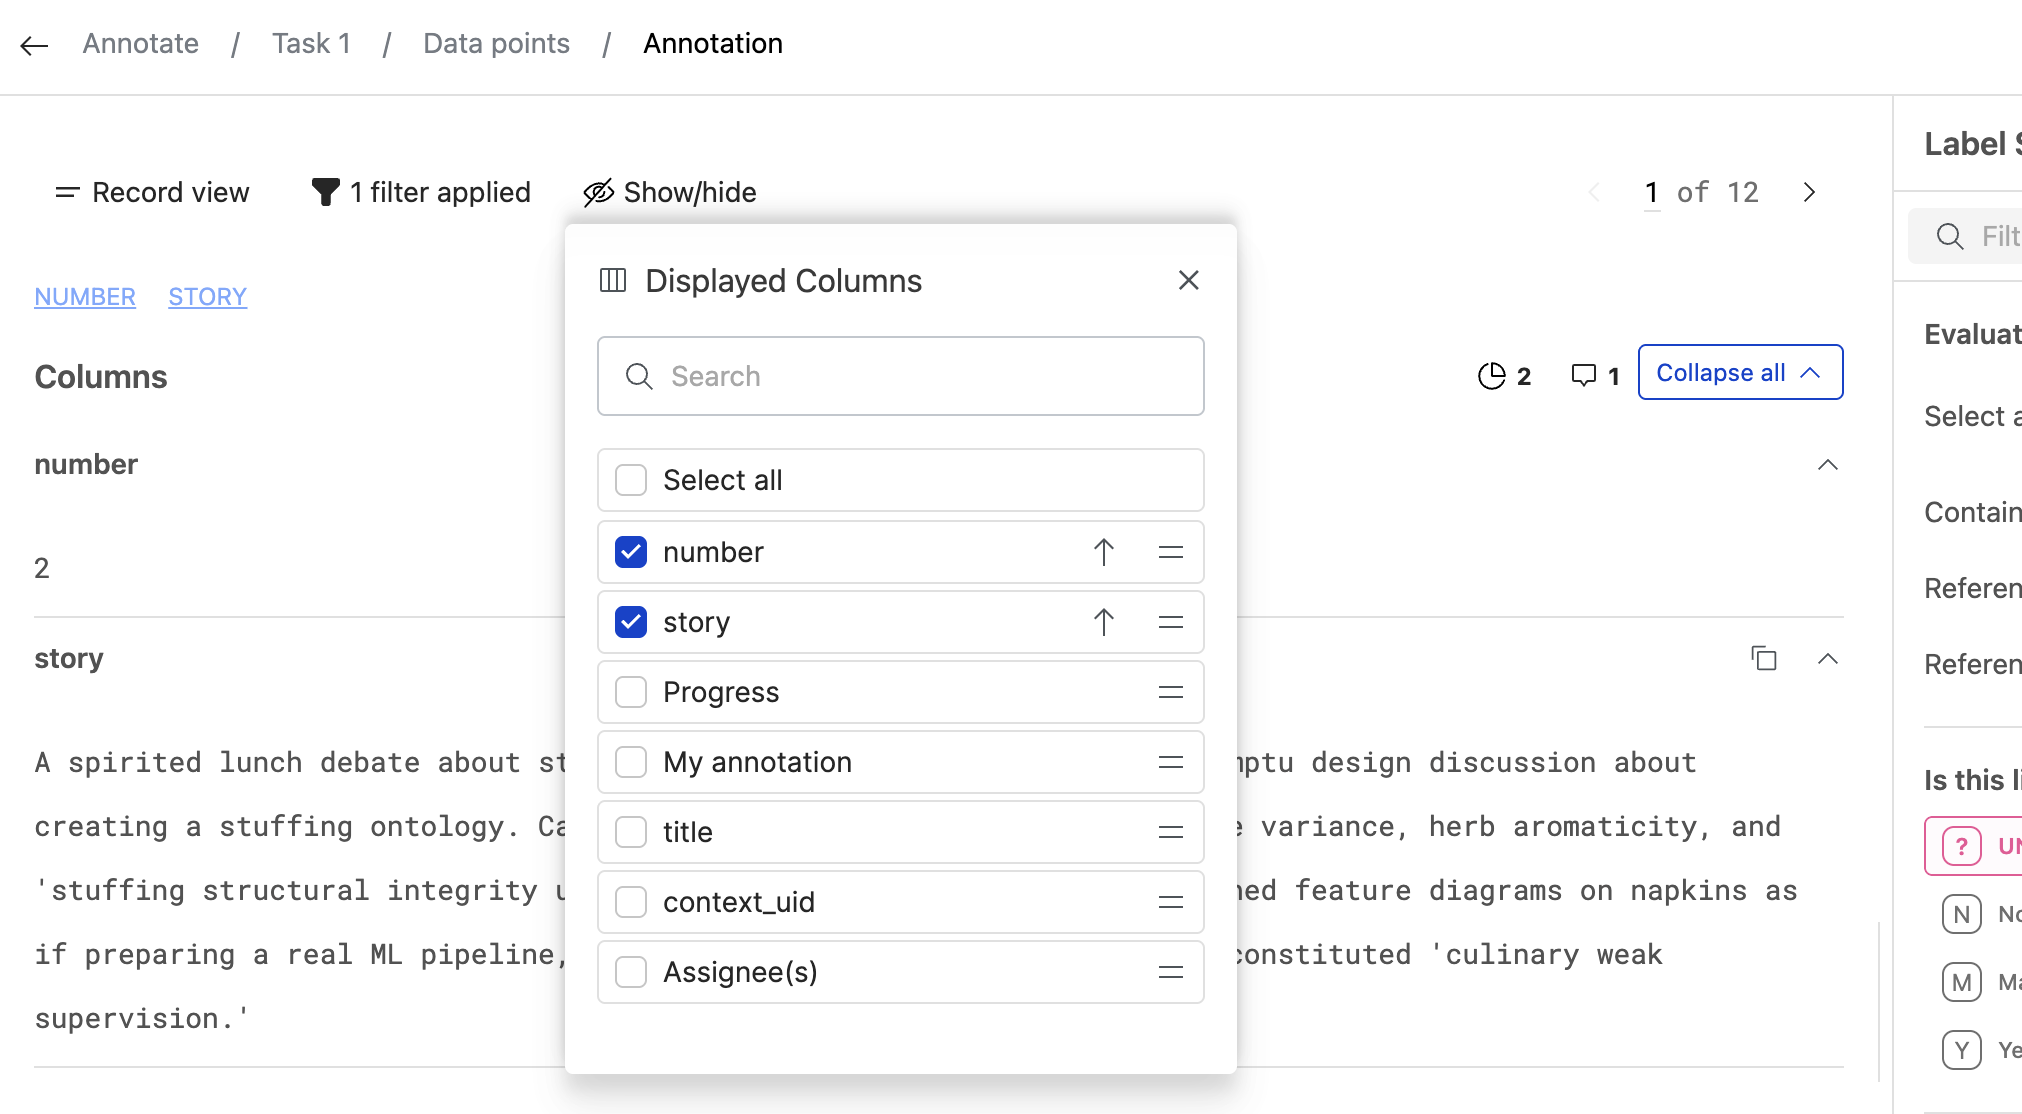
Hide and reorder columns
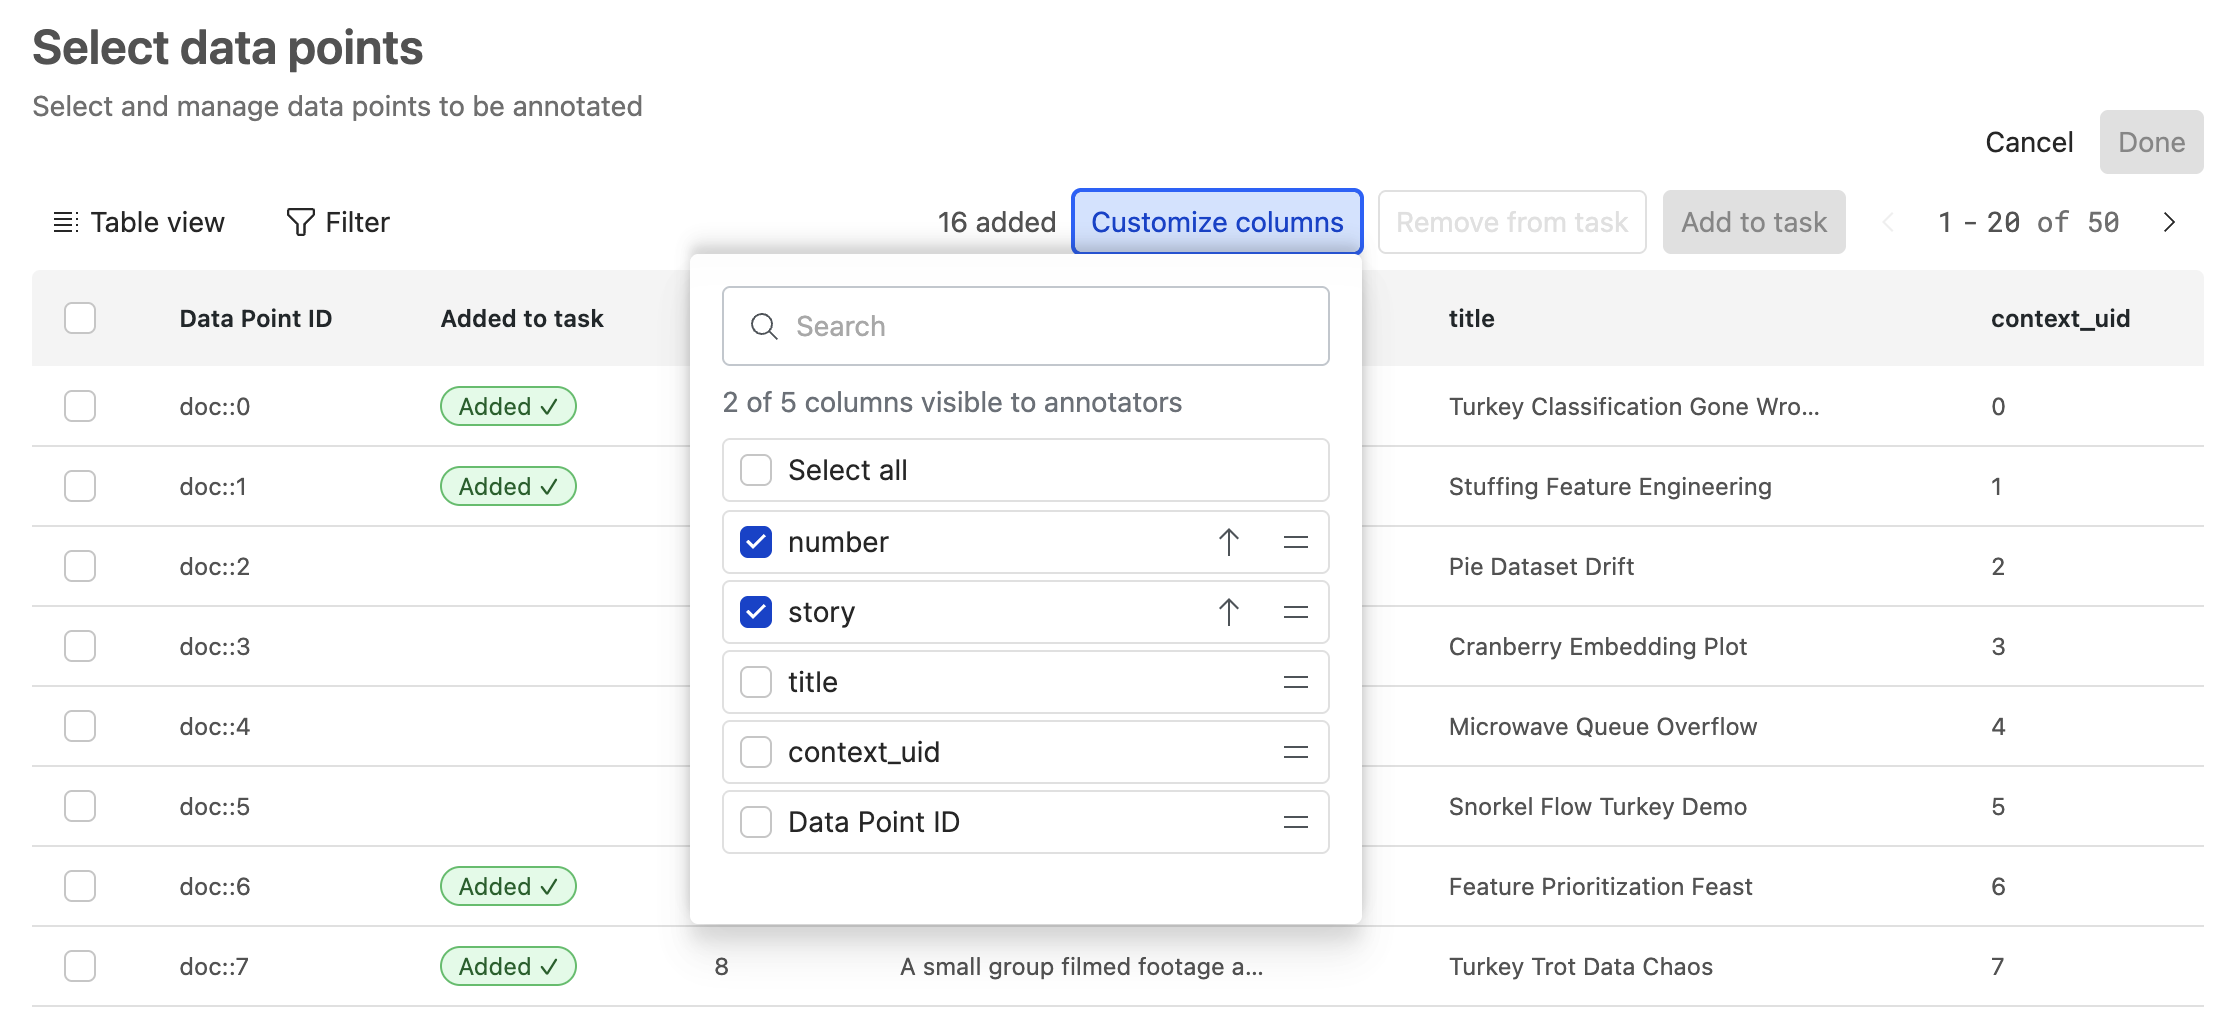
Click Customize columns to manage the default column order and visibility for this task's annotation workflow. You can reorder visible columns using drag-and-drop functionality, and uncheck columns to hide them from annotators. By default, all columns are visible to annotators. Reviewers can toggle hidden columns on and off in reviewer mode, while annotators cannot access hidden columns.
With the same task configuration as above, here are the columns annotators can see:
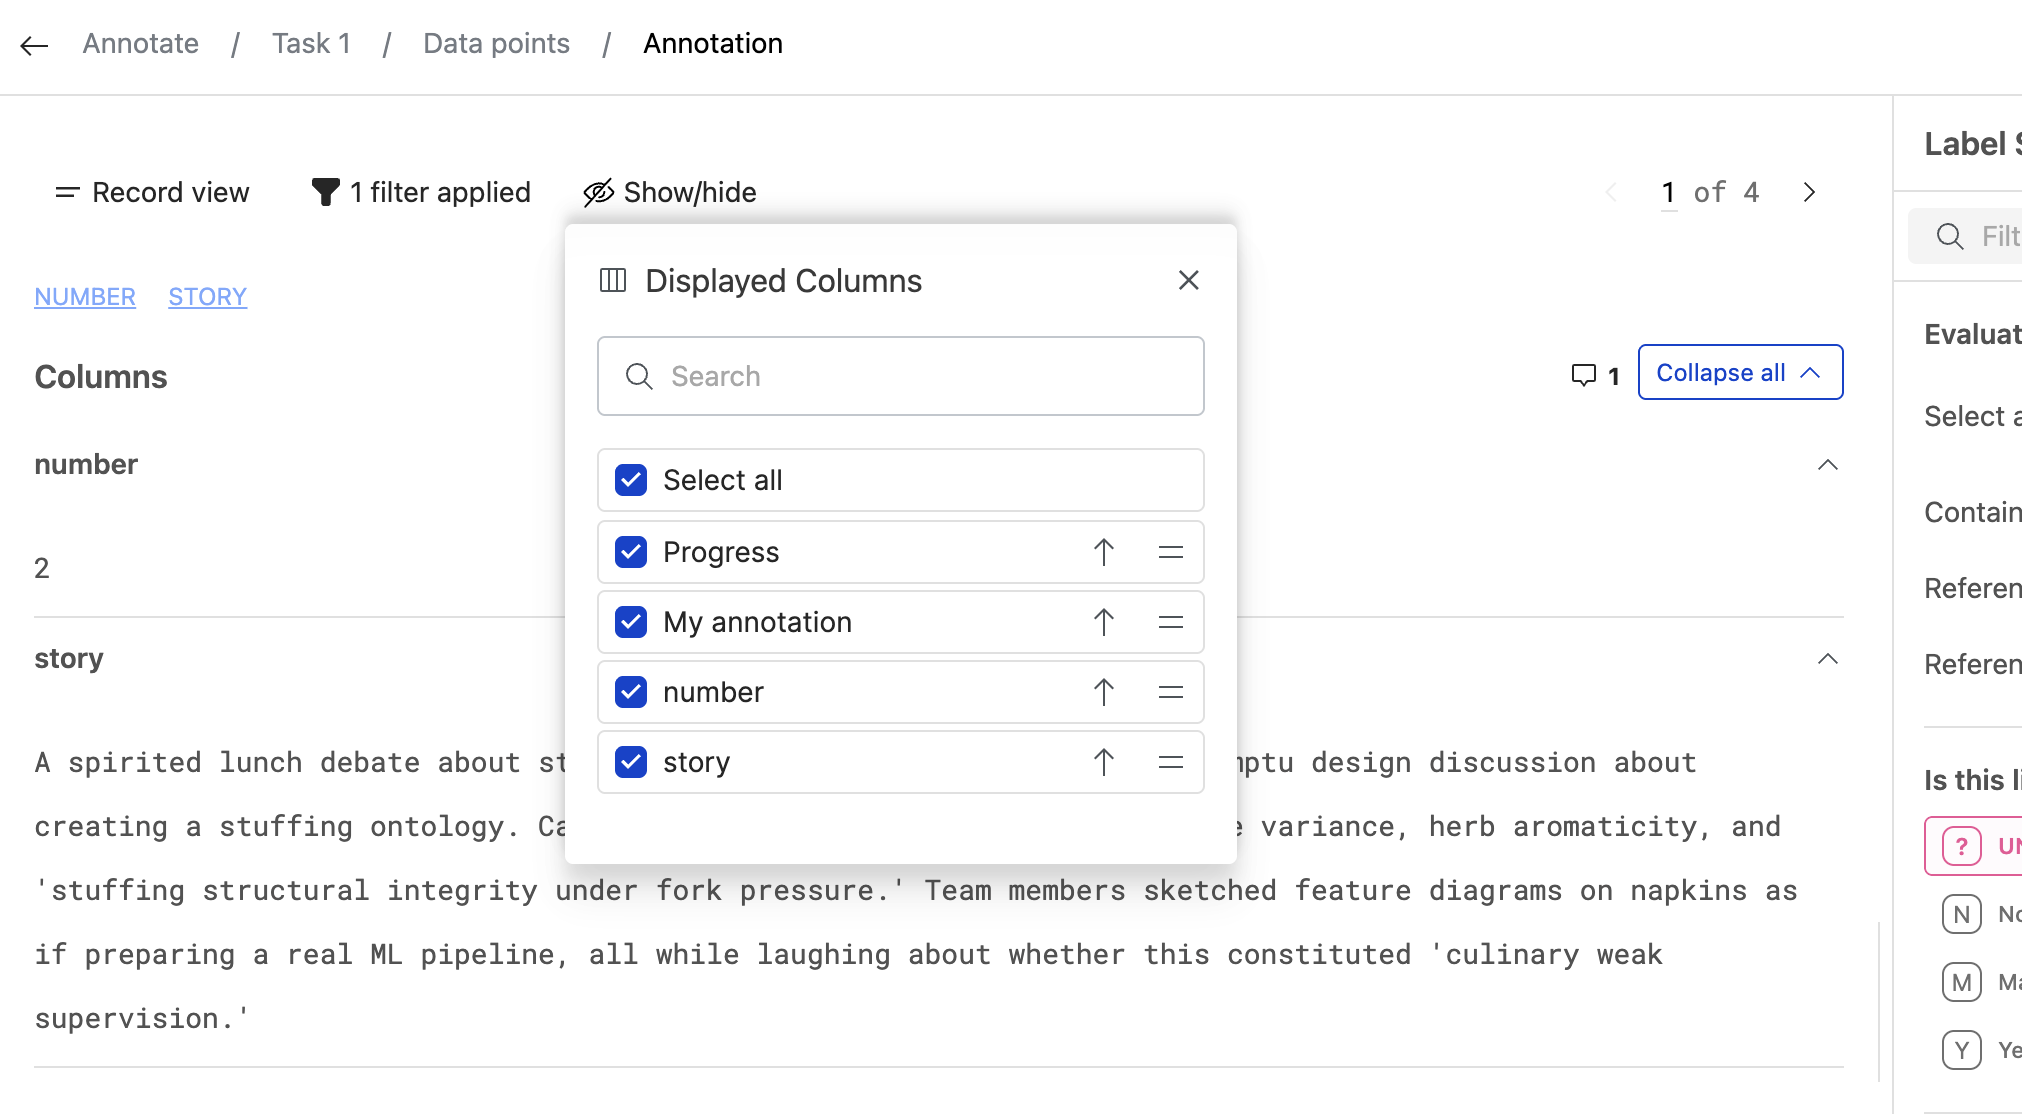
Here are the columns reviewers can see:
Managing questions
The second step to configure an Annotation Task is to set up the Label Form, which is the set of questions that annotators are being asked to answer for each assigned data point for the task. Note that Label and Question are used interchangeably here.
Creating new questions
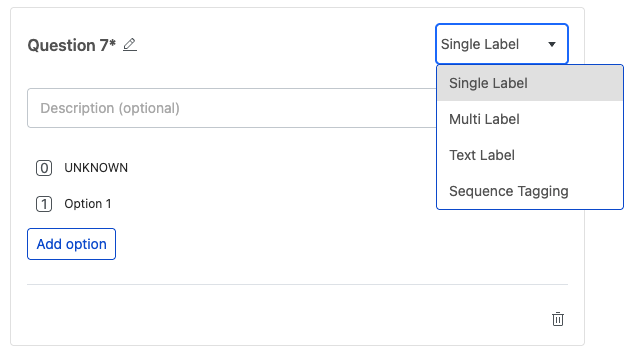
To add a new question to your task, click the Add question button.

When creating new questions, use the dropdown on the top-right to change the new question's type. Refer to Label Form Questions for more information on each type. Questions added this way are referred to as "draft questions" until you save them to the task.
Adding existing questions
You can also add existing questions to a task by clicking the small dropdown button attached to the Add question button, and selecting Use existing question

This will open a modal to select from existing questions.
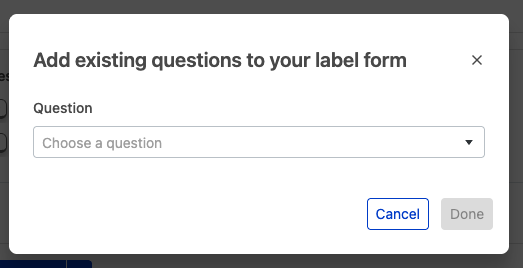
Any questions you have already selected for this task will not be present in this dropdown. Once you have selected the questions you would like to add, click Done to add them to the form.
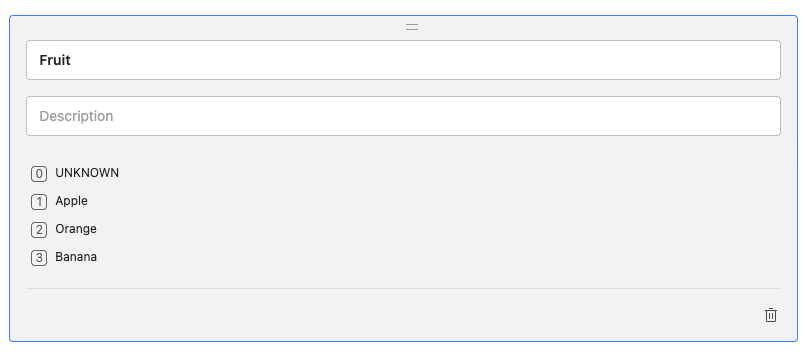
Editing questions
You cannot freely edit the label schemas and other core properties of existing questions, but you can update their names and descriptions. To do so, click anywhere in the existing question card (except for the delete icon) to open the name and description inputs for editing.
Deleting questions
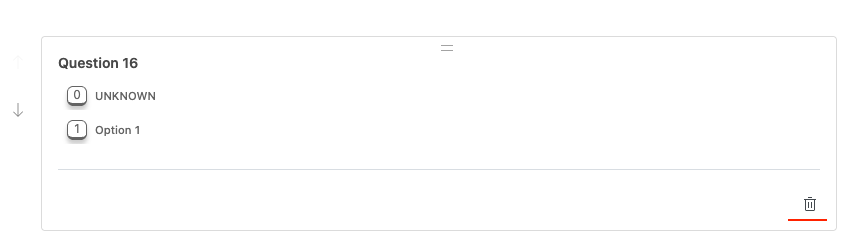
To delete a question from the task, click the trash can icon in the bottom right corner of the question card. This will remove the question from the task.
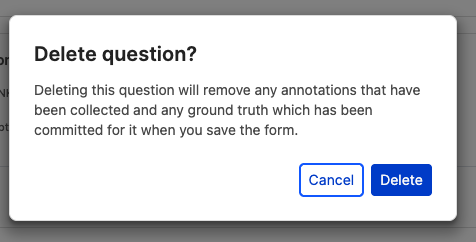
If it is an existing question, it will remain in the system and can be added to other tasks, but any annotations associated with this question for this task will be deleted. You will be warned about this before you confirm the deletion. Even after confirming, the deletion will not be finalized until you click Done on the question form page to save all your changes.
Reordering questions
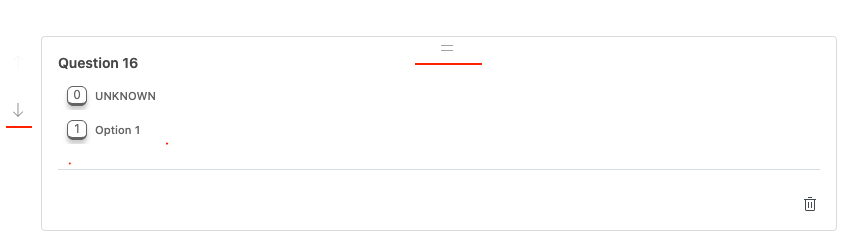
There are two ways to reorder questions in the label form. You can either drag and drop them into the desired order by clicking and holding the drag handle on the top of the question cards, or you can use the up and down arrows on the left hand side of the question cards to move them one position at a time. When you change the order in the question form, the new order will be reflected in the annotation interface for annotators.
Saving changes
Once you are done editing the task question form in any of the ways described above, click Done to save your changes and navigate back to the task configuration page. It is important to note that none of the changes you have made will be persisted until you click Done. At any time, you can also click Cancel to discard all changes and return to the task configuration page.
Managing annotator assignment
The final step to configure an annotation task is to assign annotators. Click Assign (if the task has no annotators) or Edit (if the task already has annotators assigned) to view the selected data points for this task.
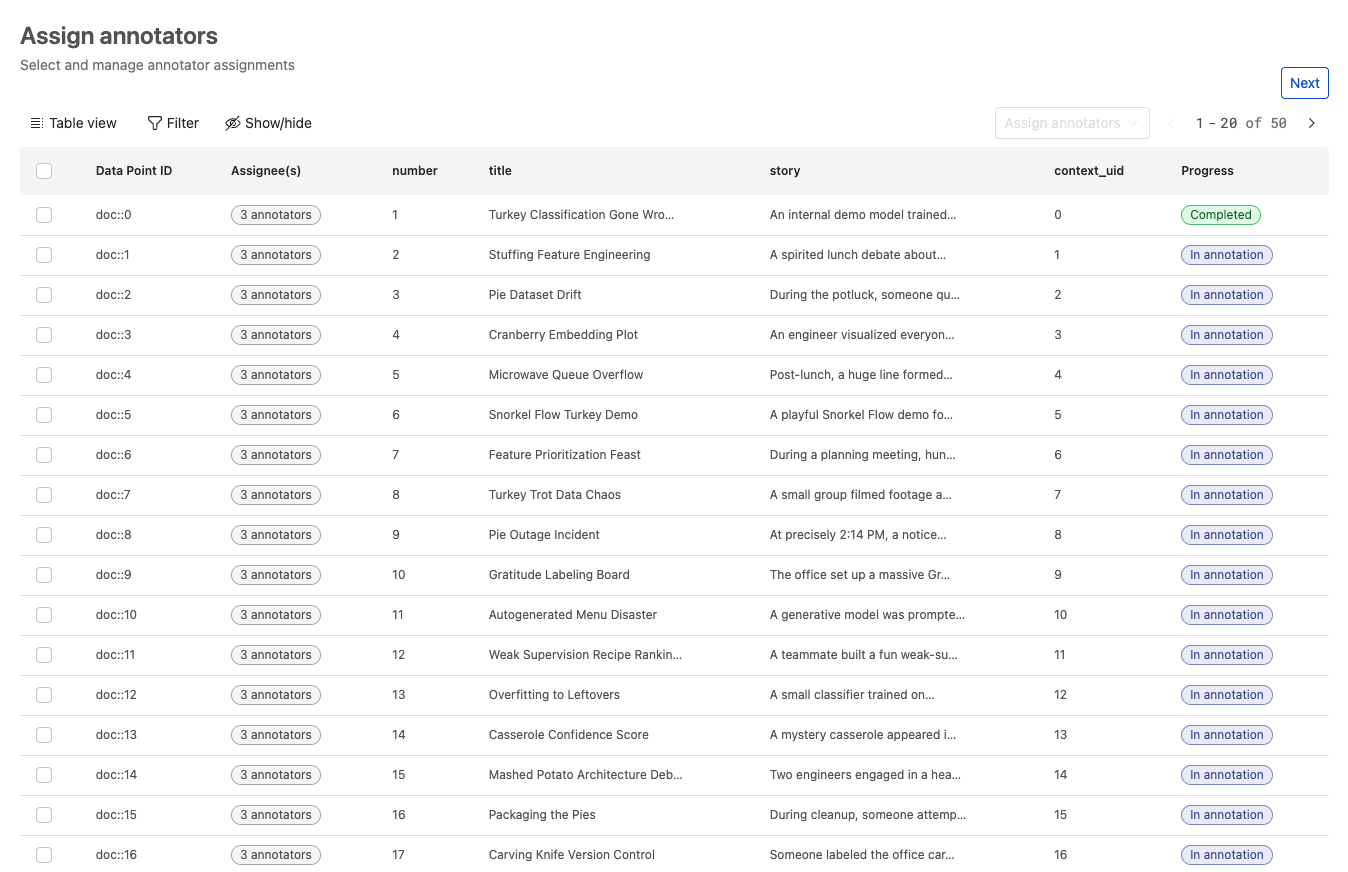
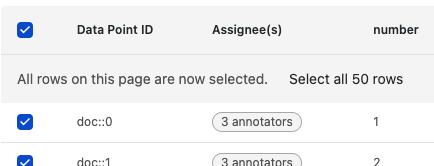
Here you can see the data for each data point as well as a column listing the assignees (if there is one assignee it will be displayed directly, if there are multiple, it will display the number of assignees and hovering over it will reveal the names of the assignees in a tooltip), and a column listing the status of the data point.
At the top right of the table you will see a button to Assign annotators. Until you select one or more data points, this button will be disabled.
To add or remove annotators to data points, you must first select them with the checkboxes on the left hand side of the table.
You can also select the checkbox in the table header, which will select all data points in the current list, and which will present you with the option to select all data points in the dataset.
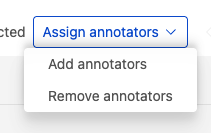
Once you have selected some data points, you will see in the top right of the table a count of how many you have selected, and the button to assign annotators will be enabled. Clicking it will open up a menu to either add or remove annotators.
If you select Add annotators, you will be presented with a list of users available in your current workspace to assign to data points. When you click the Assign button, all users that you have selected will be assigned to the data points you had selected when you clicked the Add annotators button.
This button is initially disabled until you select at least one user.
You are also presented with two methods of assignment:
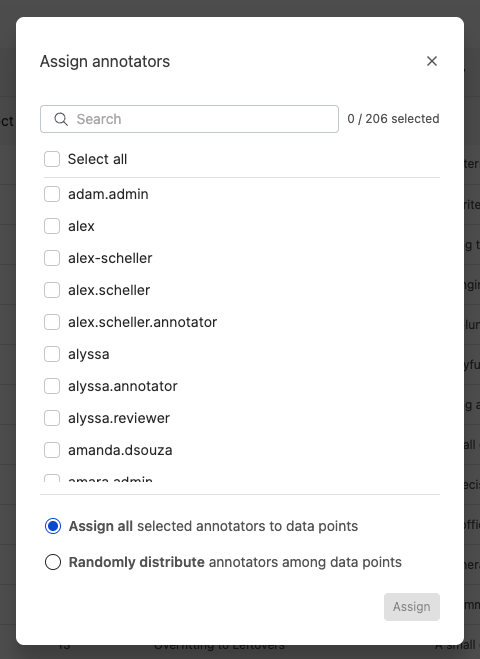
- Assign all selected annotators to data points
If you select this option, every annotator you have selected will be assigned to every data point you had selected when you clicked Add annotators.
- Randomly distribute annotators among data points
If you select this option, an input will appear where you can enter how many annotators you would like assigned per data point. This number must be no fewer than one and no greater than the number of users you have selected. Once you have entered a valid number, the Assign button will be enabled, and pressing it will ensure that each data point is randomly assigned the number of annotators that you entered.
If you select Remove annotators, you will be presented with a list of annotators each currently assigned to at least one of the data points you have selected. Choose which annotators you would like to remove from the selected data points, then click Remove.
Once you have clicked Assign in the assignment form, or Remove in the removal form, you will be brought back to the table view of data points, where you can see your changes reflected.
A given data point will have the Needs assignees status until you have assigned the minimum number of required annotators per data point for the task. Once you have done this, it will automatically move to In annotation, and if you remove annotators from a data point such that it dips below the minimum, it will automatically move back to Needs assignees.
Clicking Next will take you back to the task configuration page.