Create prompt development workflow
Prompt development, sometimes called prompt engineering, is the process of designing and refining inputs to guide AI models, such as large language models (LLMs), to produce high-quality, task-specific outputs. A prompt development workflow begins with uploading a text dataset, selecting an LLM, and crafting system and/or user prompts to tailor the model's response. With prompt versioning, users can iterate on their designs, enabling continuous improvement of AI-driven results.
Prerequisite
Enable required models via the Foundation Model Suite to set up and manage external models. Learn more about using external models.
Create a prompt development workflow
Upload input dataset
- Navigate to the Datasets page.
- Select Upload new dataset.
- Select the train split when uploading.
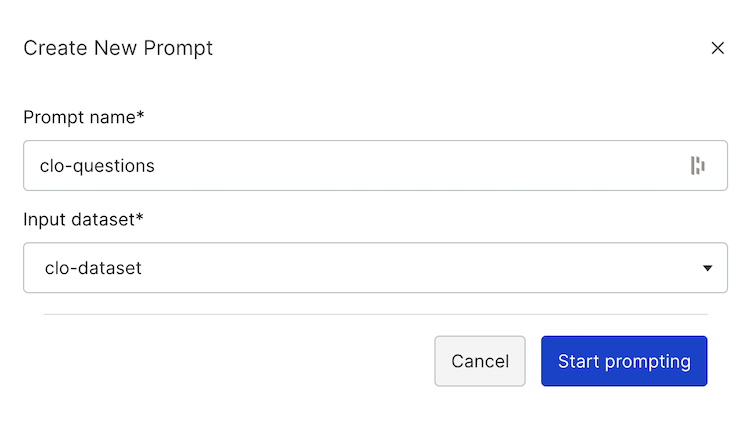
Create a prompt workflow
-
Go to the Prompts page.
-
Select Create Prompt.
-
Name your workflow.
-
Associate it with an input dataset.
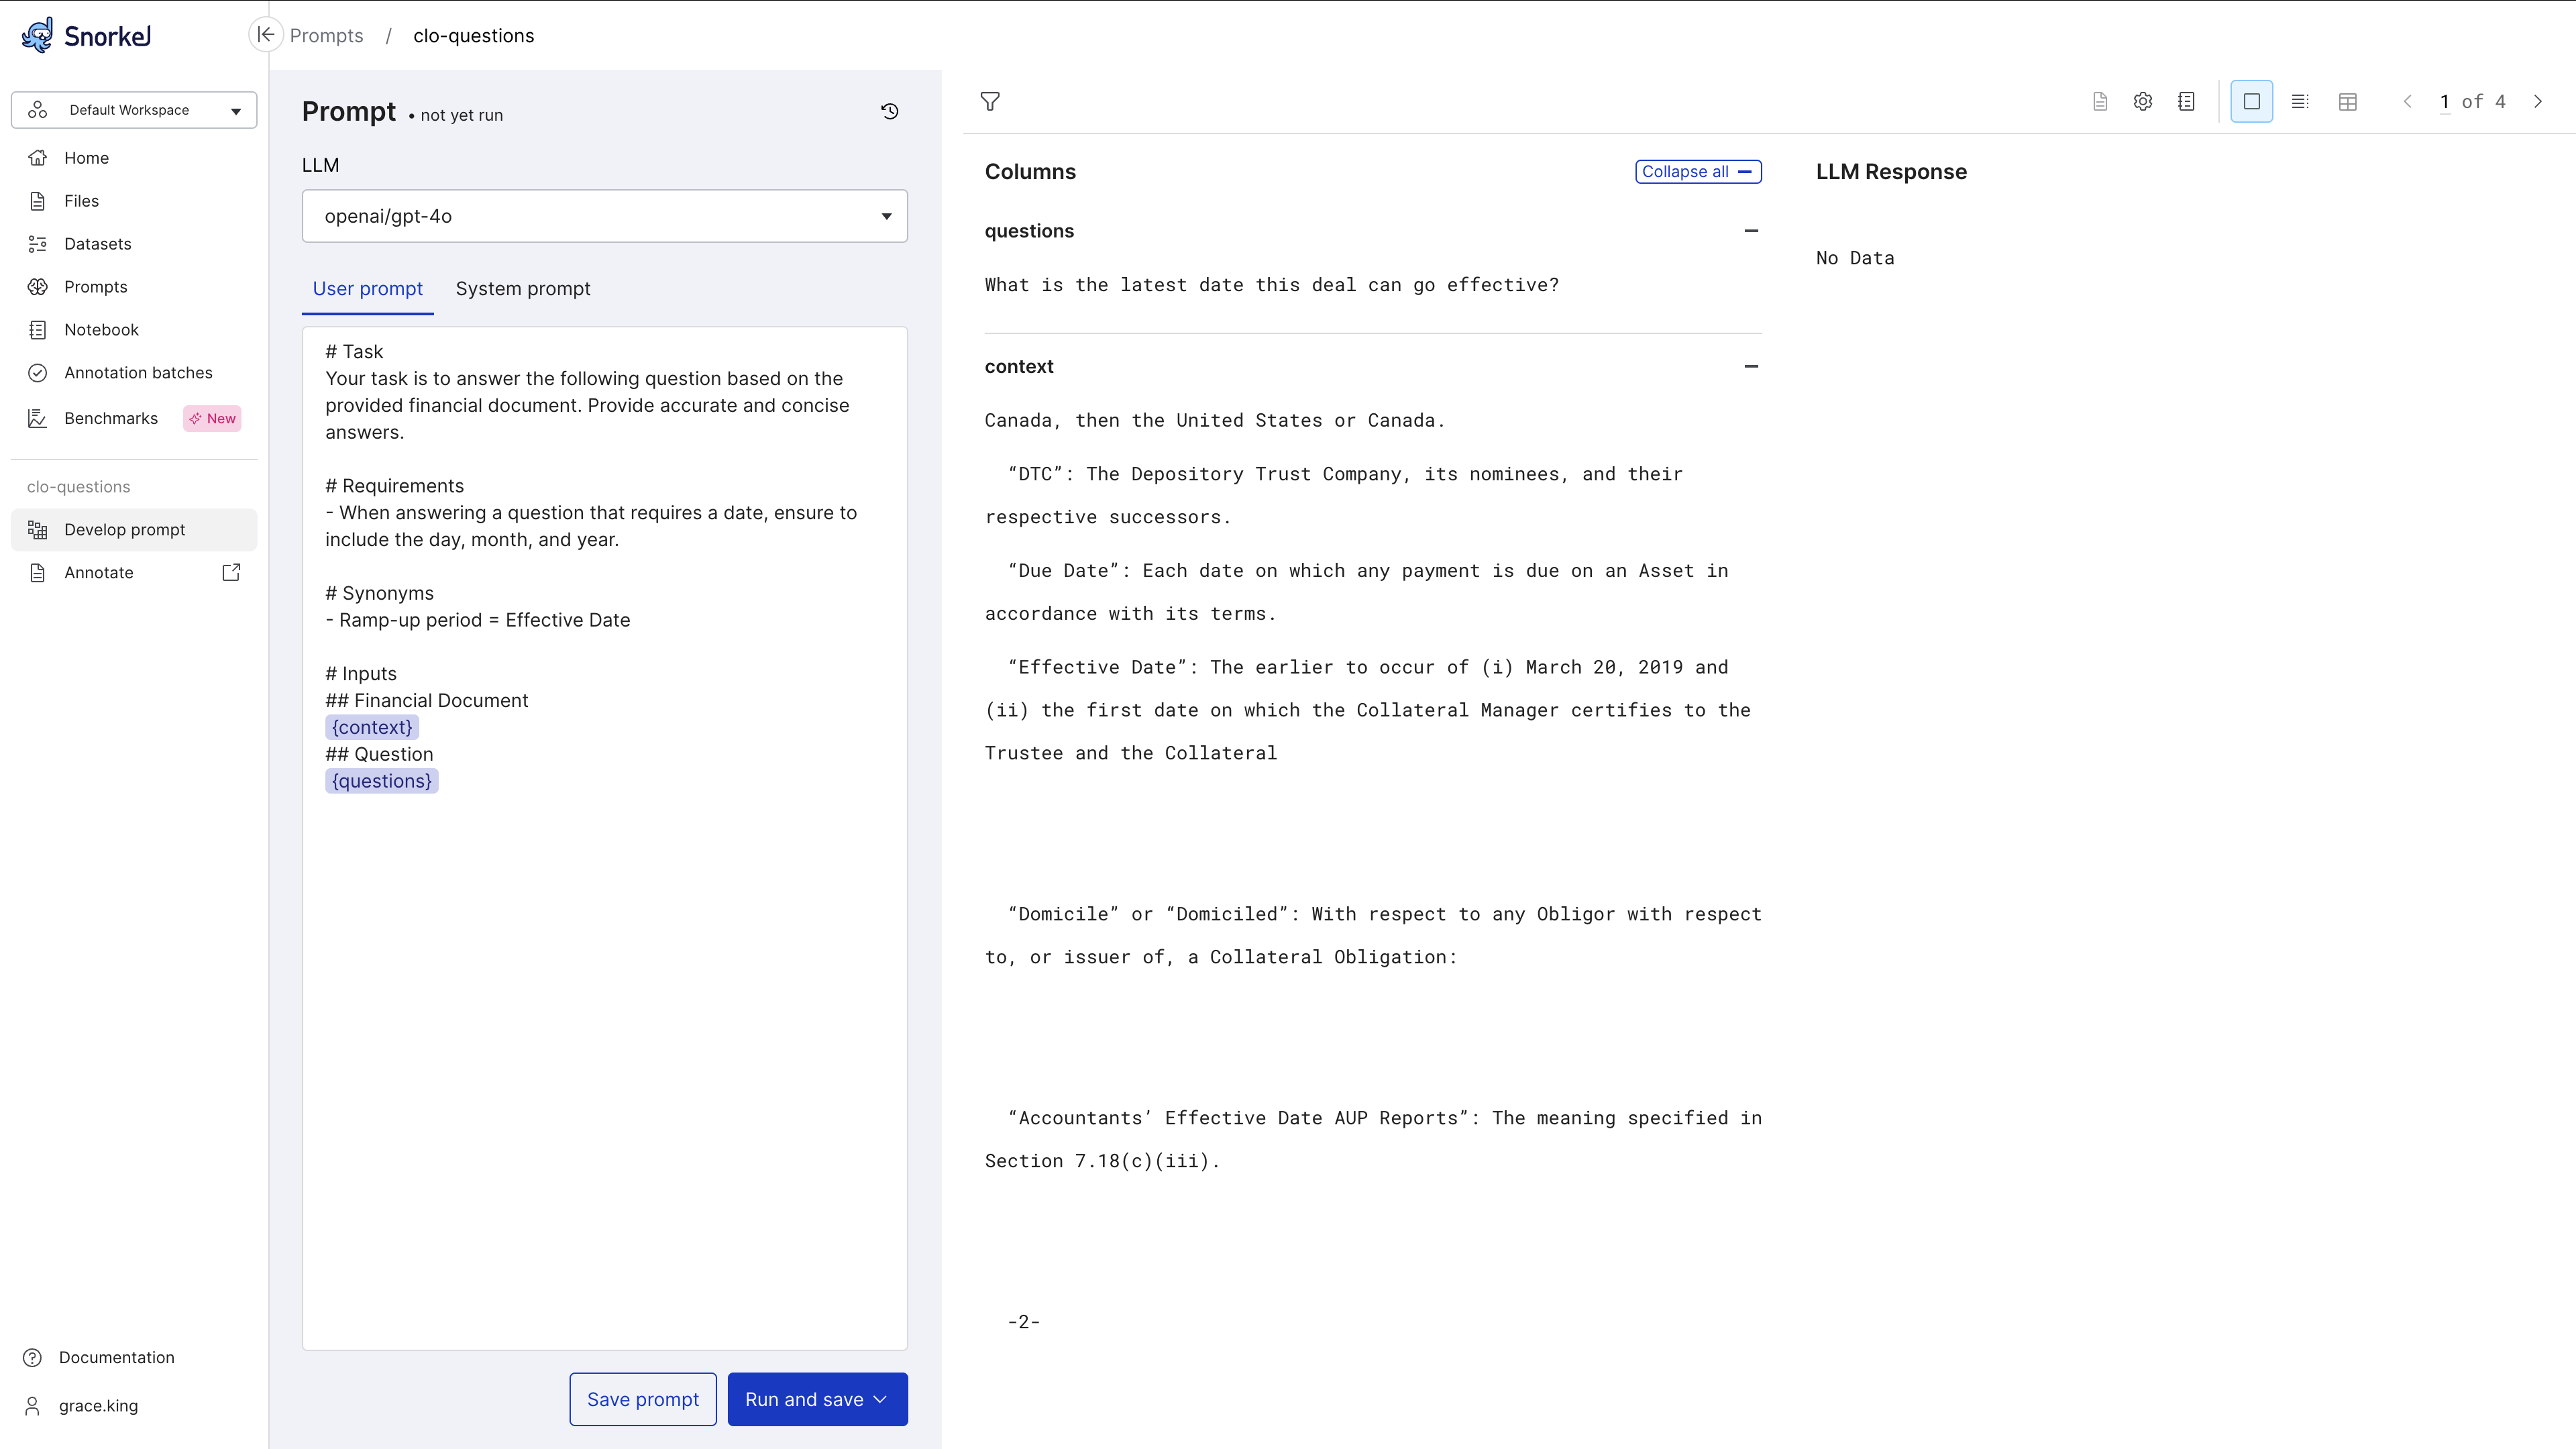
You will see the initial prompt workflow page:
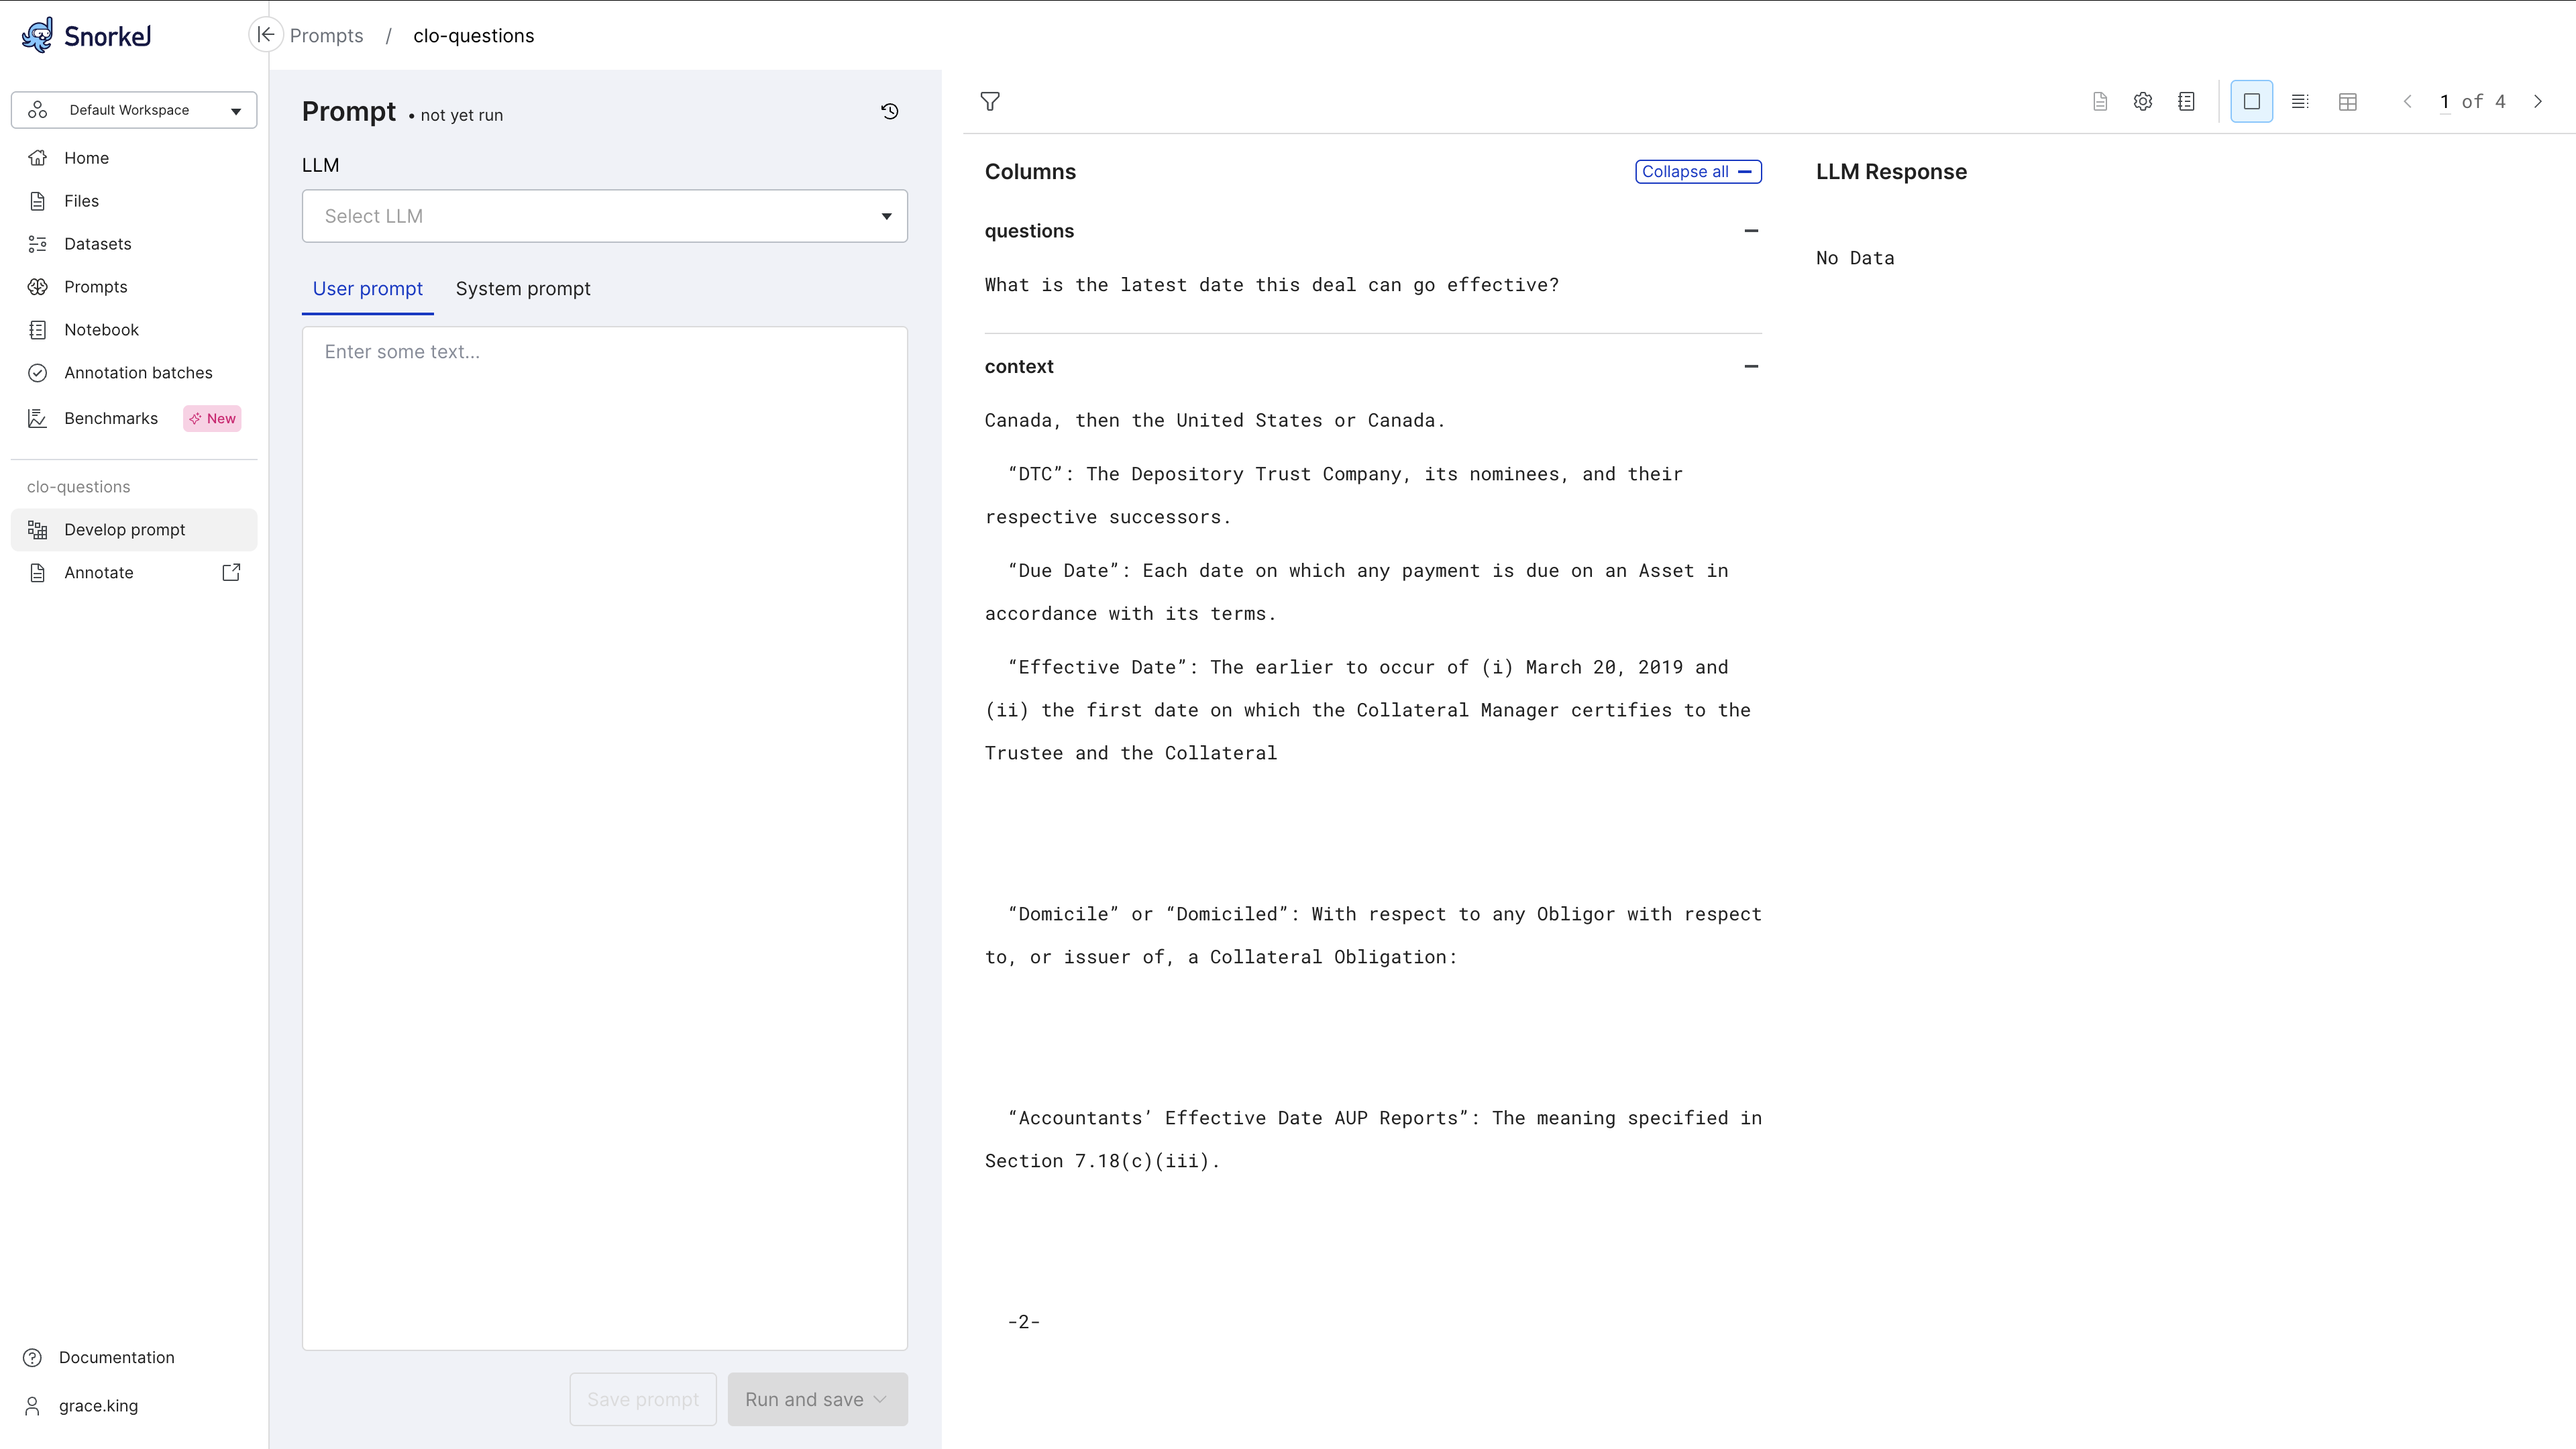
Select model
- Choose an LLM from the dropdown menu.
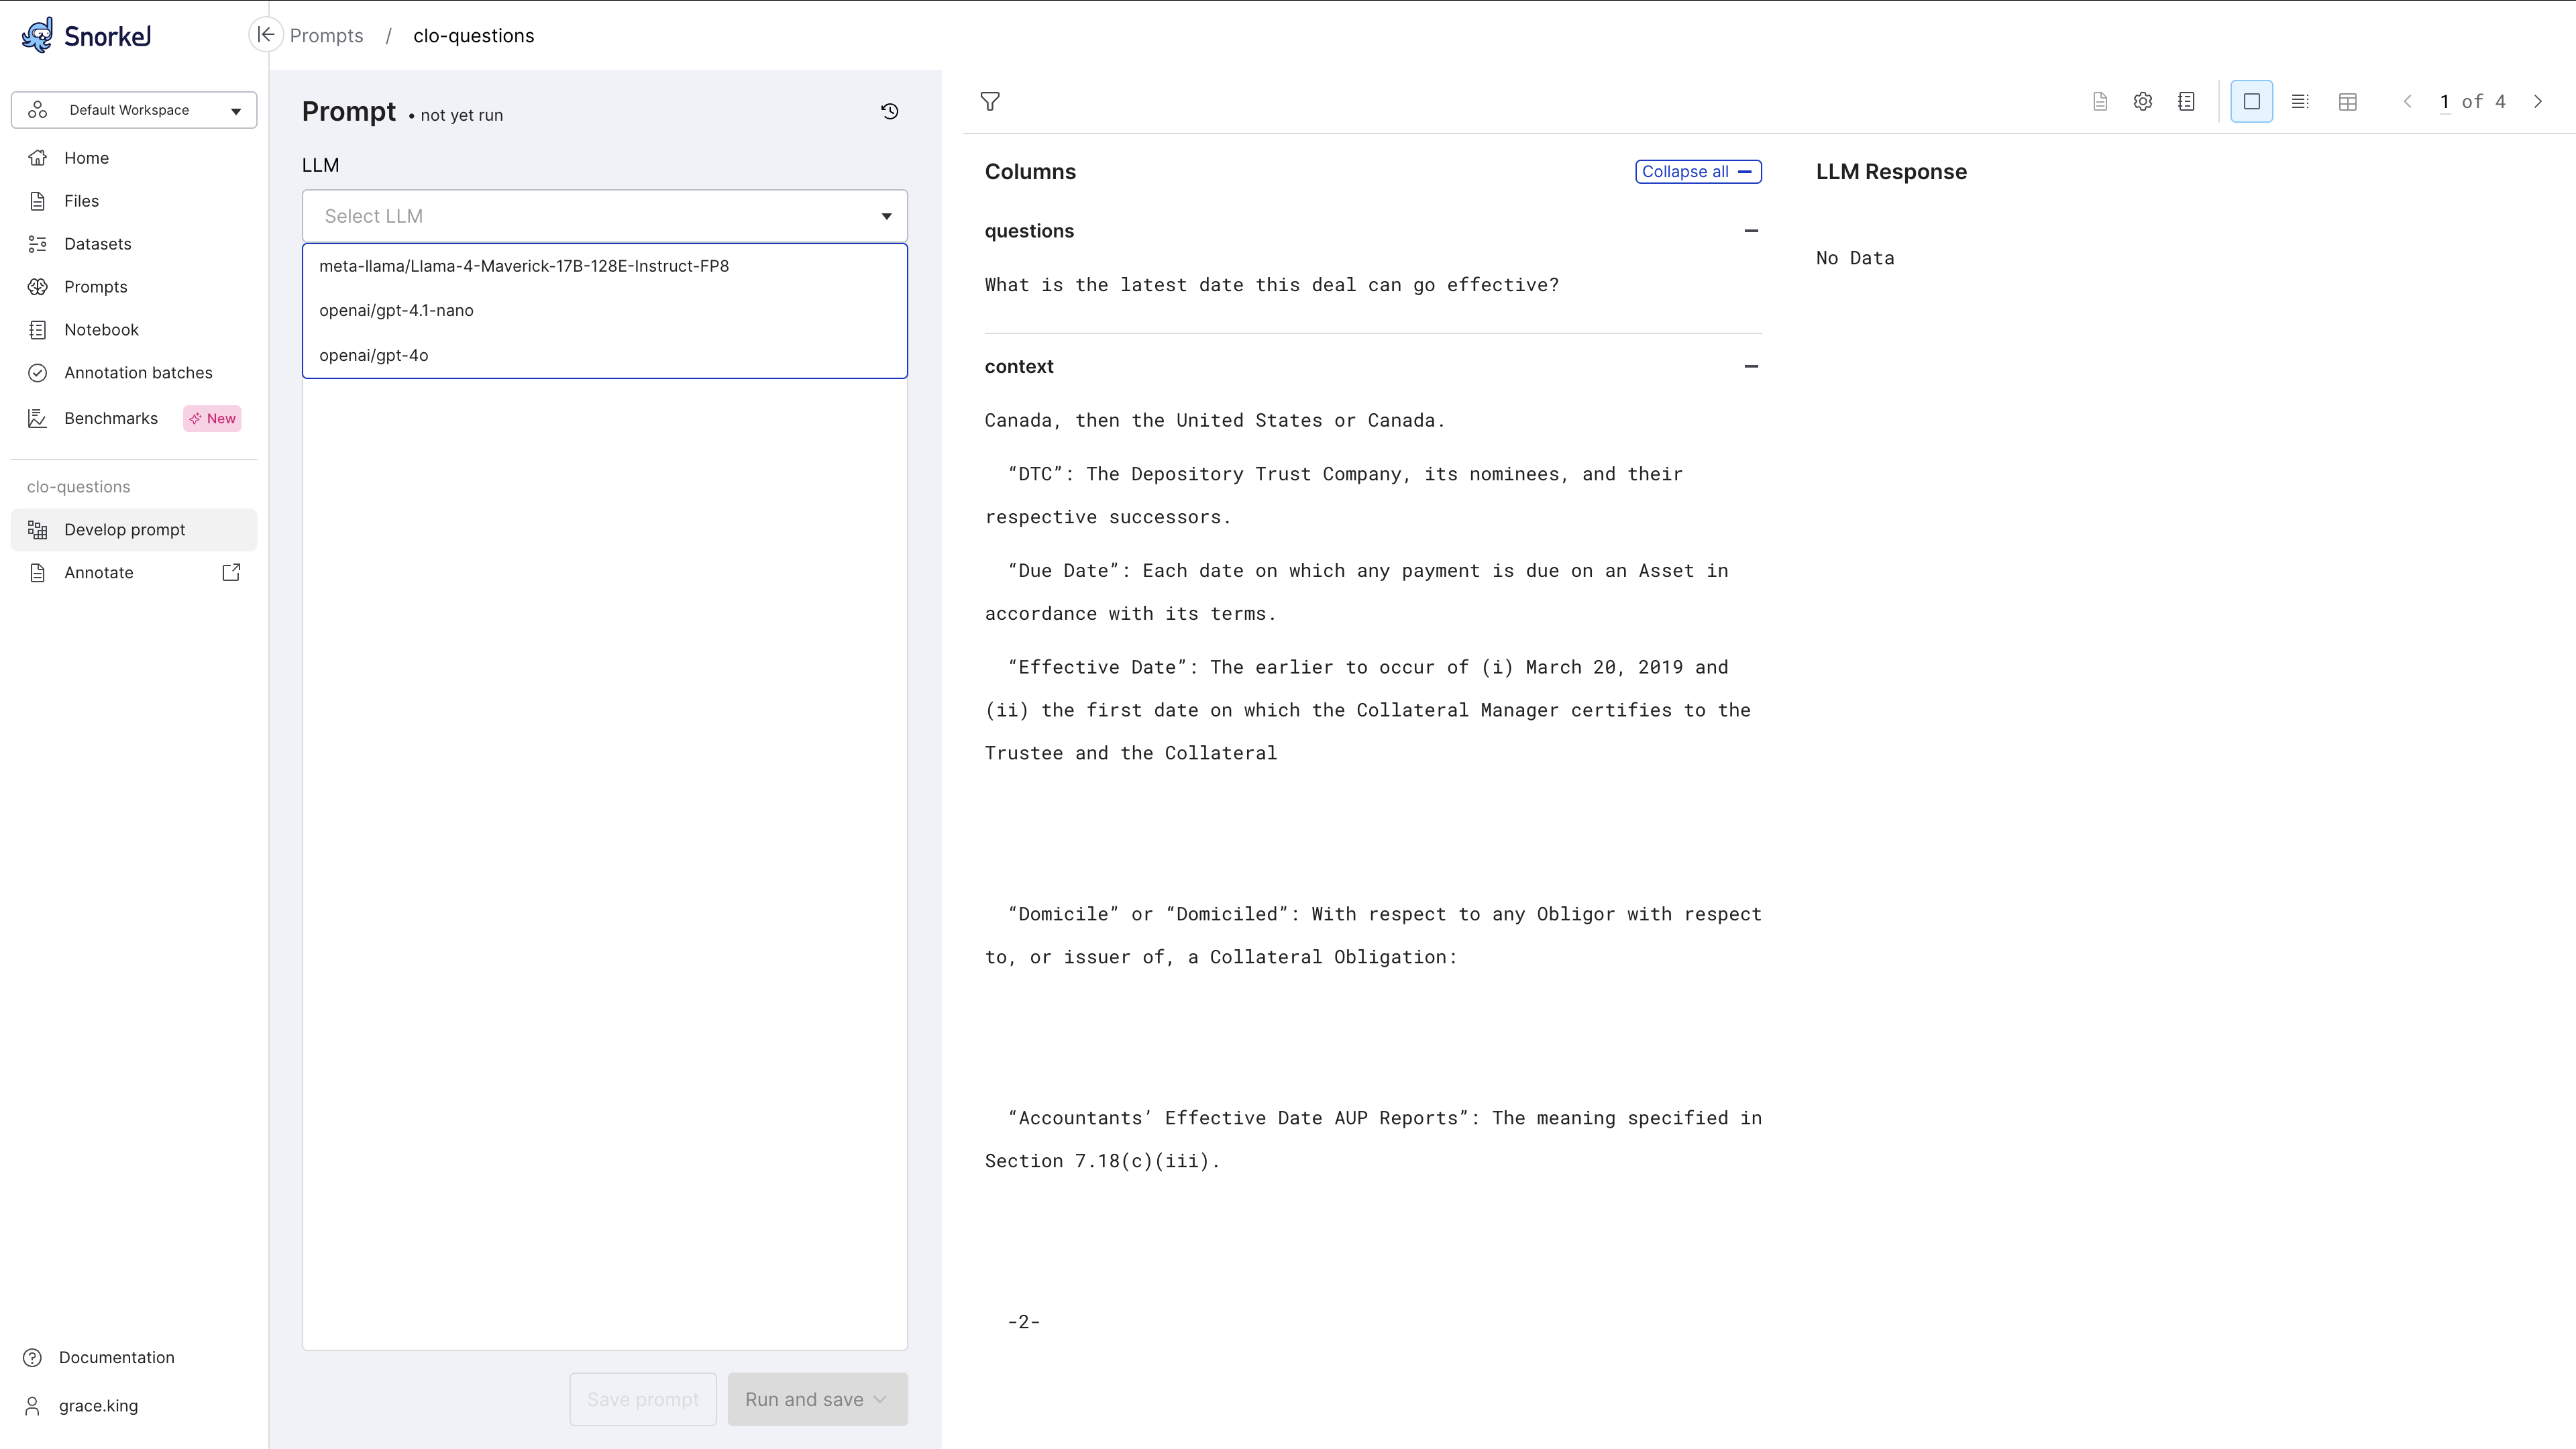
- Switch models as needed to optimize results.
Enter and run prompts
- Configure prompts, using system prompts, user prompts, or both as needed. Toggle between the system and user prompts tabs to make changes to each.
For more about prompts, see Prompt development overview.
- Run your prompt on your entire dataset or a subset of your dataset.
- Review responses for each input in single data point or table view.
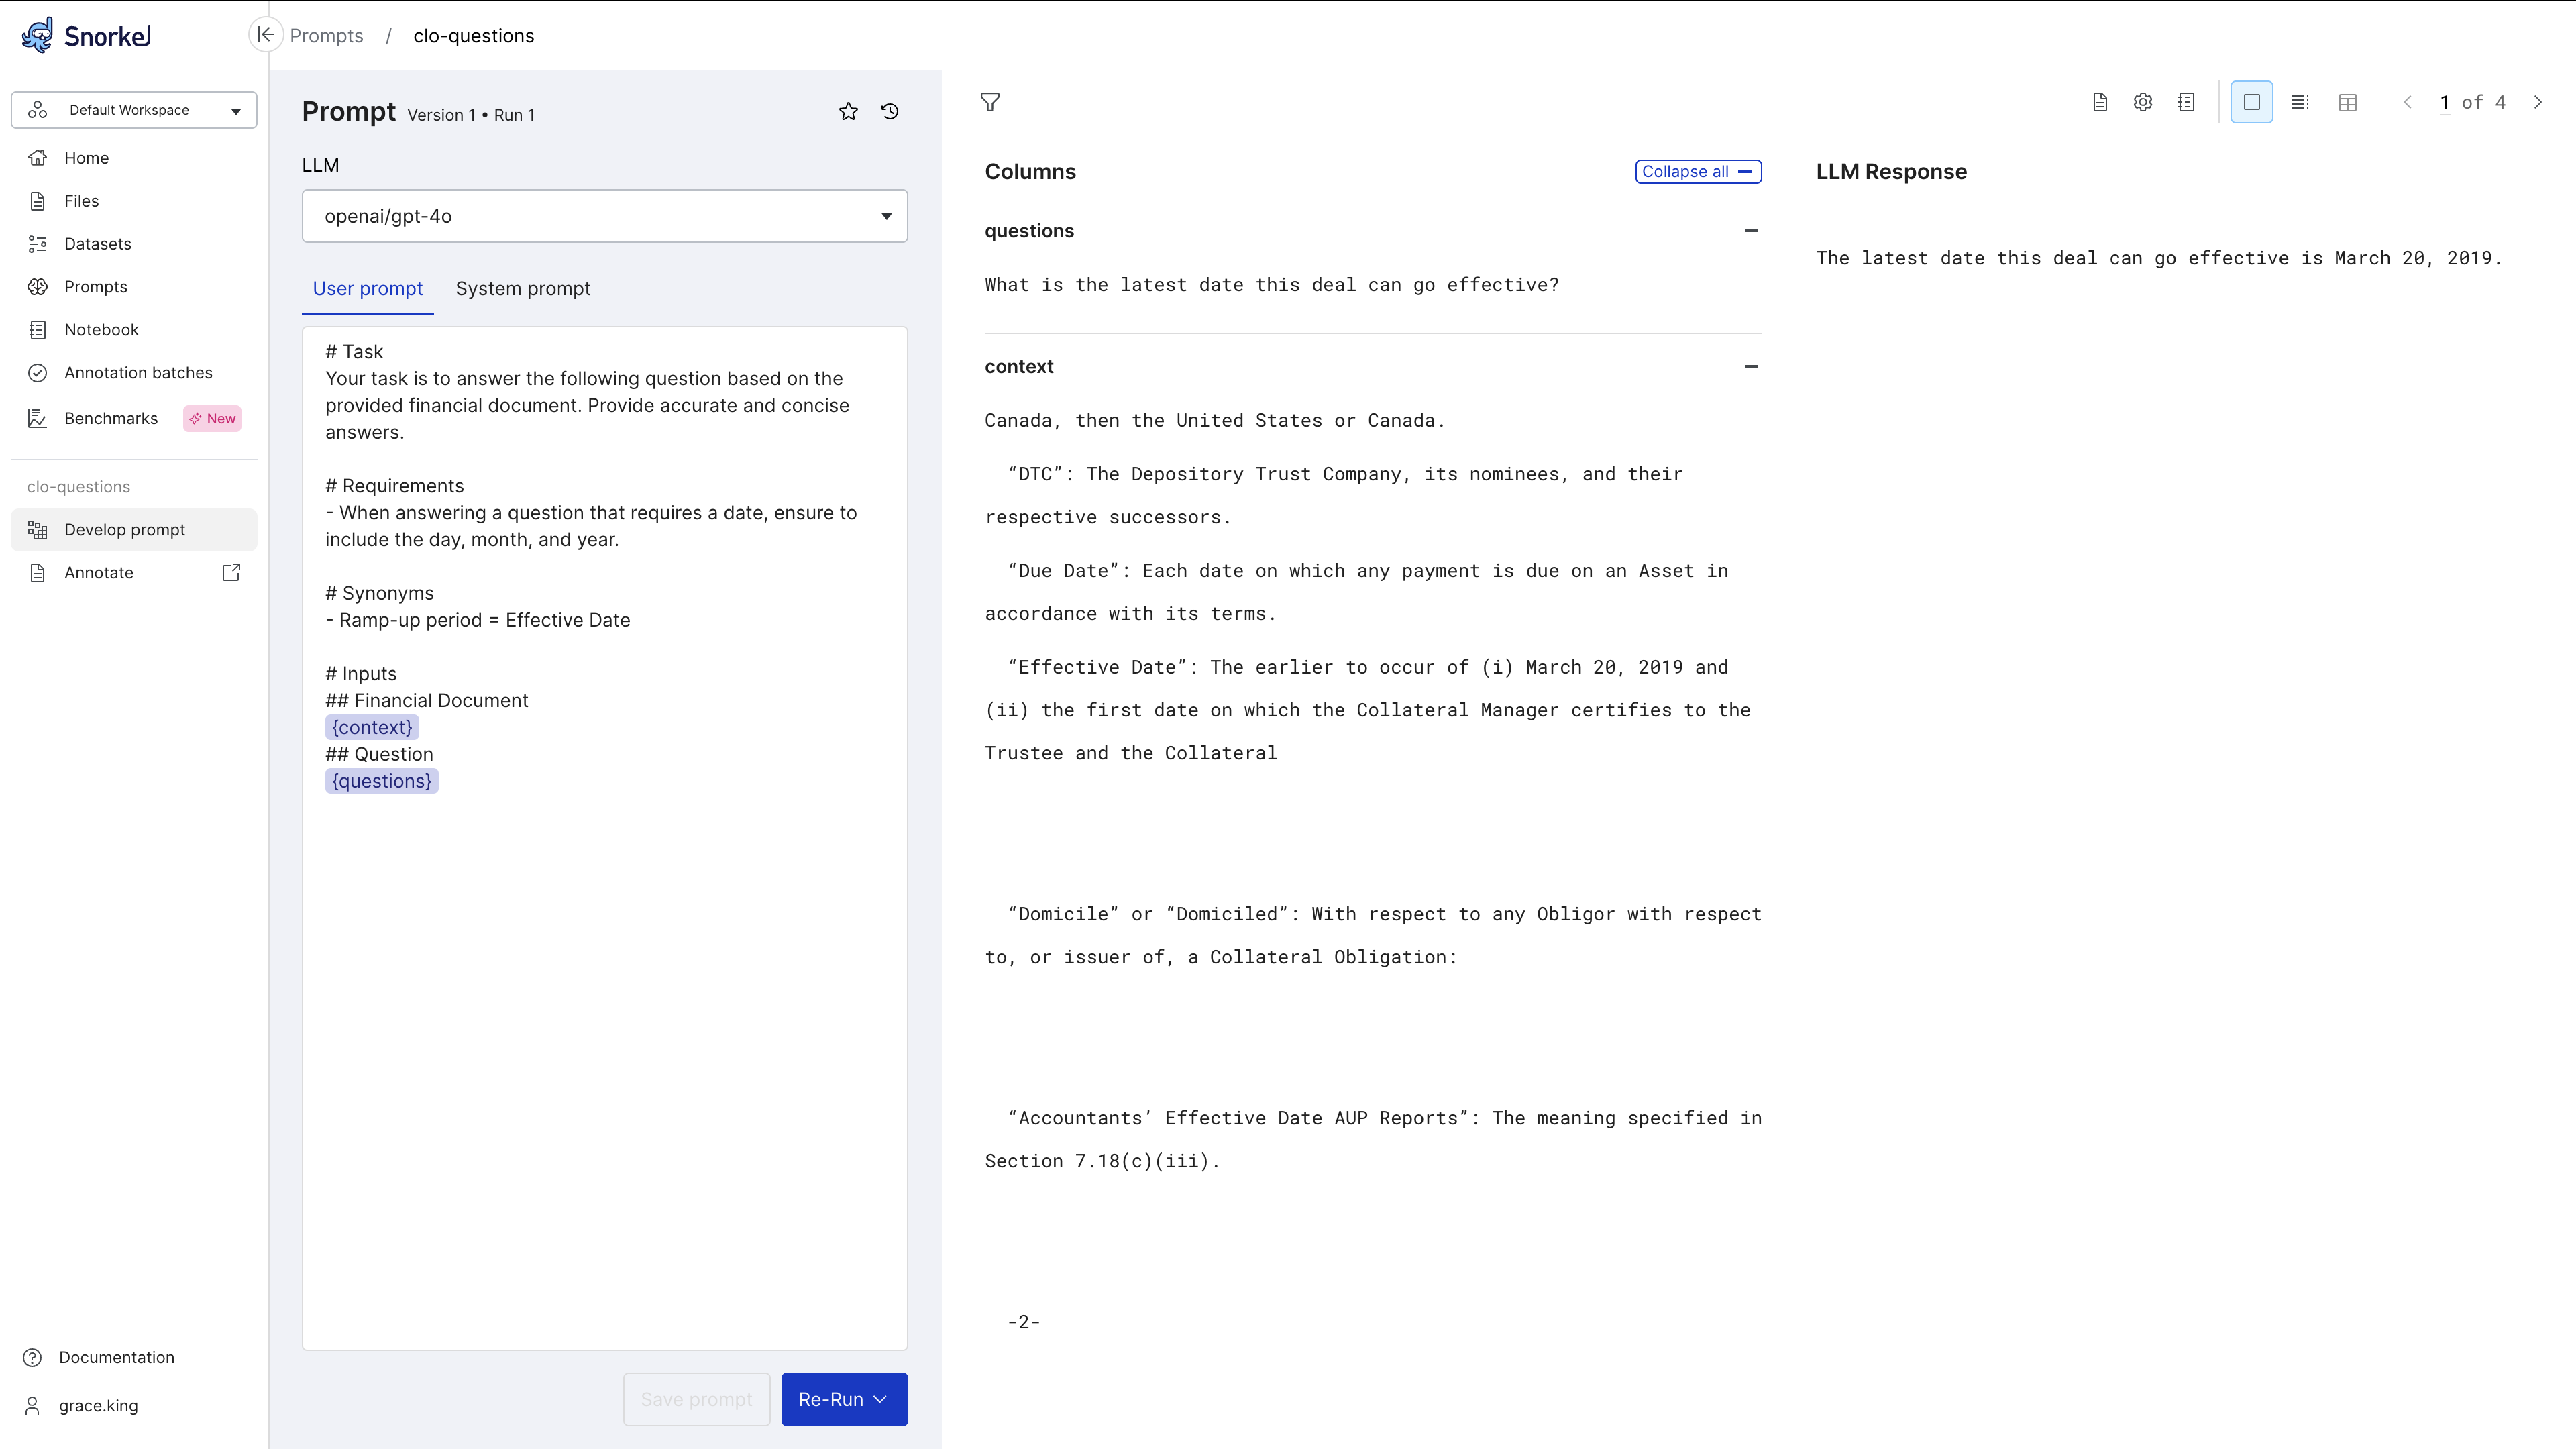
- To improve responses, iterate your prompts or LLM settings and re-run workflows.
Manage prompt versions
Select the time back icon ( )
to access version history and compare prompt versions, runs, and responses over time.
)
to access version history and compare prompt versions, runs, and responses over time.
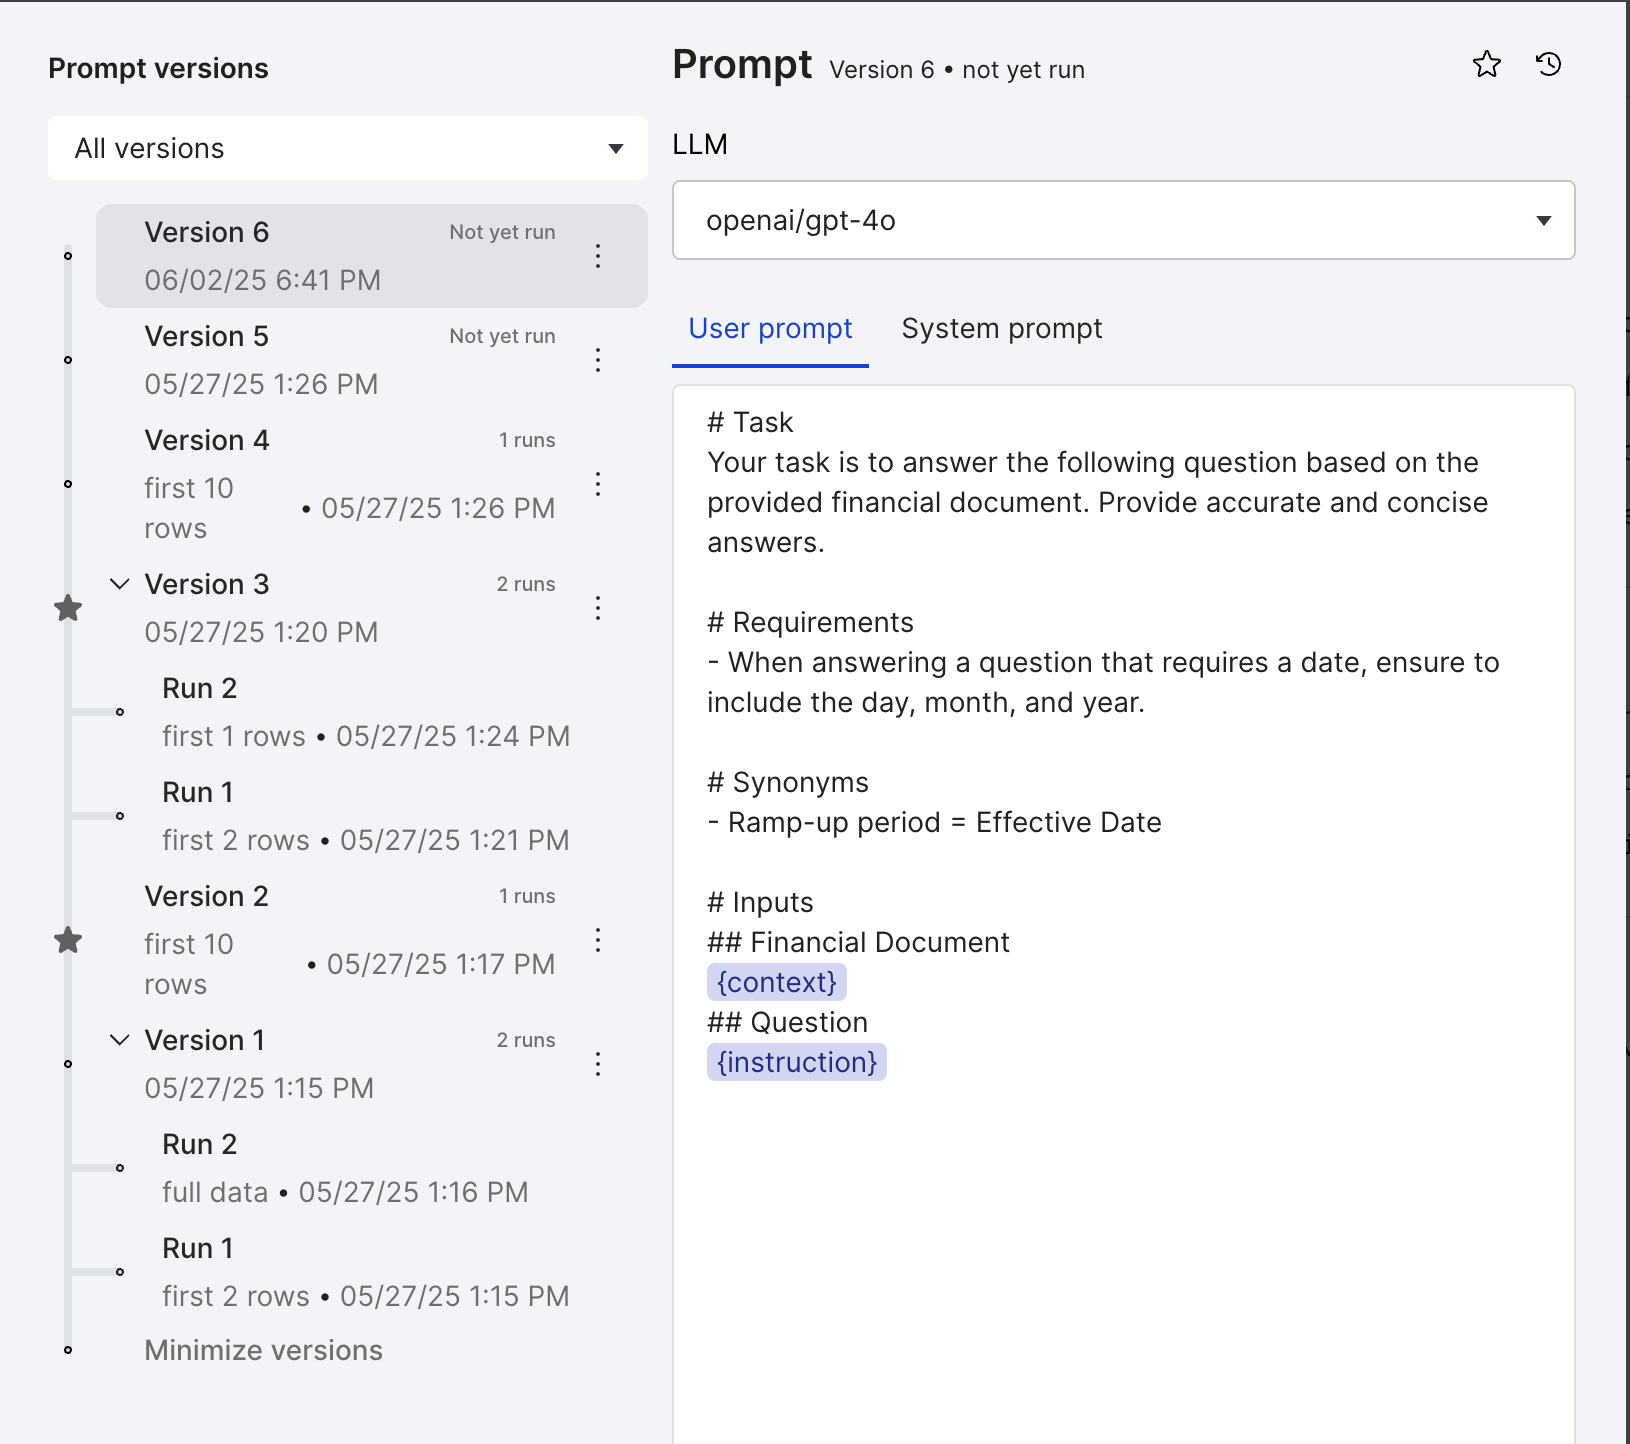
Favorite and rename prompt versions
Use the prompt versioning feature to add stars and custom names for prompt versions to help you compare prompts and responses over time.

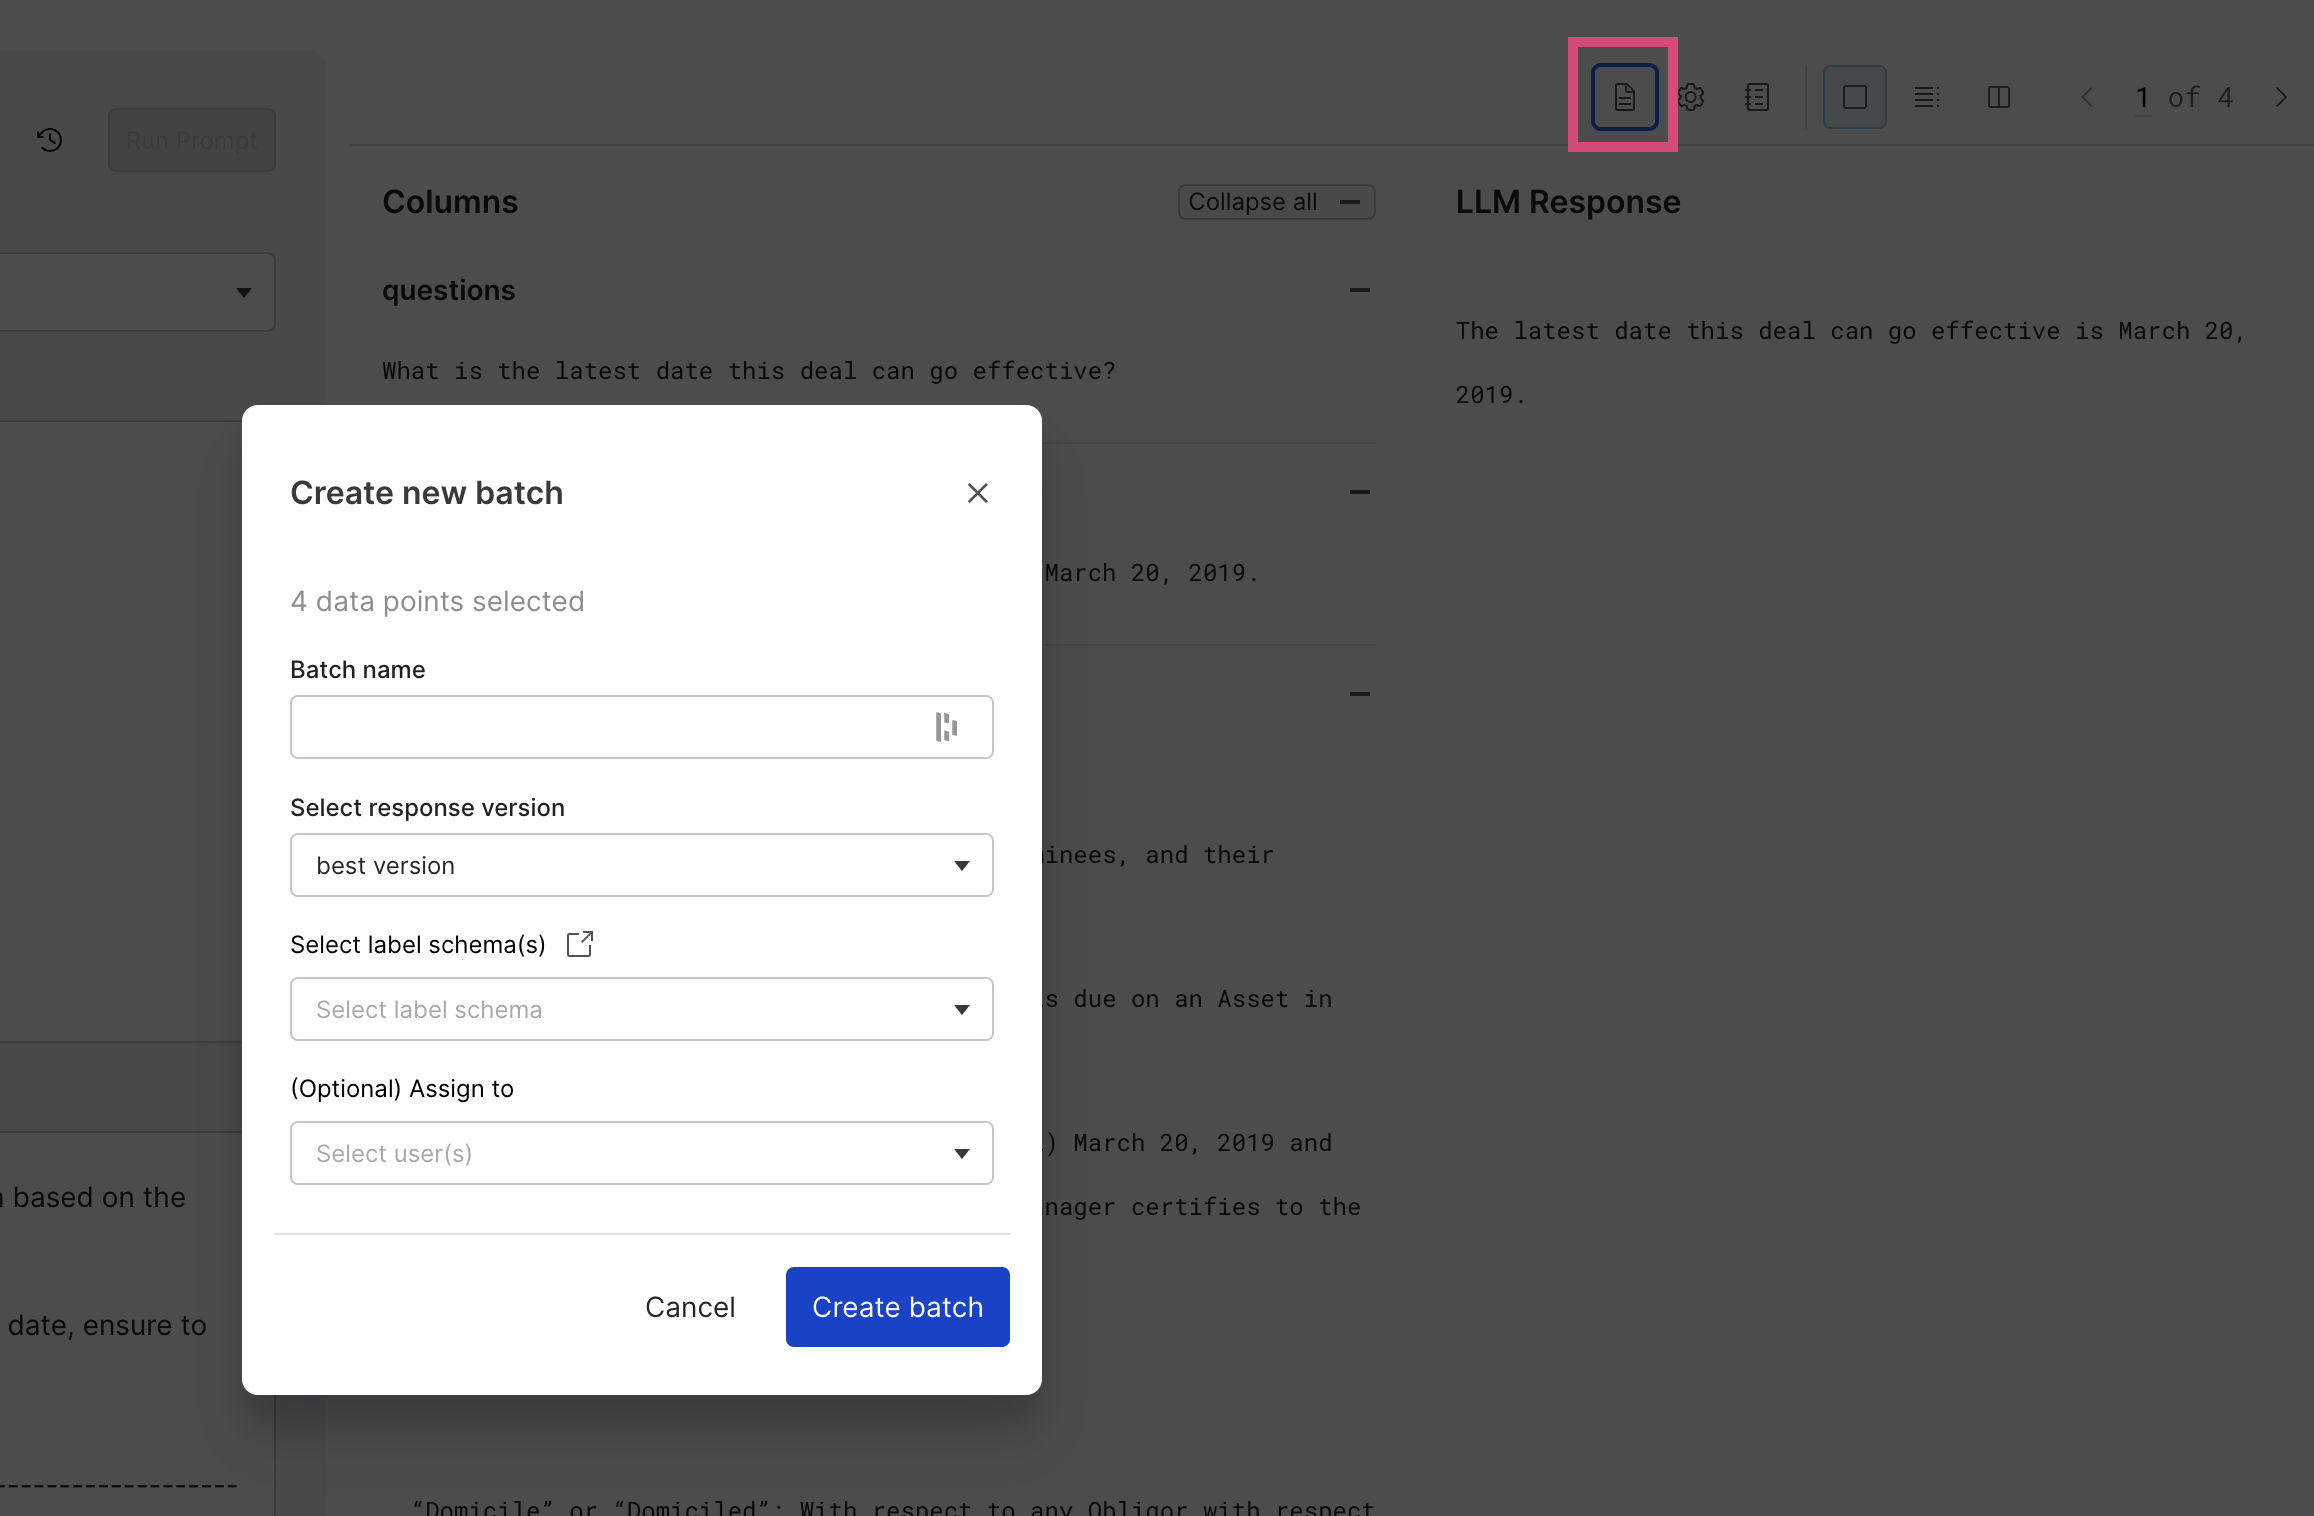
Incorporate SME feedback to improve prompts
-
Select the Create new batch icon to send a batch of prompts and responses to SMEs for annotation.
-
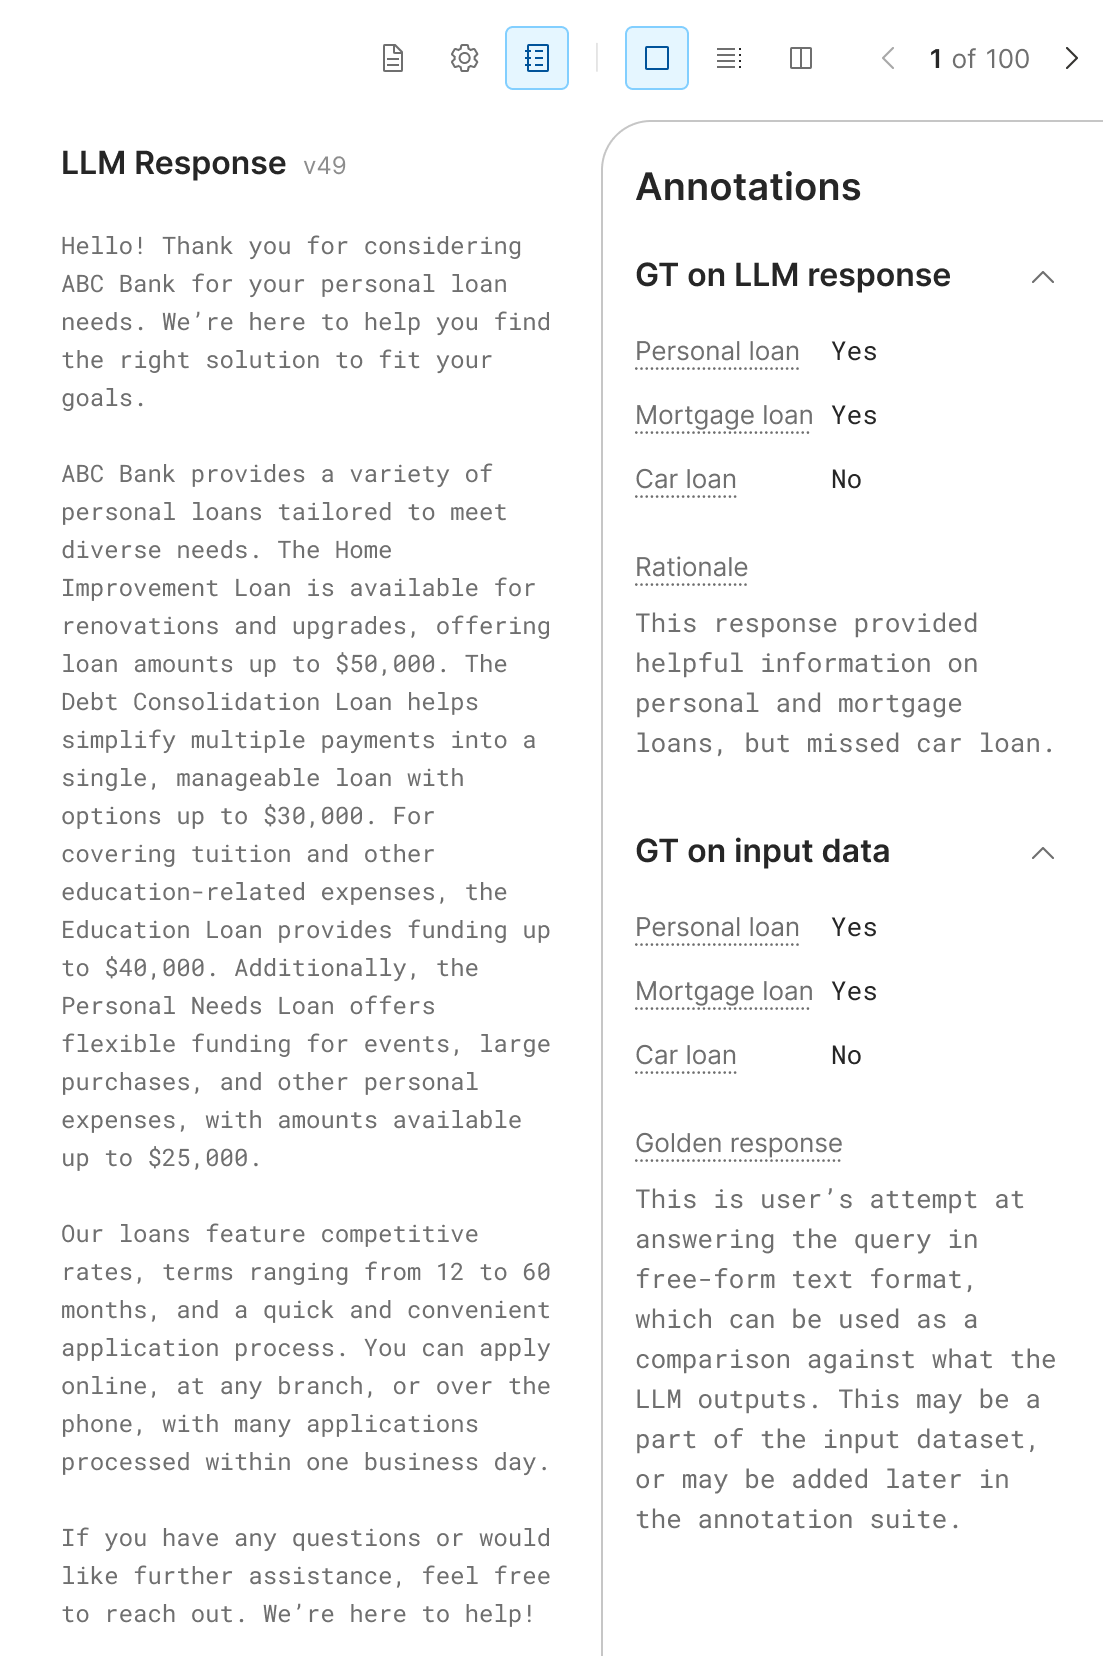
View ground truth provided by SMEs directly from the Develop prompt page to improve on prompts. The SME feedback is displayed next to the LLM Response. You can view ground truth provided on the input dataset and the LLM responses.
Filter data
Select the
funnel icon ( )
to filter your input data, LLM responses, and annotations by input dataset ground truth, by slice, and by field value.
)
to filter your input data, LLM responses, and annotations by input dataset ground truth, by slice, and by field value.

Run prompt on filtered subset of data
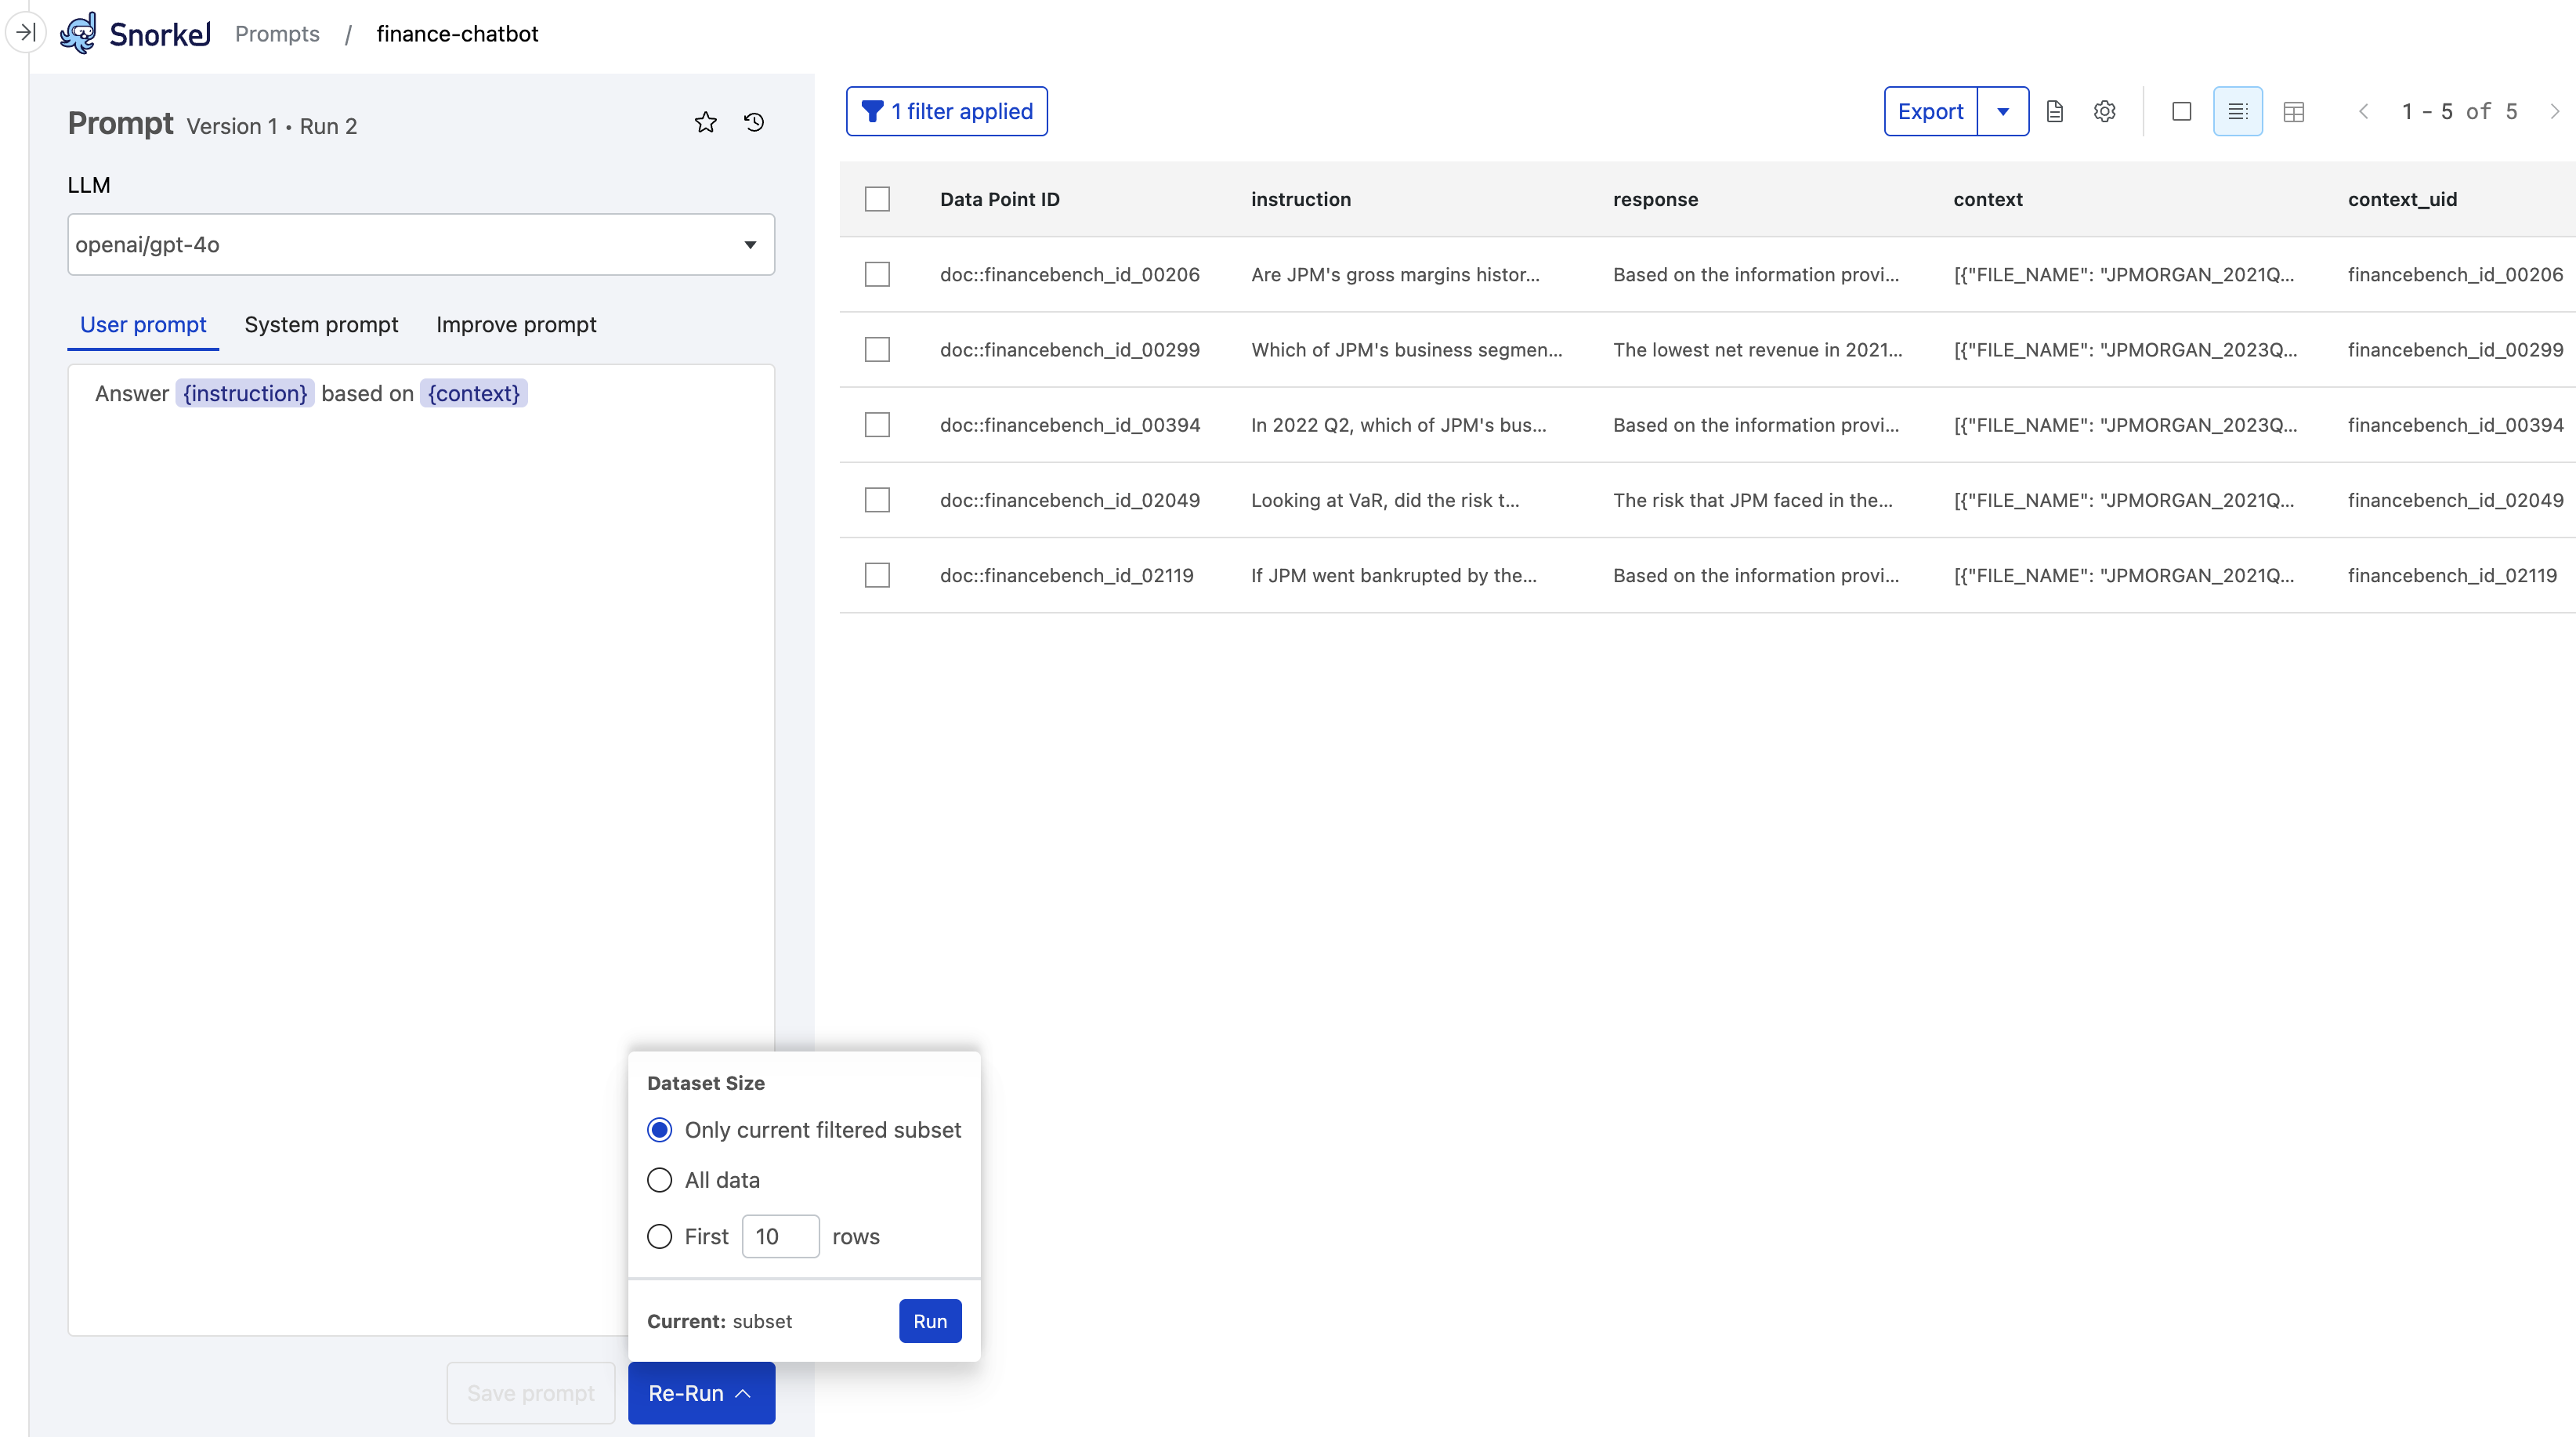
You can run your prompt on a filtered subset of your data.
-
Select the funnel icon (
). -
Select the filter you want to apply.
-
Once the filter is applied, select Run (or Re-Run).
-
Select Only current filtered subset before starting the run.
Export prompt output and template
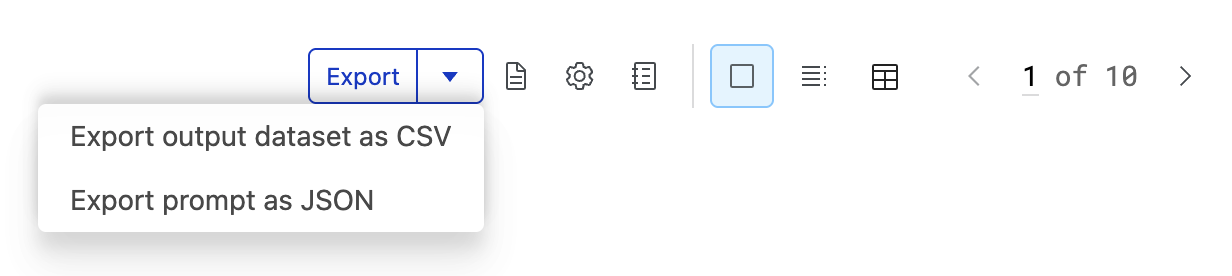
For your currently selected prompt version and run, select Export.
- Choose Export output dataset as CSV to export data from the current prompt run, including inputs, model information, and the LLM's response, as a CSV file. Use this option if you care about the response for this particular run.
- Choose Export prompt as JSON to export a prompt template containing the model, system and evaluation prompts, and metadata for a prompt version, as a JSON file. Use this option if you want to reuse this prompt with all the same settings.
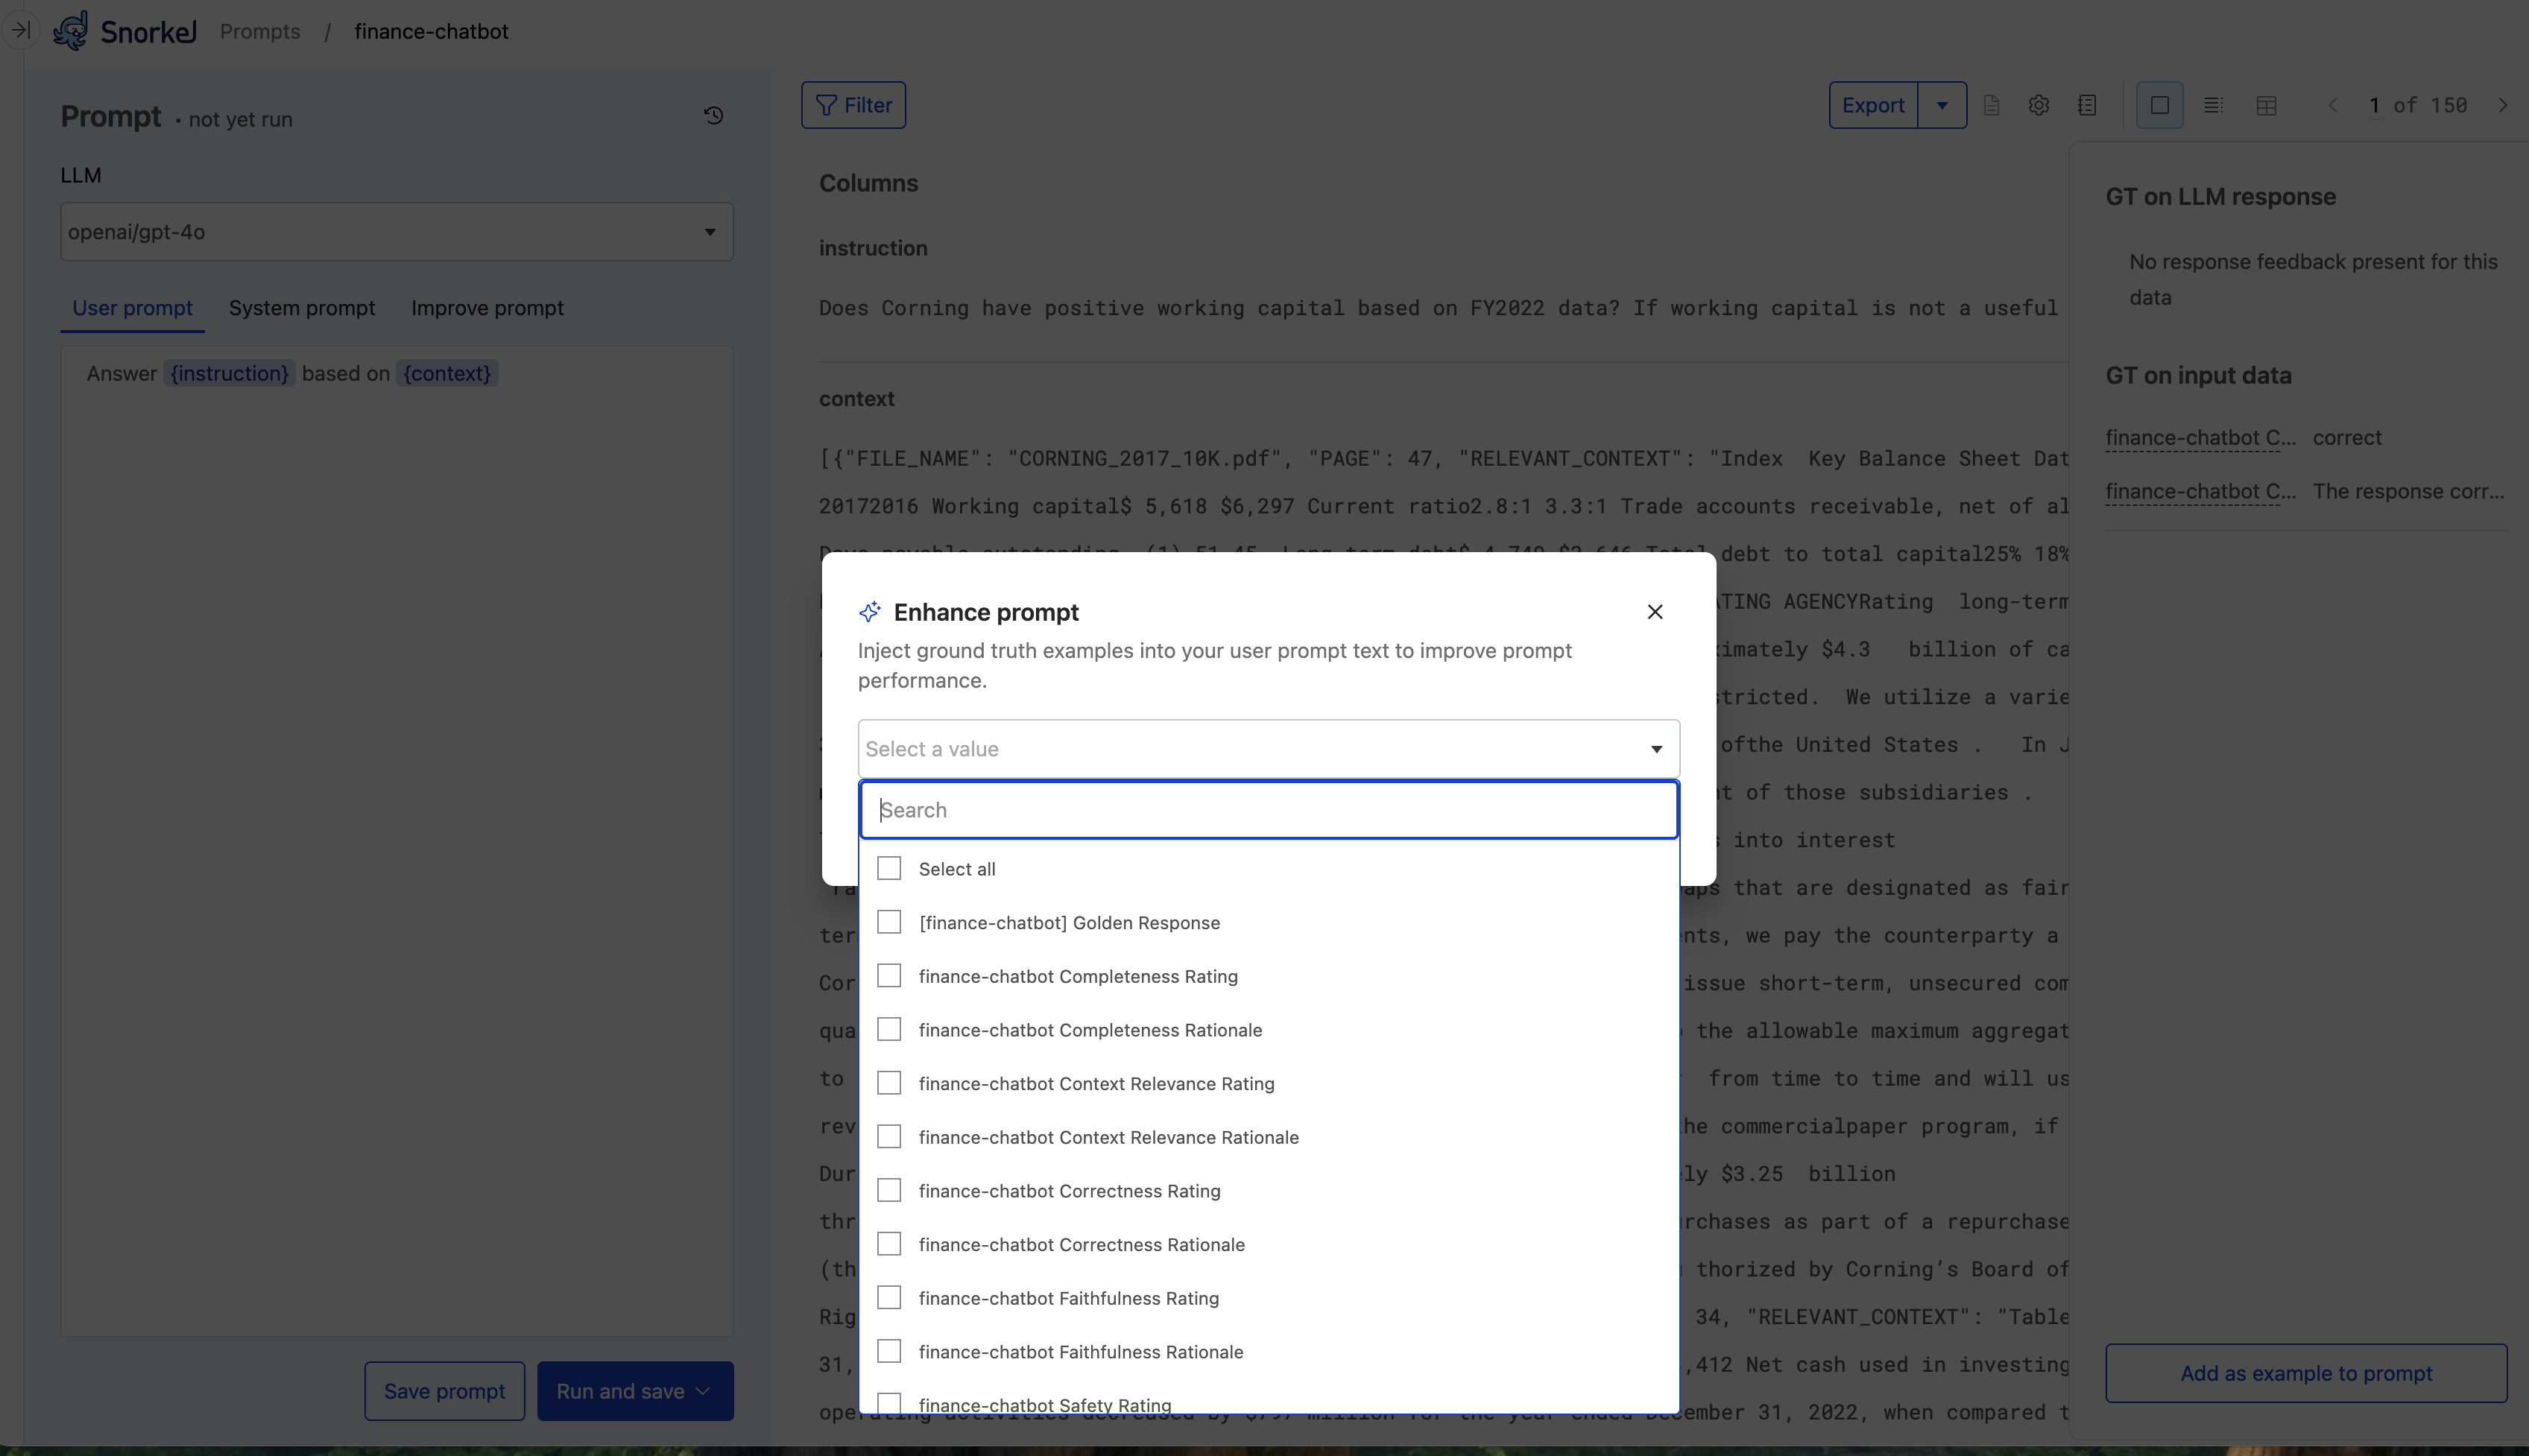
Enhance prompt with ground truth
Add ground truth annotations to your prompt to quickly transfer good examples from your SMEs to the LLM. Adding examples of expected output to the prompt context is called one-shot or few-shot learning. This is a well-known method to help the LLM better understand the expected output.
Snorkel lets you add examples that your annotators have already completed to the prompt with the click of a button. Each datapoint added as an example includes the input columns, the LLM's reponse from the current run, and the ground truth.
Add one example at a time
Follow these steps to add examples as you review each datapoint:
-
From the Prompts page, select the prompt where you want to add ground truth.
-
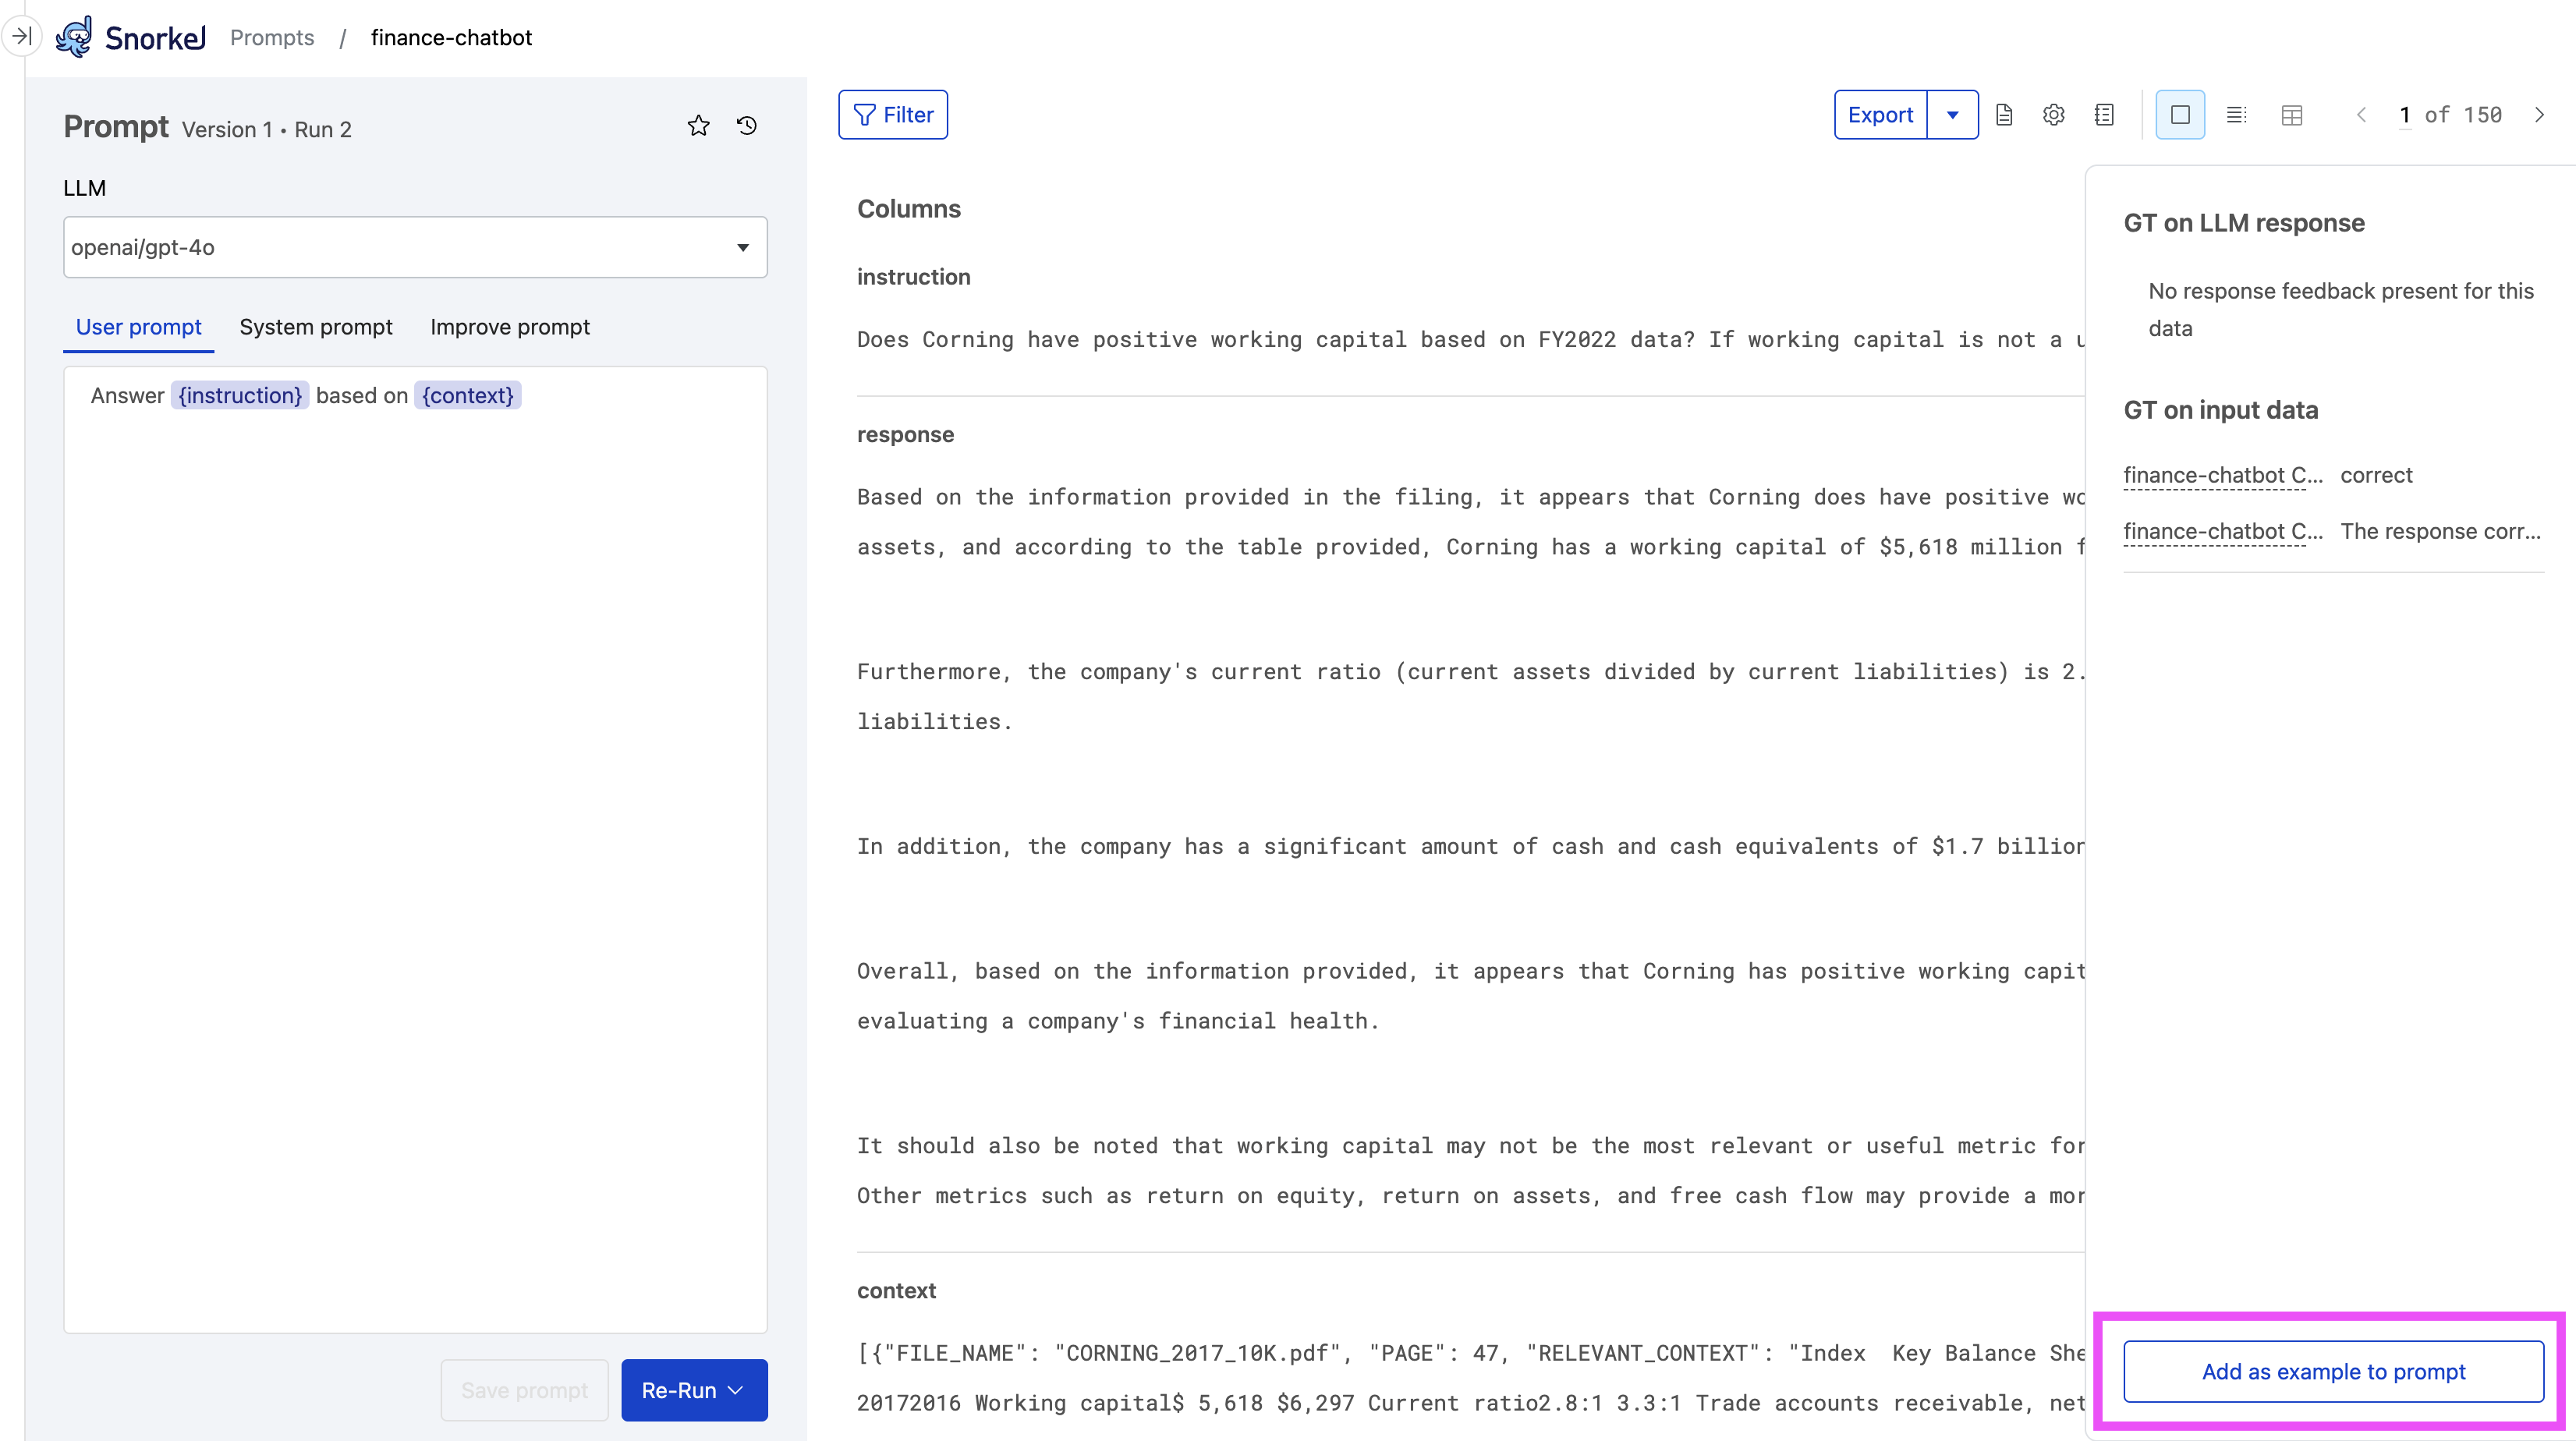
View each annotation in the Annotations pane on the right. Use the right and left arrows to navigate to the annotation example(s) that you want to add to the prompt.
-
Select Add as example to prompt at the bottom of the Annotations pane. You may need to scroll down. Snorkel appends the example to the end of your Prompt in the left pane. It starts with the text
#### Examples. The GUI also confirms Prompt enhanced! 1 example has been added to the end of your prompt.. -
Select Save prompt after you are satisfied with the examples added.
Add multiple examples
You can also select multiple datapoints at a time to add as examples:
-
From the Prompts page, select the prompt where you want to add ground truth.
-
Select the Table view icon (
 )
to view multiple prompts.
)
to view multiple prompts.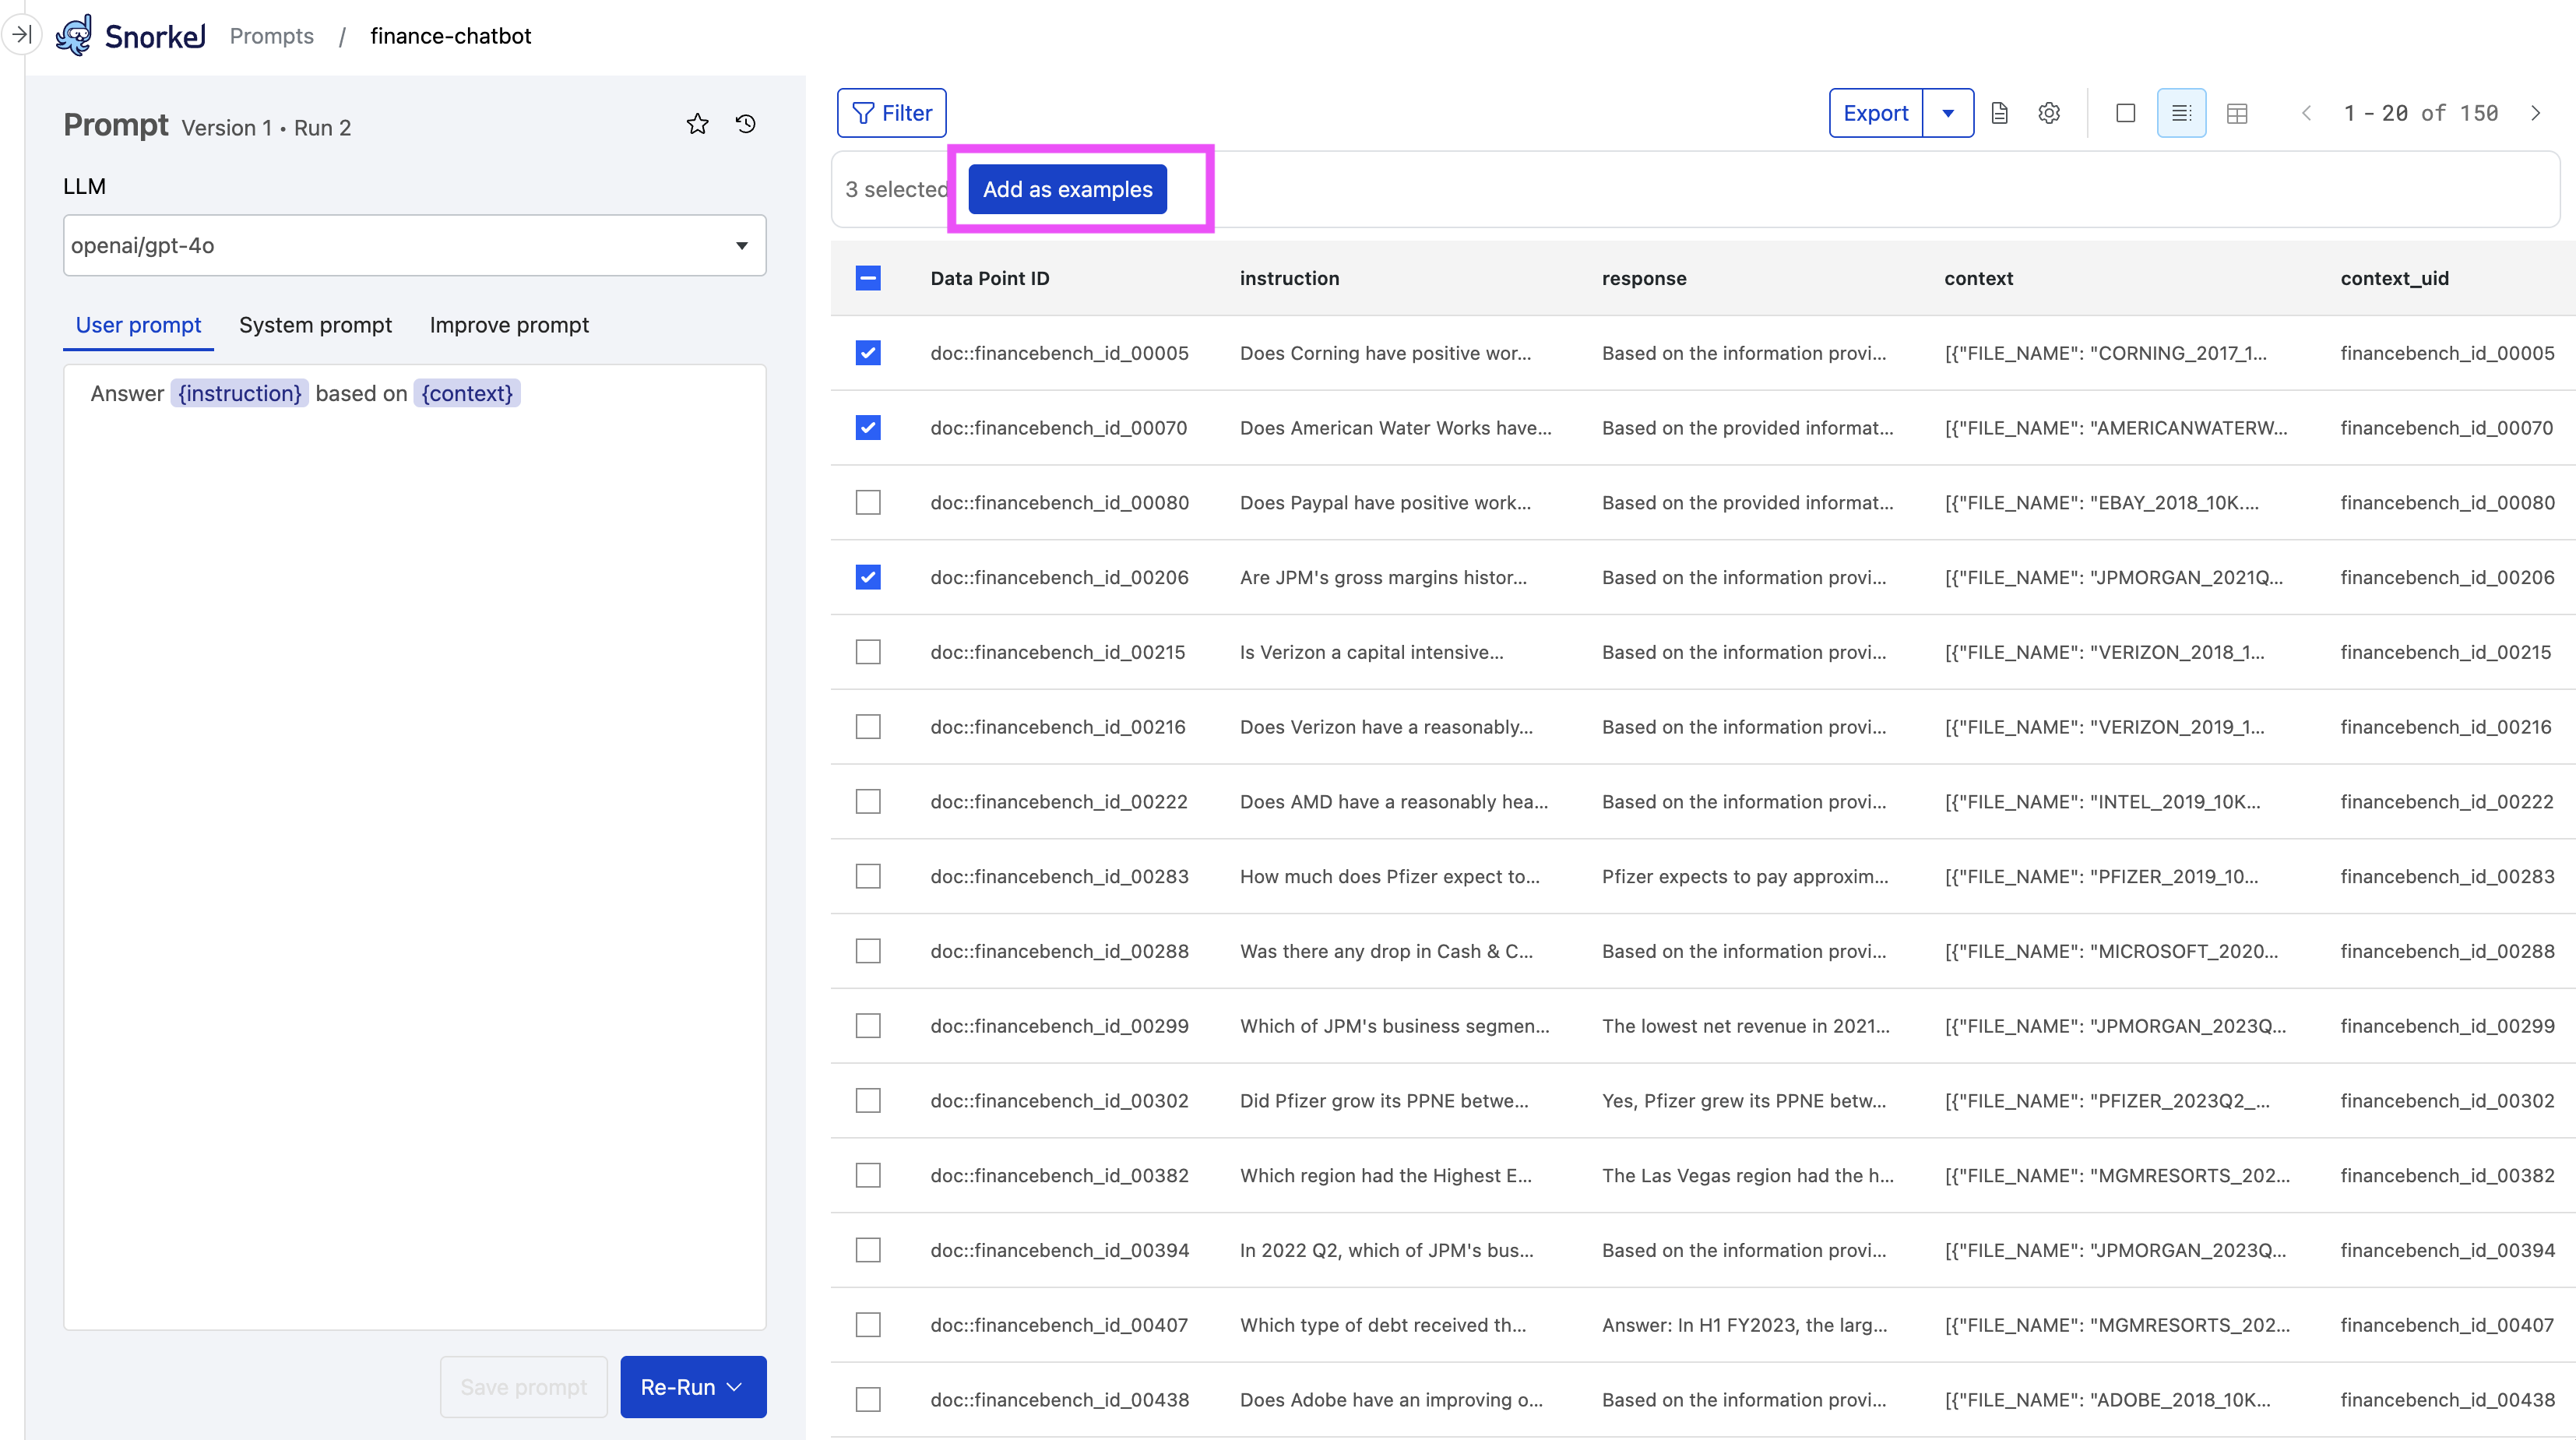
-
Select all the datapoints you want to add as examples.
-
Select Add as examples at the top of the table.
-
Select Save prompt after you are satisfied with the examples added.
Select label schemas
After selecting datapoints to add as examples, select one or more label schemas where you want to include ground truth annotations.