Deploying Snorkel-built models to Vertex AI
This tutorial walks through the four steps that are required to deploy a Snorkel-built application to Vertex AI:
- Upload your image to Artifact Registry.
- Upload your image to Vertex AI’s Model Registry.
- Create an endpoint.
- Deploy the model to the endpoint.
Requirements
Ensure your environment meets all the requirements for deploying a Snorkel-built model.
- Google Cloud CLI
- Vertex AI SDK for Python
- A Google Cloud account with privileges of accessing:
- Artifact Registry
- Vertex AI
- A containerized MLflow model
If you need to containerize your MLflow model, see Deploying Snorkel-built models for instructions on how to do so. You also need the value of the Project ID field from the GCP Console home screen.
Upload your image to Artifact Registry
You can use the following code to upload your image to Artifact Registry. This example assumes that your containerized image is tagged as MY_IMAGE_NAME. See the documentation for more details about Artifact Registry.
$ gcloud auth configure-docker gcr.io
$ docker tag <MY_IMAGE_NAME> gcr.io/<GCP_PROJECT_ID>/<MY_IMAGE_NAME>
$ docker push gcr.io/<GCP_PROJECT_ID>/<MY_IMAGE_NAME>
You'll then be able to view your uploaded image on Google Cloud console in your browser.
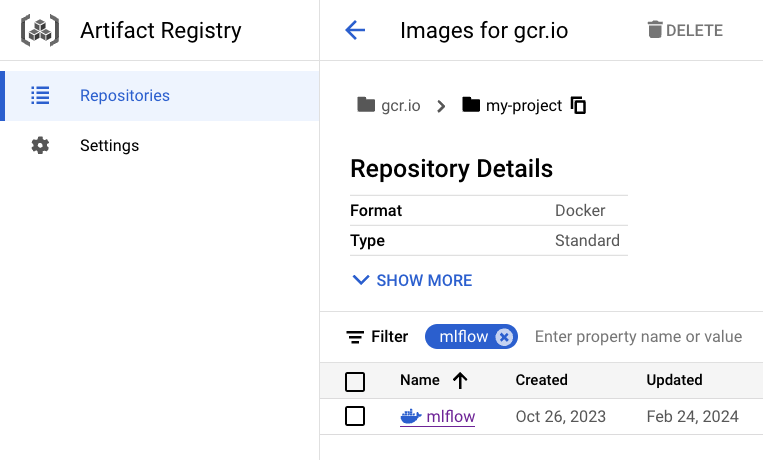
We are using Artifact Registry because Container Registry is deprecated.
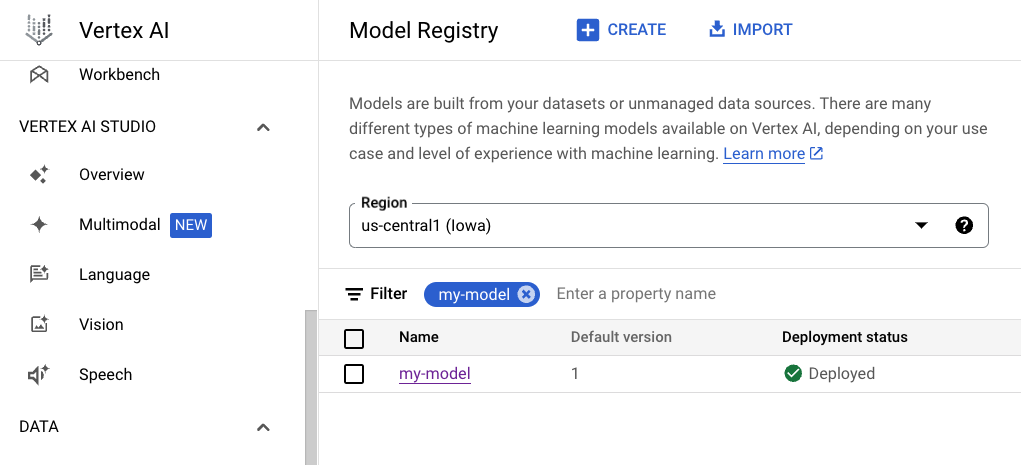
Upload your image to Vertex AI’s Model Registry
Now you can upload your image to Vertex AI's Model Registry and check its ID.
$ gcloud ai models upload \
  --container-image-uri="gcr.io/<GCP_PROJECT_ID>/<MY_IMAGE_NAME>" \
  --description=<DESCRIPTION> \
  --display-name=<MODEL_NAME> \
  --project=<GCP_PROJECT_ID> \
  --container-env-vars=PREDICTIONS_WRAPPER_ATTR_NAME=predictions \
  --container-ports=8080 \
  --container-predict-route=/invocations \
  --container-health-route=/ping

# check the model ID
$ gcloud ai models list --filter DISPLAY_NAME=<MODEL_NAME>
You'll then be able to view your uploaded image on Google Cloud console in your browser.
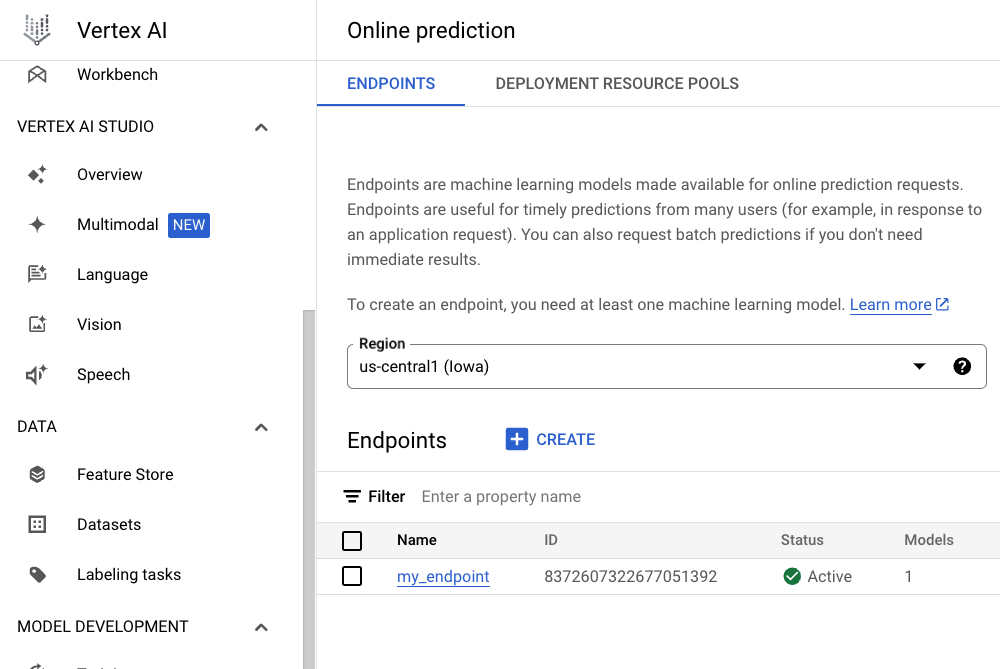
Create an endpoint
After you've uploaded your image to Vertex AI's Model Registry, you can create an endpoint. Make note of the ID of the endpoint.
$ gcloud ai endpoints create \
  --project=<GCP_PROJECT_ID> \
  --display-name=<ENDPOINT_NAME>
Deploy your model to the endpoint
Once you have created an endpoint, you can deploy your model to the endpoint. Use the Endpoint ID returned by the endpoint create command:
$ gcloud ai endpoints deploy-model <ENDPOINT_ID> \
  --project=<GCP_PROJECT_ID> \
  --model=<MODEL_ID> \
  --display-name=<DEPLOYMENT_NAME>
Send an inference request
Once the model successfully is deployed to the endpoint, you can start sending an inference request.
Format the input JSON as described in TF Serving’s API docs. Here's an example of this format for a basic classification model:
{
  "instances": [
    {
      "is_spam": true,
      "txt": "A royal prince needs your help! Please Venmo: 123-456-7890",
      "context_uid": 1
    },
    {
      "is_spam": false,
      "txt": "The meeting is scheduled for 10 am tomorrow",
      "context_uid": 4
    }
  ]
}
Here's an example CURL request to send an inference request to the endpoint:
$ curl -X POST -H "Authorization: Bearer $(gcloud auth print-access-token)" \
  -H "Content-Type: application/json" \
  -d @<PATH_TO_INPUT_JSON_FILE> \
  https://<REGION>-aiplatform.googleapis.com/v1/projects/<GCP_PROJECT_ID>/locations/<REGION>/endpoints/<ENDPOINT_ID>:predict