Using multi-schema annotations
This article explains how to use multi-schema annotations, including uploading a multi-schema annotation dataset, annotating multiple schemas, and reviewing the annotations and progress.
Multi-schema annotations empowers subject matter experts to work more efficiently. This feature lets you collect annotations across multiple schemas at one time, unlocking complex workflows. With multi-schema annotations, datasets become the new home for all of your annotations and ground truth (GT). The GT is stored in a label schema for a dataset, which can be used by all of the downstream model nodes.
Multi-schema annotations are available for text-only datasets. Multi-schema annotations are not supported for PDF or image datasets.
Upload a multi-schema annotation dataset
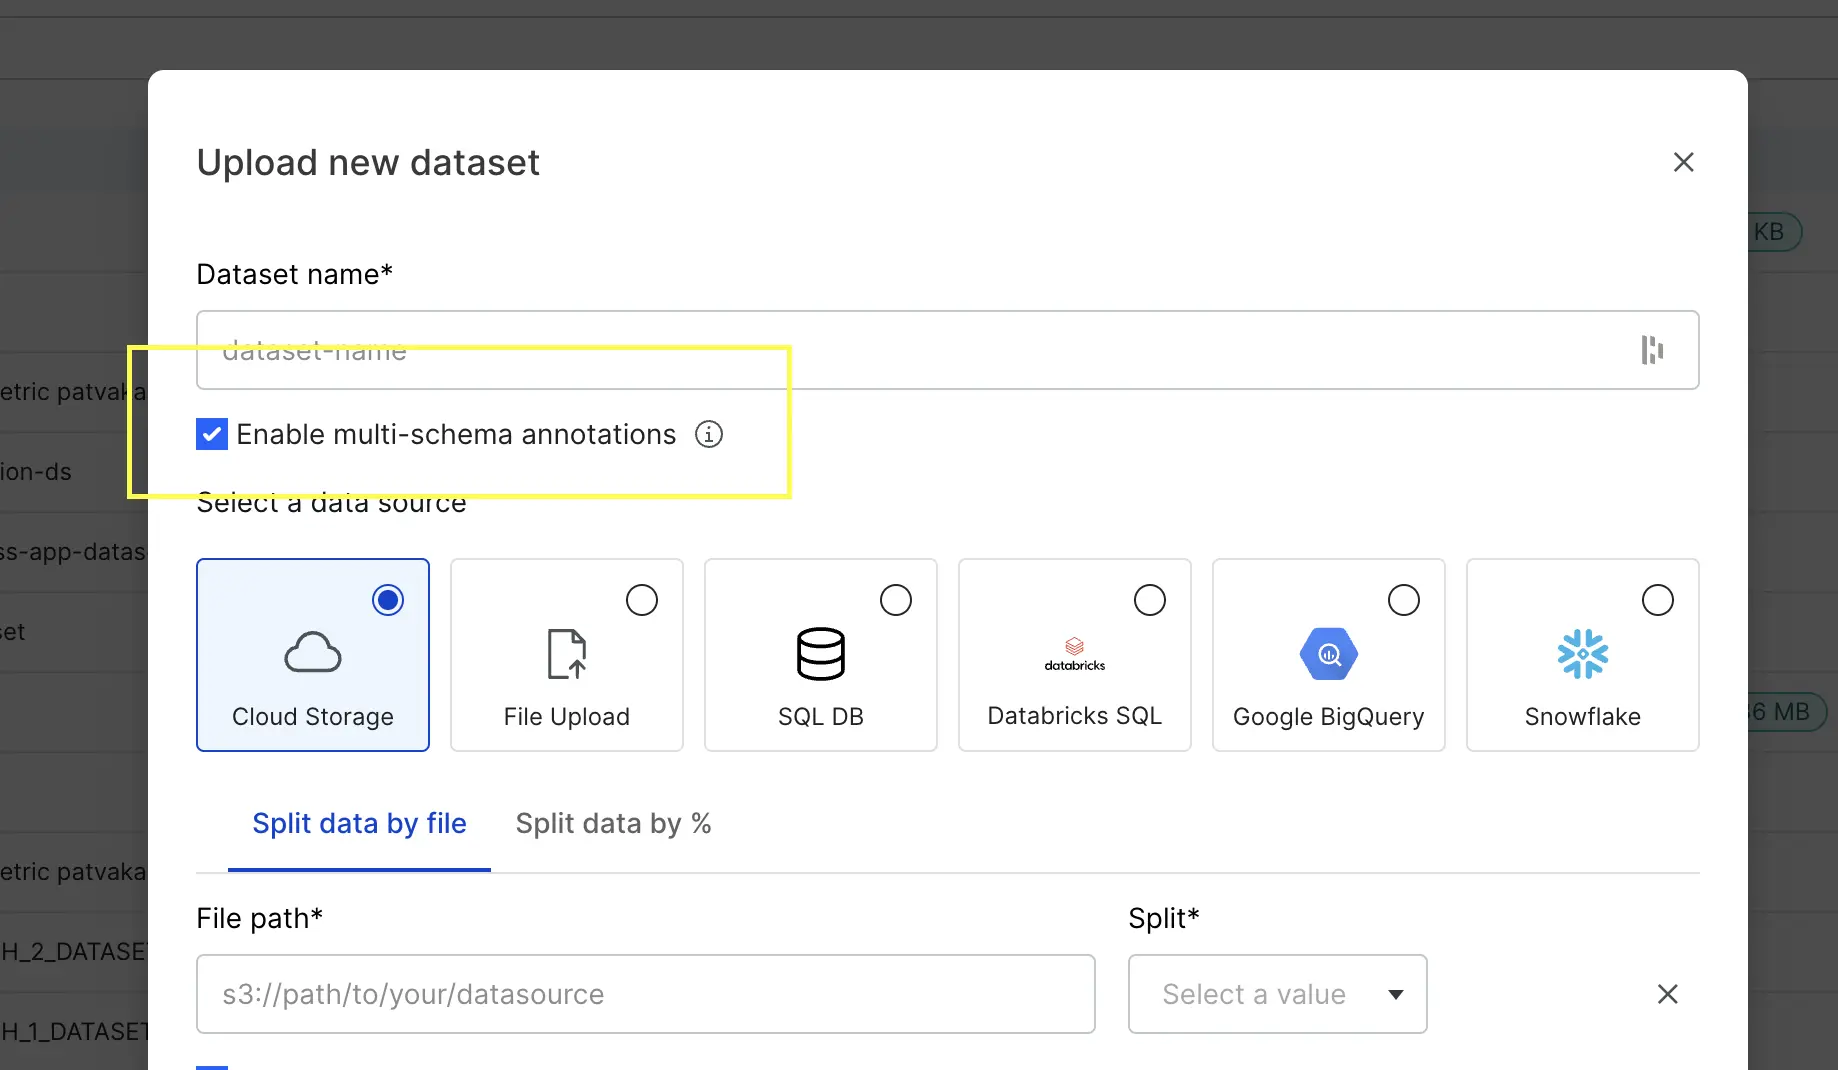
- To create a new dataset, select Datasets > Upload new dataset.
- Check Enable multi-schema annotations while creating your dataset.
 note
noteYou cannot enable multi-schema annotations later. If you do not opt in to enabling multi-schema annotations when creating your dataset, you must create a new dataset to enable it for that dataset.
- Enter the required information for creating your dataset. For more, see Uploading a dataset.
- Select Verify data source(s).
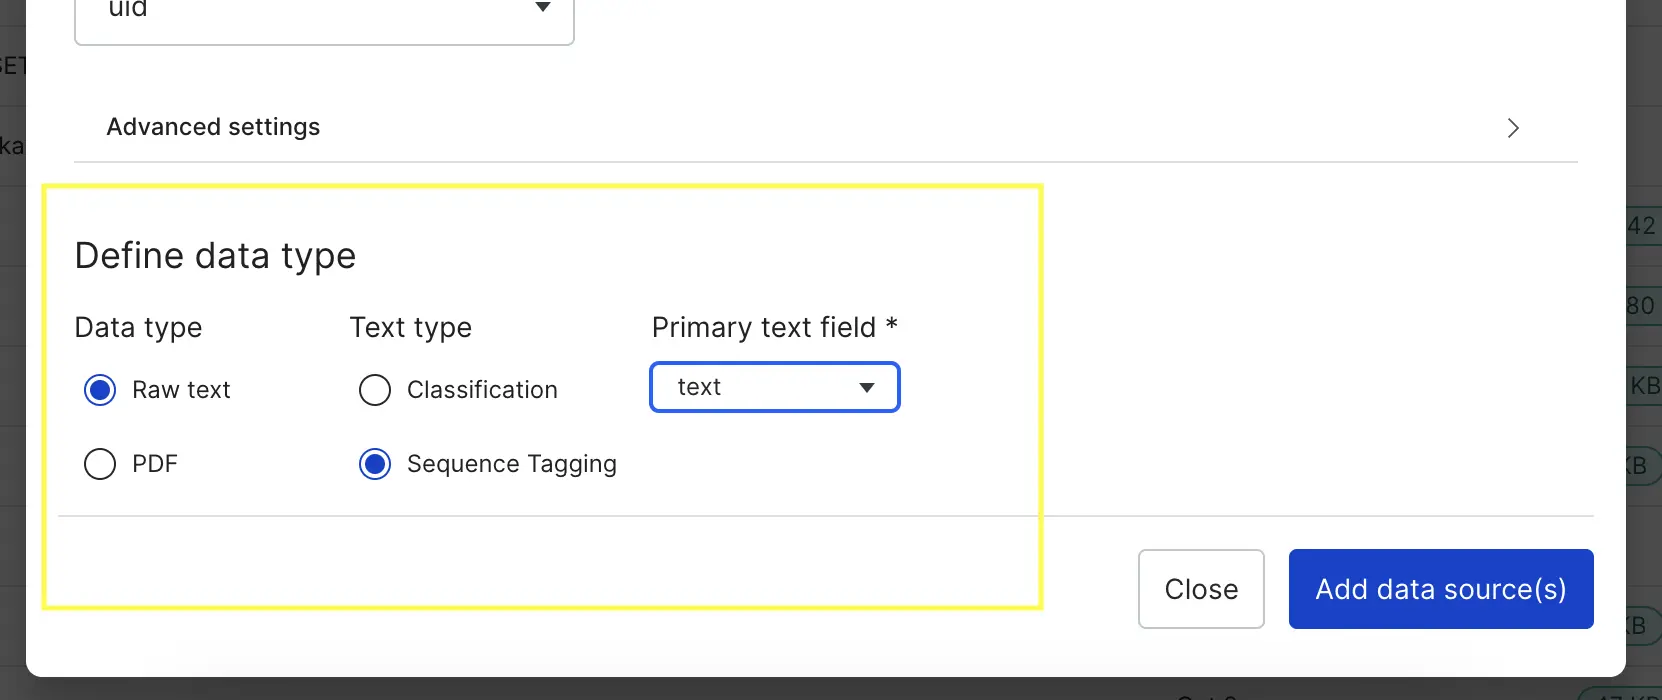
- Select UID column, data type, task type and primary field within Define Schema section.
 note
noteBased on the data type you select, the options for task type and primary field may change. For supported data types, we'll automatically pre-process your data to make it easier for you to work with during annotation.
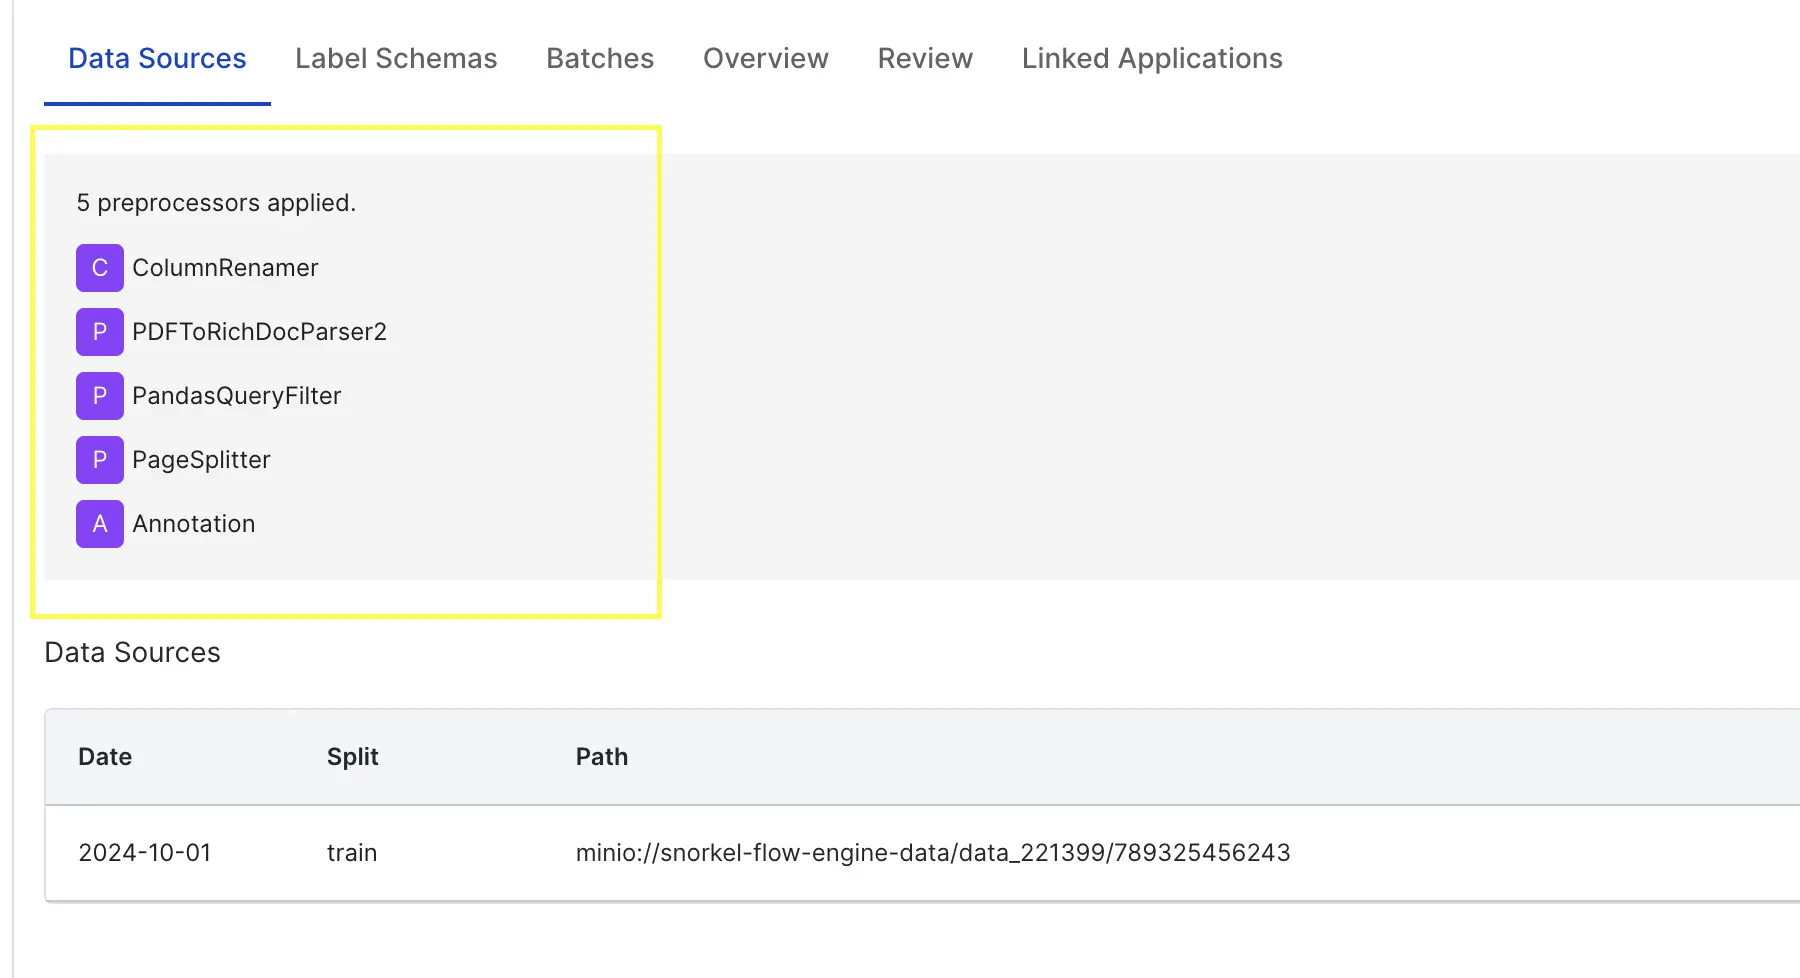
- Once the data sources are uploaded, you'll see the applied pre-processors in the Data sources tab.
- Within Datasets > "your dataset name" > Label Schemas, select + Create new label schema.
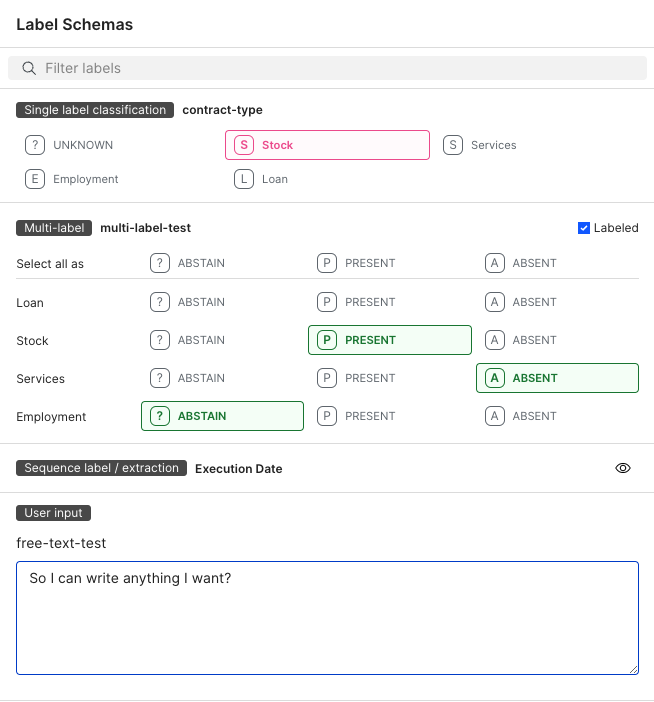
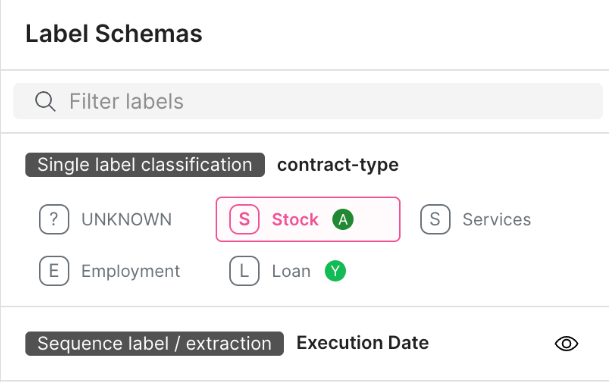
- Enter a name, description, data type, task type, and additional fields for each task type.
- Classification tasks:
- Select Text as the Primary text field.
- Select Single label, Multi-label, or Text label. Text label allows for free text in your labels instead of a defined label or labels for the other options.
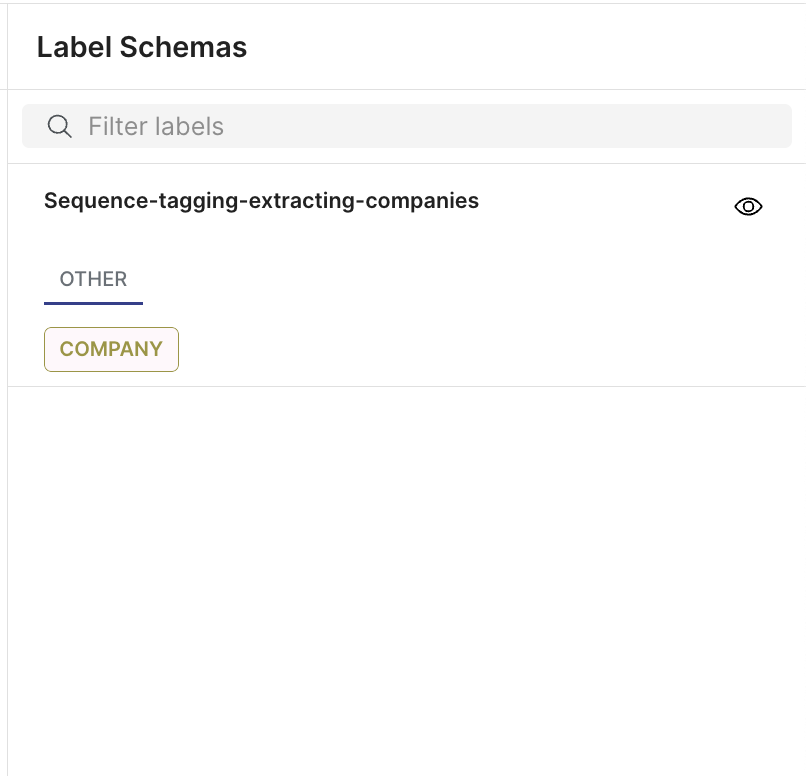
- Extraction tasks:
- Select Sequence tagging.
- Enter the label for sequence tagging with a defined primary text field.
- Classification tasks:
- Select + Add label schema.
- In Batches,select + Create new batch.
- Enter the batch name.
- Select your split and your label schema.
- Enter your batch numbers and batch sizes.
- (Optional) Assign users to annotate the batch.
- Select Create batch.
Annotate multiple schemas
Snorkel Flow applies annotations to the data points across any batch in which the annotations are used.
- In the Batches tab, select Annotate beside the batch you want to annotate.
- Select the labels that apply to the data point.
- Select the previous and next arrows to move between data points.
- Continue annotating each data point until you have completed your annotations.
Annotate sequence tagging
Snorkel Flow supports sequence tagging for extraction tasks. Spans are key pieces of information that you want to extract from a document. To label spans in the document, you can highlight a section of text and select the span label from the pop-up menu.
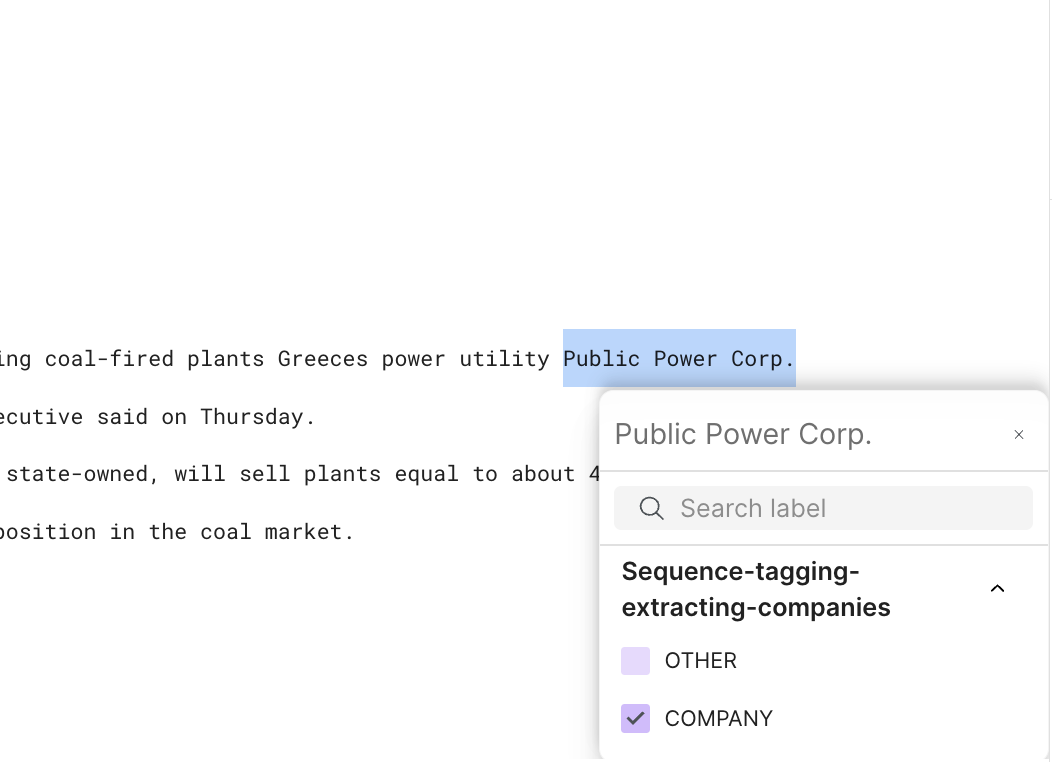
If you want to apply the same label to a series of spans, first select the label from the right-side menu, and then highlight all of relevant the text segments in the document.
Review annotations
- To see the annotations from other annotators, enable Reviewer mode with the toggle to see all of the annotations for a dataset.
You can see the annotations each annotator made.
- Continue reviewing each data point until you have determined the correct annotations.
- After all of the annotations are complete for a dataset and ready to be used for the ground truth, select Datasets (sidebar nav) > Select a dataset > Select Batches tan > Expand a batch > Select an annotator/aggregated source > Commit.
You can only commit annotations from a single source, which is from a single annotator or an aggregated source. Snorkel Flow doesn't support committing annotations from multiple sources.
Every commit overwrites the existing ground truth in your dataset.
Configure your annotation display
- In the Batches tab, select Annotate beside the batch you want to annotate.
- If you want to filter the data points to annotate, select your filtering options with fields and operators.
- To change your display settings, select the gear icon. You can change the displayed columns, column order, and text direction. You can also prioritize unlabeled documents and set a default multi-label class.
View annotation progress
In the Overview, you can select your Label schema from the dropdown menu to see the current status and how much each annotator has finished.
You can select filters for Annotator progress to see the progress for specific annotators.
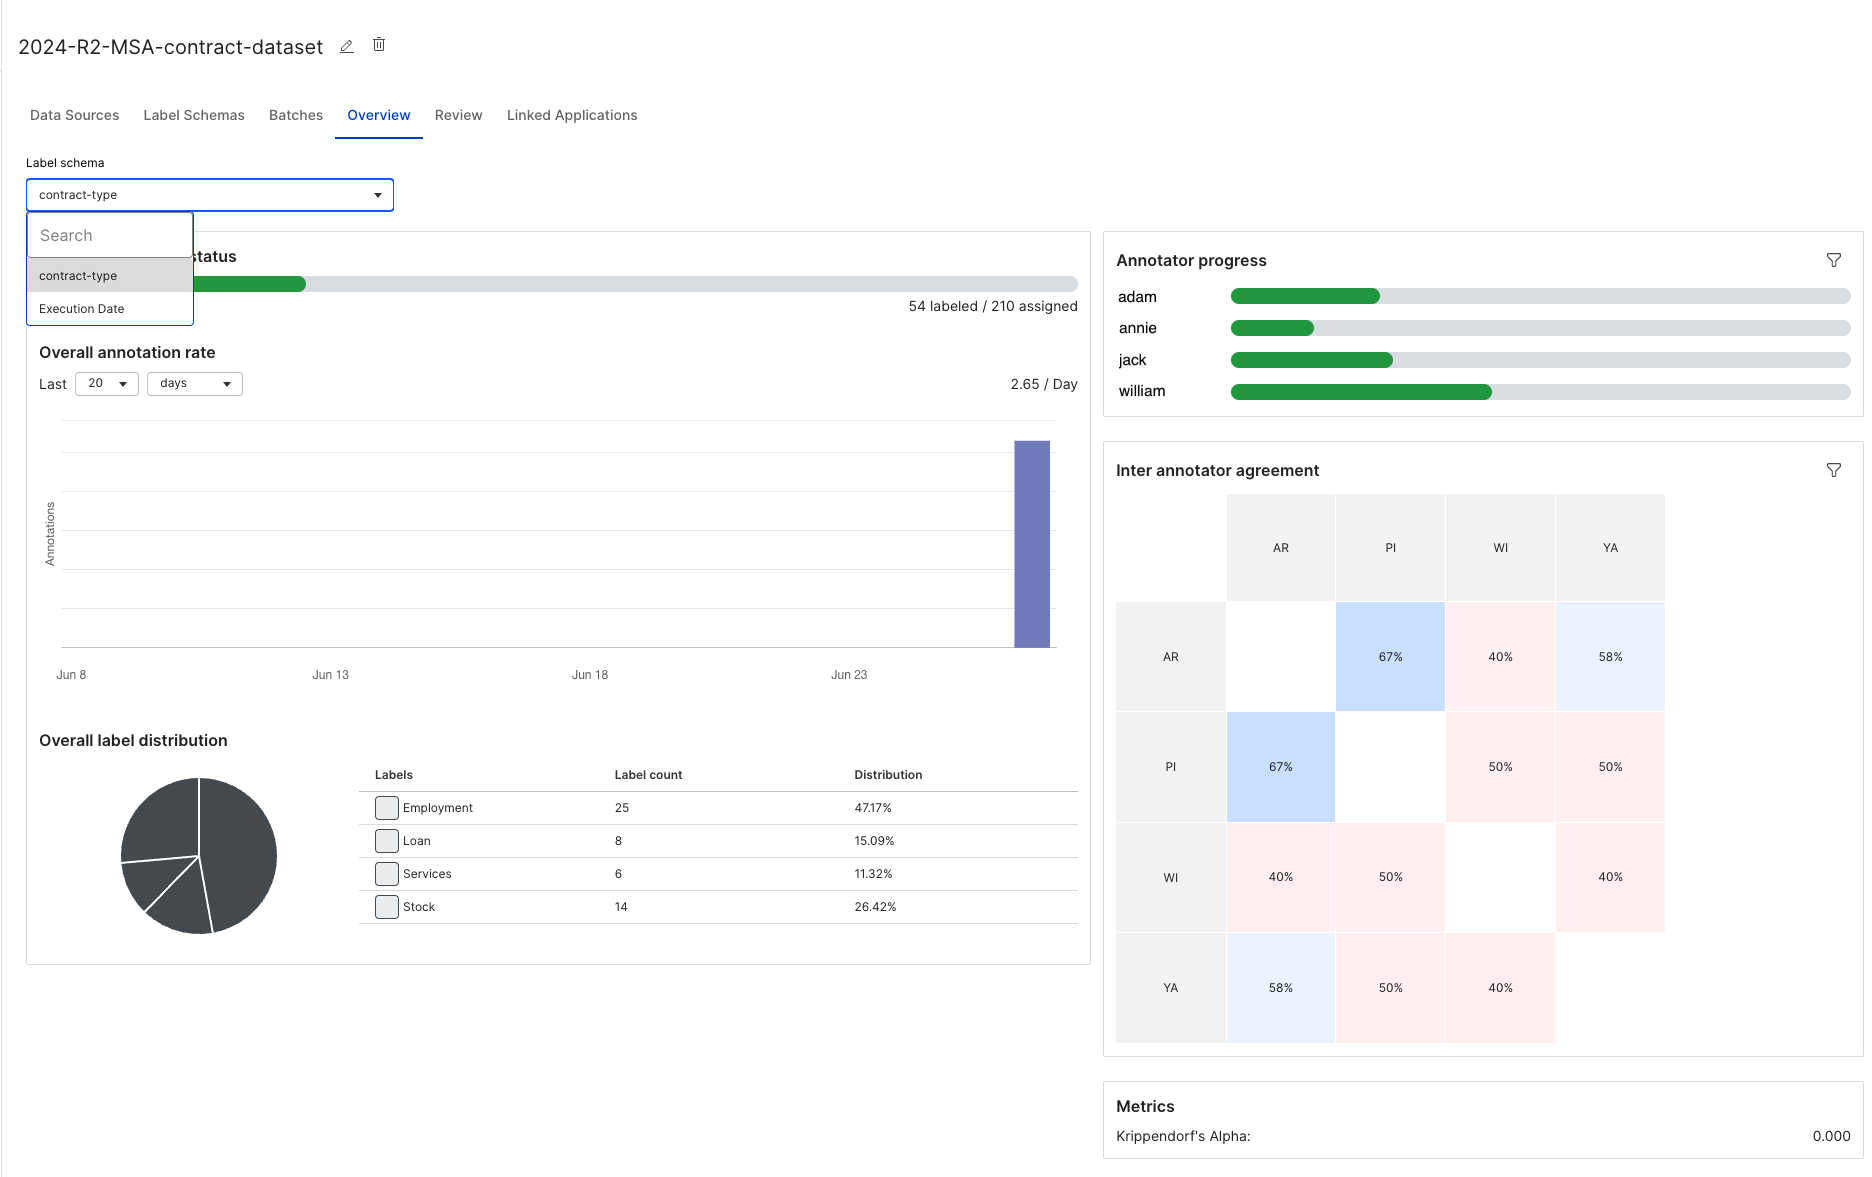
In the Review tab, you can see can see that annotators, annotations, and batches.