Manage batches and commit ground truth
This page walks through how to manage your batches and commit annotations to your ground truth to be used for development in Develop (Studio).
Manage your batches
Once you have create batches, you can manage the batches in Annotation Studio from the Batches page. Select Batches in the left-side menu to get to the Batches page. It will look alike following screenshot-
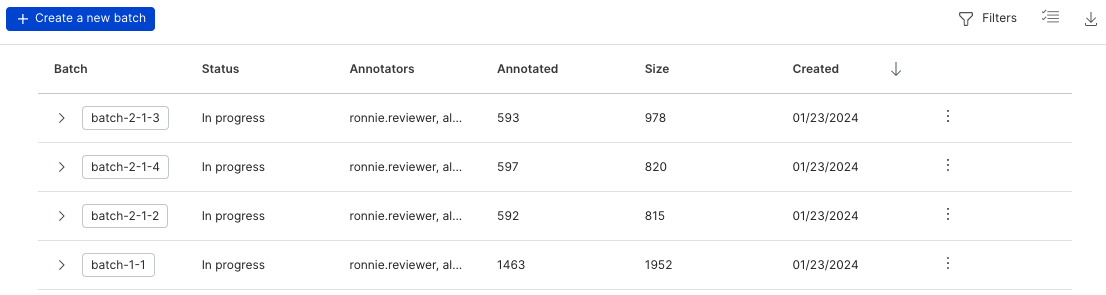
For individual batches, the following information is available:
- Batch: The name of the batch. Select the batch name to access the batch.
- Status: The status of whether annotations on the batch have not been started, are in progress, or have been completed.
- Annotators: The list of annotators that have been assigned to annotate the batch.
- Annotated: The number of data points in the batch that have been annotated.
- Size: The total number of data points in the batch.
- Created: The date the batch was created.
- Overflow menu: The
 icon used to rename or delete the batch.
You can select any of the columns to change the sort order of the table.
On the top bar, select the action you want to take:
- Create new batch: Select the + Create a new batch button to create a new batch of data points for annotation.
- Filter batches: Select the Filters button to filter the batches by annotator or status.
- Delete batches: Select the Toggle bulk options icon
 to show the option to bulk delete batches.
 - Export data: Select the Export dataset across all batches
 icon to export all batches to a CSV file.
More on Export data
It might be helpful to export the current dataset and annotations for further analysis or reporting outside of Snorkel Flow. You can export data across all batches or at the batch level on the Batches page.
Export all data
-
To export a dataset that includes all batches, select the Export dataset across all batches
icon in the top right corner of your screen. -
Fill out the following options in the Export annotation batches modal:
- Include columns: Specify which columns to include in the export. This option enables you to select a focused slice of your data, or you can speed up export time by excluding large columns in a dataset.
- Include options: Specify additional information about individual data points to include such as annotations, comments, slices, filters applied, and model predictions.
- Optional settings: Specify additional options to customize your export. These options include the ability to start an export at a specific index in the dataset, setting a maximum number of data points to export, and options to configure delimiters, quote characters, and escape characters.
Export data from single batch
-
To export a dataset for an individual batch, open the desired batch by clicking on it's name.
-
Inside the batch annotation, Click on "Export" button at the top right corner of your screen.
-
Fill out the Include columns, Include options, and Optional settings: options. You can also include predictions from a specified model.
Manage individual batches
Coming back to batches page again, select the arrow  next to the batch name to view additional information about an individual batch. This menu give you additional actions you can take on an individual batch.
Assign/update annotators to batches
- Click the + Add Annotator / Update Annotators button.
- In the Assign modal, select one or multiple annotators from the drop-down list to assign to the batch.
- Select Update annotators to add the selected annotators.
Set annotators as experts
You can mark an annotator as an expert, which populates the Agreement column for every annotator on that batch with an agreement rate relative to the expert. To view the agreement rate across all batches and annotators, see the Inter-annotator agreement chart on the Annotate page.
To mark an individual annotator as an expert for the batch, select the annotator, and then click Set as expert. A badge icon shows up next to the annotator's name to indicate the expert status.
To remove the expert designation for an annotator, select Remove expert status.
Aggregate annotations
Typically you'll have more than one annotator reviewing and labeling documents. You can only commit a single vote to ground truth. You can aggregate annotations instead of committing the annotations from a single person. This aggregation helps eliminate potential bias from any particular annotator.
To aggregate annotations, select the annotators that you want to aggregate, then select Aggregate.
A majority vote is the only supported aggregation strategy. This strategy takes the majority label for each data point if one exists, and leaves an UNKNOWN label where no annotations exist. These results create a new set of annotations with a single vote for each data point. The aggregated annotations can be seen in the expanded view of batch on the Batches page, under Other annotations.To know more about aggregation strategies for different task types, refer to Aggregate annotations.
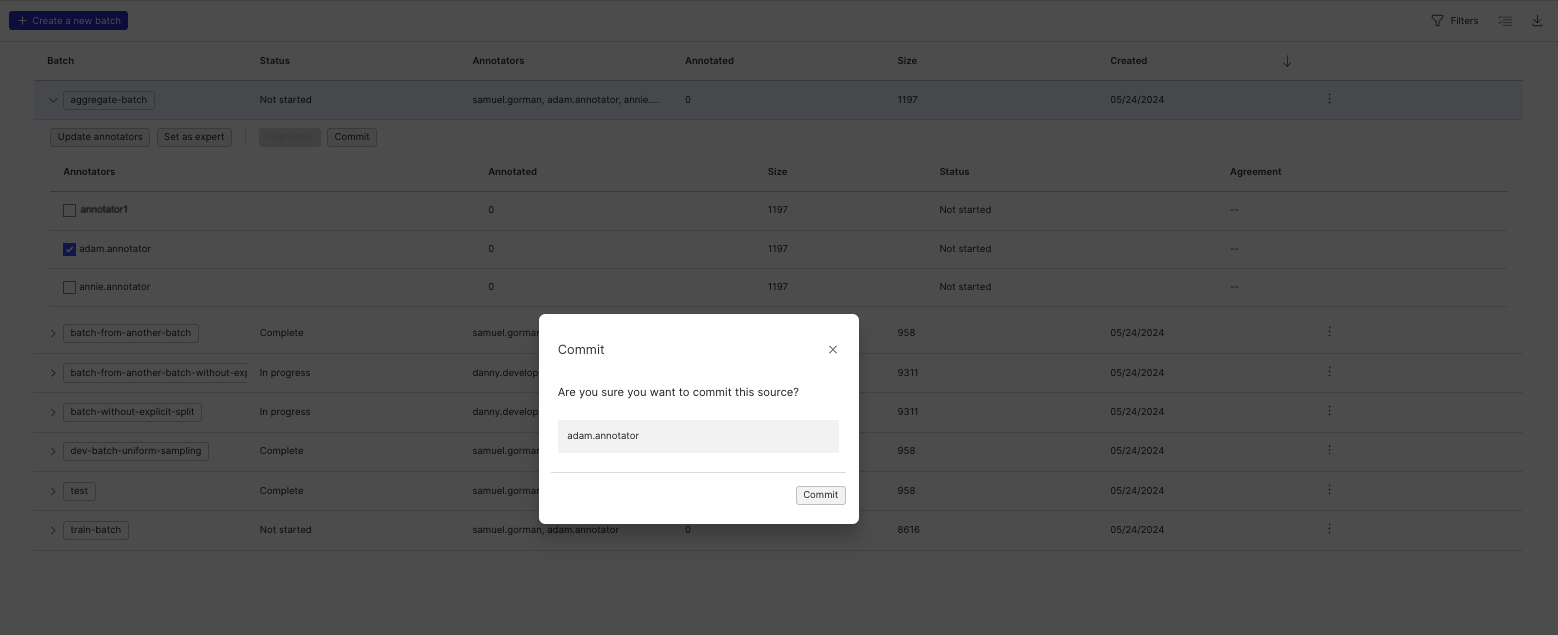
Commit annotations
Once you have a set of annotations that are accurate, commit the annotations as the ground truth for development in Develop (Studio).
Only users with the Developer or Administrator role can commit ground truth.
-
Select the desired annotation set. You can select annotations from either an individual annotator or from an aggregated set of annotations.
-
Select Commit.
warningOnce you commit annotations, the new annotations overwrite the existing ground truth labels in the data source.