Deploying Snorkel-built models to AWS SageMaker
This tutorial walks through the three steps that are required to deploy a Snorkel-built application to AWS SageMaker:
- Deploy and export your model in Snorkel Flow.
- Build and push a containerized runtime environment to AWS ECR, if none exists.
- Push the exported model object to the AWS SageMaker model registry.
Requirements
Ensure your environment meets all the requirements for deploying a Snorkel-built model.
AWS CLI
Install and configure AWS CLI with the relevant credentials. For more, see the AWS CLI documentation.
Ensure you have permissions to push containers to Amazon ECR from the AWS CLI.
Verify that you have AWS CLI access with the aws sts get-caller-identity command.
If this command does not return an JSON IAM profile, see the AWS CLI documentation for more information about getting access configured.
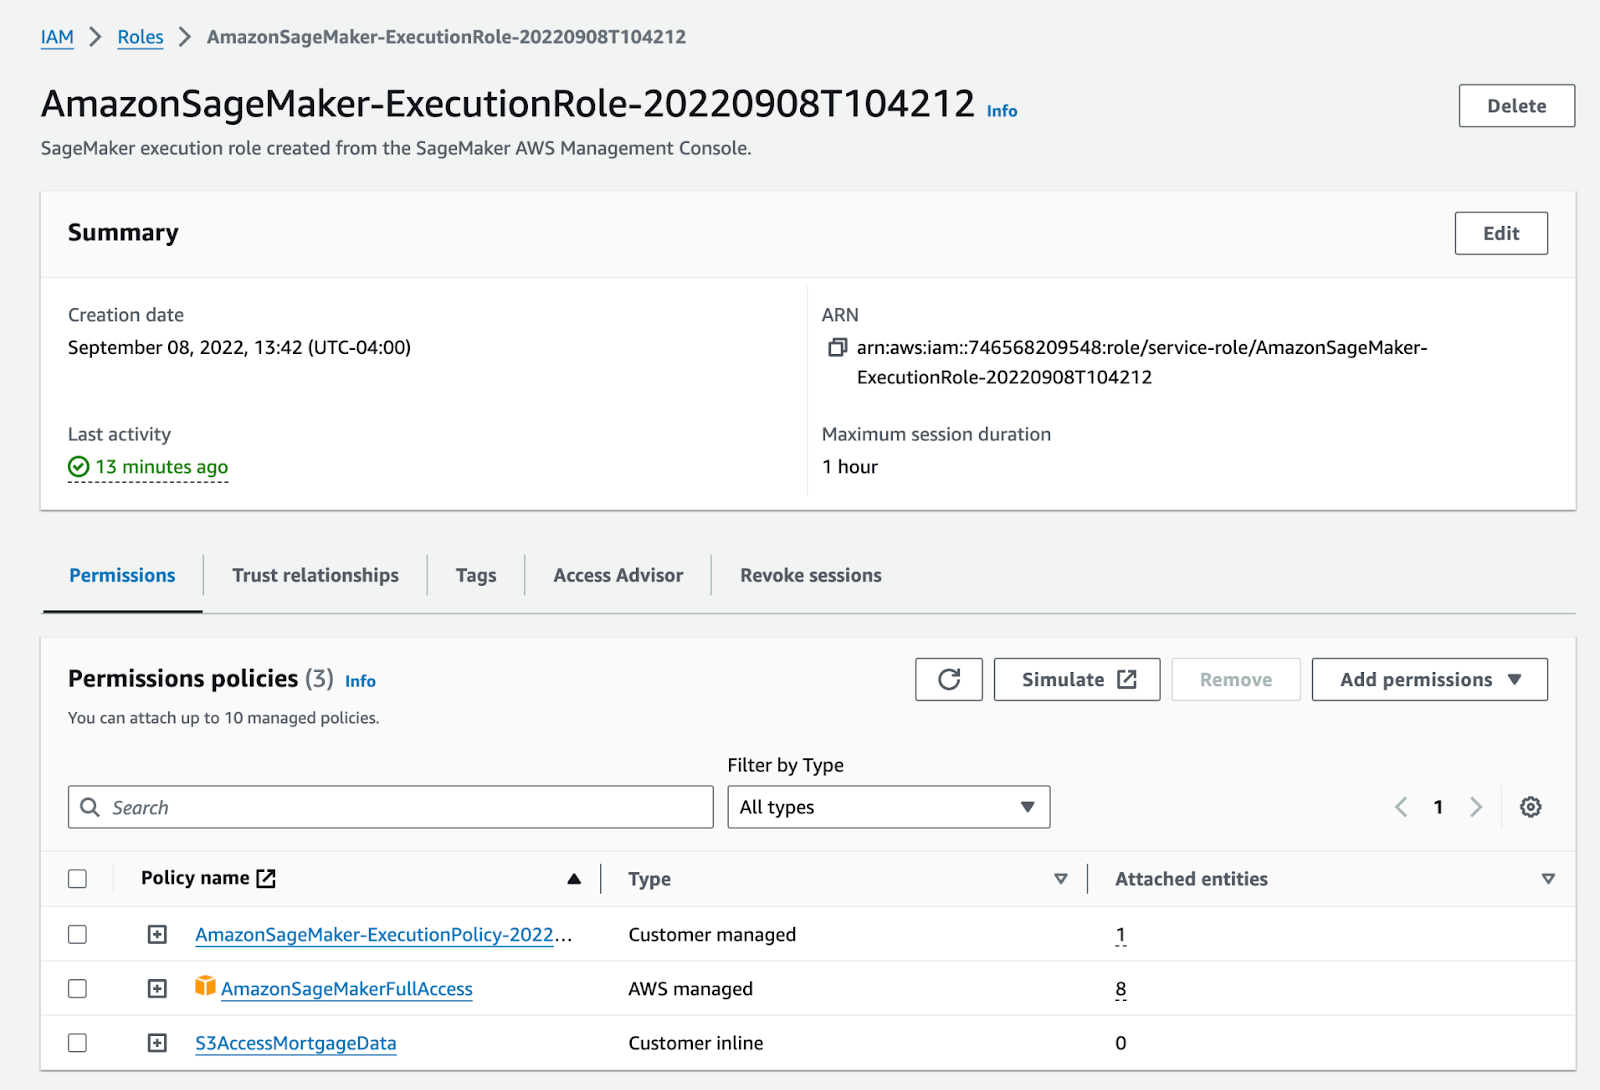
Configure and assign the SageMaker execution role through the AWS CLI. The SageMaker execution role includes full access to the SageMaker service. Configure the role here, and then refined for production use:
Deploy and export your model in Snorkel Flow
Follow the instructions in Deploying Snorkel-built models to deploy your model in Snorkel Flow. Next, download the deployment artifacts. To do so, select the Deployments option in the left-side menu, then select the Download deployment package  button. This button will download the code and libraries that are required to run the exported deployment as a zip file to your local machine. Create a new directory on your development system and unzip the file into said directory.
Now you're ready to deploy your model to AWS SageMaker.
Deploy to AWS SageMaker
There are two options for deploying your model to AWS SageMaker:
- Built-in SageMaker support in MLflow
- AWS CLI
Deploy to AWS using MLFlow built-in SageMaker support
This option uses the built-in SageMaker support in MLflow to deploy your model. It's less flexible than the AWS CLI option, but it's easier to use for simpler deployments.
Building a model runtime environment
Copy the ARN of the Sagemaker role that will be used to deploy the model and save it as an environment variable in your terminal session (ARN=”{INSERT ARN}”). Next, navigate to the local model directory in the terminal and run the following command:
mlflow sagemaker build-and-push-container
This will create a containerized environment for the MLflow deployment and push this environment to Amazon ECR. This takes approximately 10 minutes.
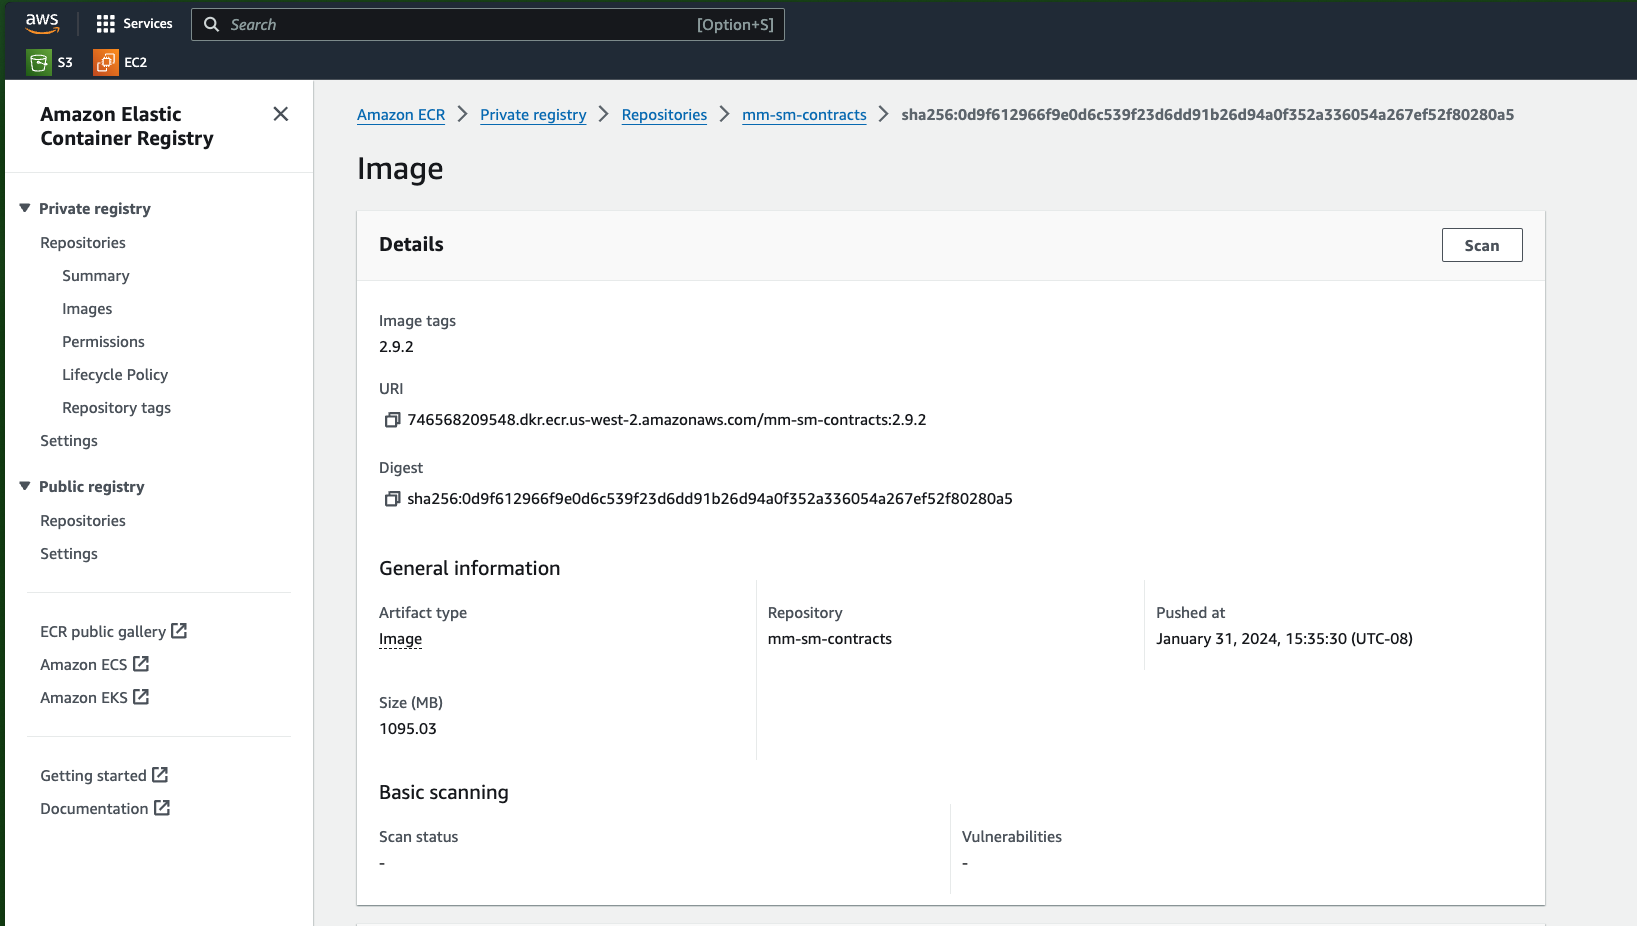
After the command completes, log into the AWS console or use the AWS CLI to view the new container. This container will be used later when creating the Sagemaker deployment and endpoint.
Deploy an AWS SageMaker endpoint
Now that a container runtime environment has been created, it can be combined with the local model directory and pushed to Sagemaker as an endpoint. The endpoint is then used to directly perform model scoring. To create an endpoint, run the following command:
mlflow deployments create -t sagemaker -m {local model directory path}
--name {deployment name}
-C region_name={region name}
-C instance_count={instance count}
-C execution_role_arn=$ARN
-C env='{"DISABLE_NGINX": "true"}'
For example, you can specify region_name="us-west-2" and instance_count=1.
You can view the newly created endpoint in the AWS console or CLI.

Inference (scoring new data)
For simplicity, this tutorial will focus on batch deployments for inService endpoints. To query, create a deployment client and pass the DataFrame that needs scoring to the deployed endpoint.
ubuntu@ip-10-1-27-195:~/mlflow$ python
Python 3.8.10 (default, Nov 22 2023, 10:22:35)
[GCC 9.4.0] on linux
Type "help", "copyright", "credits" or "license" for more information.
>>> region = "us-west-2"
>>> import mlflow.deployments
>>> deployment_client = mlflow.deployments.get_deploy_client("sagemaker:/" + region)
>>> deployment_name = "mm-test-deploy"
>>> deployment_info = deployment_client.get_deployment(name=deployment_name)
>>> print(f"MLflow SageMaker Deployment status is: {deployment_info['EndpointStatus']}")
MLflow SageMaker Deployment status is: InService
>>>
>>> import pandas as pd
>>> d = {'context_uid': [1, 2], 'subject': ["test", "test"], 'body': ["test", "test"], 'num_images': [2, 3]}
>>> df = pd.DataFrame(data=d)
>>> df
   context_uid subject  body  num_images
0            1    test  test           2
1            2    test  test           3
>>> prediction1 = deployment_client.predict(deployment_name, df)
>>> prediction1
{'predictions': [{'body': 'test', 'context_uid': 1, 'num_images': 2.0, 'subject': 'test', 'preds': 0, 'probs': [0.379504032603055, 0.620495967396945], 'preds_str': 'SPAM'}, {'body': 'test', 'context_uid': 2, 'num_images': 3.0, 'subject': 'test', 'preds': 0, 'probs': [0.42396641921101064, 0.5760335807889894], 'preds_str': 'SPAM'}]}
Deploy to AWS using the AWS CLI
This option uses the AWS CLI to deploy your model to SageMaker. It's more flexible than the MLflow built-in SageMaker support, but it takes a few more steps. Use this option if the first option doesn't work for your use case.
-
Prepare your environment. Ensure you have the necessary AWS credentials configured and gather the required parameters:
- AWS region
- ECR repository name
- SageMaker role ARN
- Endpoint name
-
Log in to Amazon ECR. Authenticate Docker with Amazon ECR to allow image uploads.
aws ecr get-login-password --region <region> | docker login --username AWS --password-stdin <account_id>.dkr.ecr.<region>.amazonaws.com -
Create ECR repository for the runtime environment of the model.
aws ecr create-repository --repository-name <ecr_repo_name> --region <region> -
Build and test your Docker image locally prior to pushing to ECR. See the instructions in the Deploying Snorkel-built models tutorial.
-
Once you have built and tested your Docker image locally, tag it with the ECR image URI:
docker tag <local_image_name>:<image_tag> <account_id>.dkr.ecr.<region>.amazonaws.com/<ecr_repo_name>:<image_tag> -
Push the tagged Docker image to ECR repository:
docker push <account_id>.dkr.ecr.<region>.amazonaws.com/<ecr_repo_name>:<image_tag> -
Create a SageMaker model using the ECR image URI and the SageMaker execution role ARN:
aws sagemaker create-model \
    --model-name <model_name> \
    --primary-container Image=<ecr_image_uri> \
    --execution-role-arn <sagemaker_role_arn> \
--region <region> -
Create a SageMaker endpoint configuration. Here's a basic example:
aws sagemaker create-endpoint-config \
    --endpoint-config-name <endpoint_name> \
    --production-variants VariantName=AllTraffic,ModelName=<model_name>,InitialInstanceCount=1,InstanceType=ml.m5.large,InitialVariantWeight=1.0 \
--region <region> -
Deploy the SageMaker endpoint to serve your model:
aws sagemaker create-endpoint \
    --endpoint-name <endpoint_name> \
    --endpoint-config-name <endpoint_name> \
    --region <region>
Inference
aws sagemaker-runtime invoke-endpoint \
    --endpoint-name <endpoint_name> \
    --body fileb://<data_file> \
    --content-type application/json \
    <output_json_file>
Conclusion
This tutorial demonstrates how an exported Snorkel workflow can be configured in AWS SageMaker to score production data. If you have any questions about this technique, please reach out to support@snorkel.ai.