Deploying Snorkel-built models to Vertex AI
This tutorial walks through the four steps that are required to deploy a Snorkel-built application to Vertex AI:
- Upload your image to Artifact Registry.
- Upload your image to Vertex AI’s Model Registry.
- Create an endpoint.
- Deploy the model to the endpoint.
Requirements
- A Linux or MacOS development system running a python 3.8+ virtual environment with:
- Docker
- MLflow 2.5+
- Vertex AI SDK for Python
- A Google Cloud account with privileges of accessing:
- Artifact Registry
- Vertex AI
- A containerized MLflow model.
If you need to containerize your MLflow model, see Deploying Snorkel-built models for instructions on how to do so.
Upload your image to Artifact Registry
You can use the following code to upload your image to Artifact Registry. This example assumes that your containerized image is tagged as my-image-name. See the documentation for more details about Artifact Registry.
$ gcloud auth configure-docker gcr.io
$ docker tag **my-image-name** gcr.io/my-project/**my-image-name**
$ docker push gcr.io/my-project/**my-image-name**
You'll then be able to view your uploaded image on Google Cloud console in your browser.
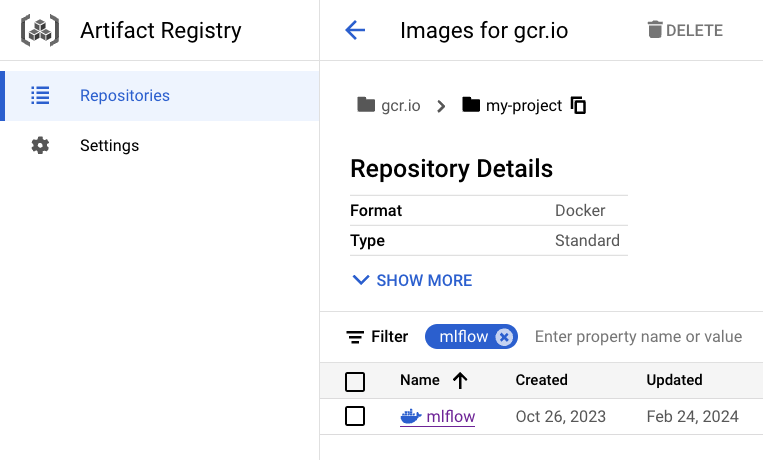
We are using Artifact Registry because Container Registry is deprecated.
Upload your image to Vertex AI’s Model Registry
Now you can upload your image to Vertex AI's Model Registry and check its ID.
$ gcloud ai models upload \
  --container-image-uri="gcr.io/my-project/my-image-name" \
  --description=example-model \
  --display-name=my-model \
  --project=my-project \
  --container-env-vars=PREDICTIONS_WRAPPER_ATTR_NAME=predictions \
  --container-ports=8080 \
  --container-predict-route=/invocations \
  --container-health-route=/ping

$ gcloud ai models list --filter DISPLAY_NAME=my-model
Using endpoint [https://us-central1-aiplatform.googleapis.com/]
MODEL_ID DISPLAY_NAME
987654321 my-model
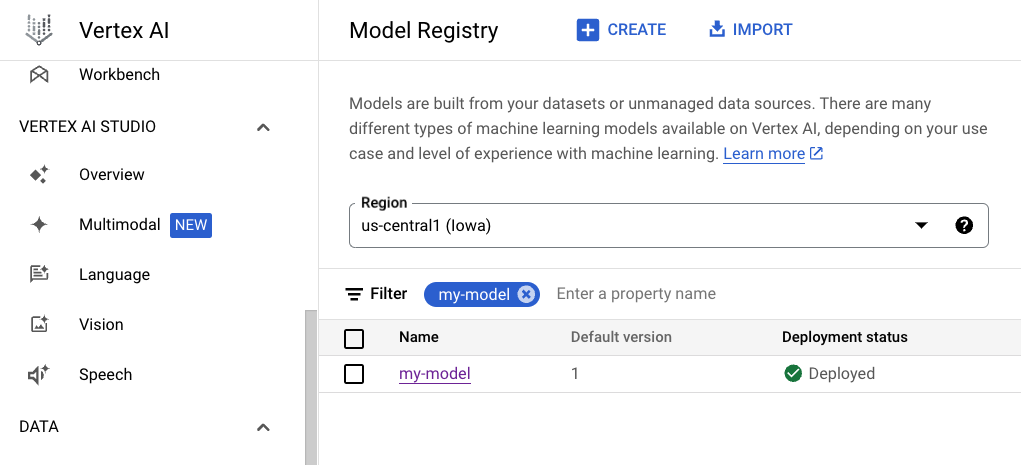
You'll then be able to view your uploaded image on Google Cloud console in your browser.
Create an endpoint
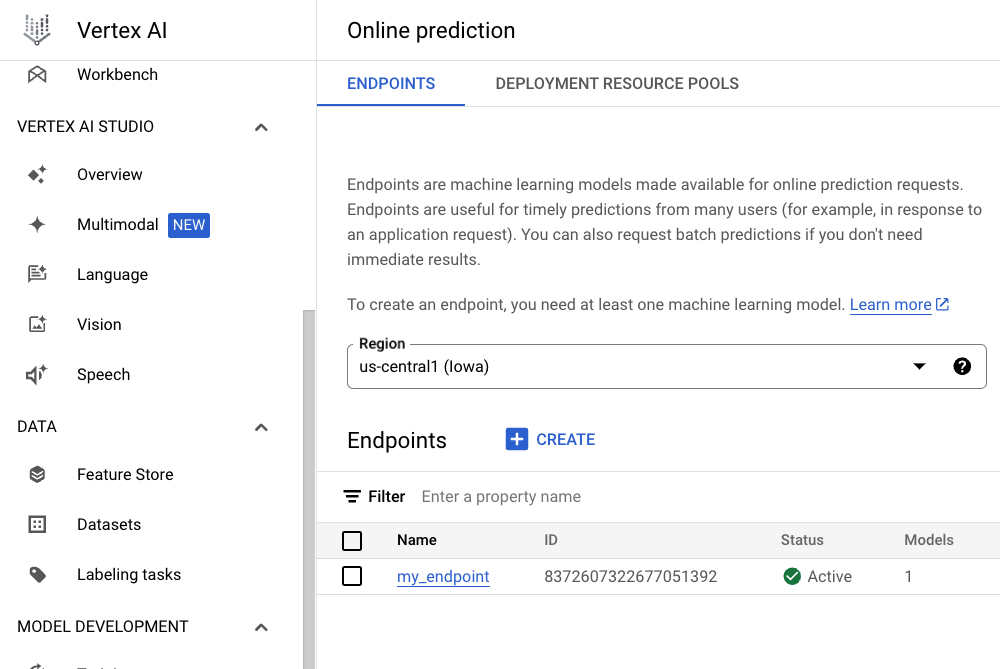
After you've uploaded your image to Vertex AI's Model Registry, you can create an endpoint. Make note of the ID of the endpoint. In this example, the ID of the endpoint is 12345678.
$ gcloud ai endpoints create \
  --project=my-project \
  --display-name=my_endpoint

Using endpoint [https://us-central1-aiplatform.googleapis.com/]
Waiting for operation [4321]...done.
Created Vertex AI endpoint: projects/5678/locations/us-central1/endpoints/**12345678**.
Deploy your model to the endpoint
Once you have created an endpoint, you can finally deploy your model to the endpoint!
$ gcloud ai endpoints deploy-model 12345678 \
  --project=my-project \
  --model=987654321 \
  --display-name=my_deployed_model
Once the model successfully is deployed to the endpoint, you can start sending an inference request.
In the example below, the json should be formatted as described in TF Serving’s API docs. To use this example, you'll need to specify your endpoint ID (which you found in the last section), and change the region (in this example, us-central1) to your region.
$ cat << EOF | python -m json.tool > input.json
{
  "instances": [
    {
      "is_spam": true,
      "txt": "Dated: November 27, 2023",
      "context_uid": 1
    },
    {
      "is_spam": false,
      "txt": "maturity date is Oct 20, 2023",
      "context_uid": 4
    }
  ]
}
EOF

$ PROJECT_ID=my-project
$ ENDPOINT_ID=**12345678**
$ curl -X POST -H "Authorization: Bearer $(gcloud auth print-access-token)" \
  -H "Content-Type: application/json" \
  -d @input.json \
  https://**us-central1**-aiplatform.googleapis.com/v1/projects/${PROJECT_ID}/locations/us-central1/endpoints/${ENDPOINT_ID}:predict