Data upload
This page walks through the process of uploading your dataset to Snorkel Flow. We recommend that you first go through the basic preparation steps outlined in Data preparation to minimize any unexpected data processing issues when managing your applications.
Snorkel Flow organizes data into datasets and data sources.
- Data sources are individual partitions of data points, such as the rows of an individual parquet file or resulting rows from an individual SQL query. Each data source is assigned to exactly one split (train, valid, or test).
- Datasets are collections of data sources, with each data source assigned to a specific split (train, valid, or test) within the dataset. Data sources can be added to datasets at any time.
Entry Point
Click the Datasets option in the left-side menu, then click + New dataset in the top right corner of your screen. Alternatively, you can also create a new dataset during application creation. See Create application: A guided flow for more information. Either path guides you to the same creation flow.
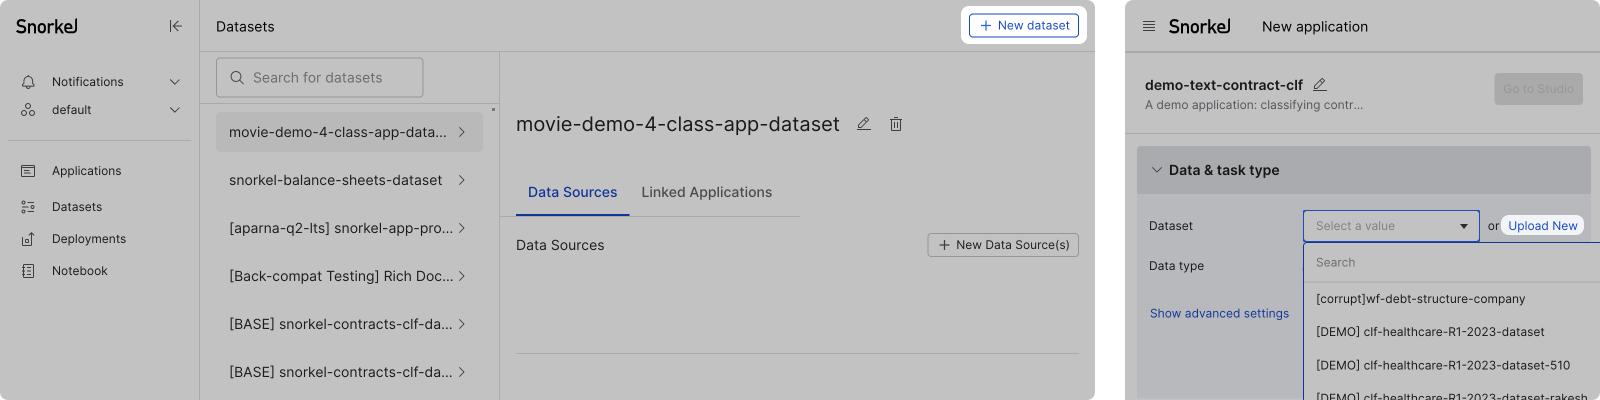
Step 1: Add dataset name and data sources
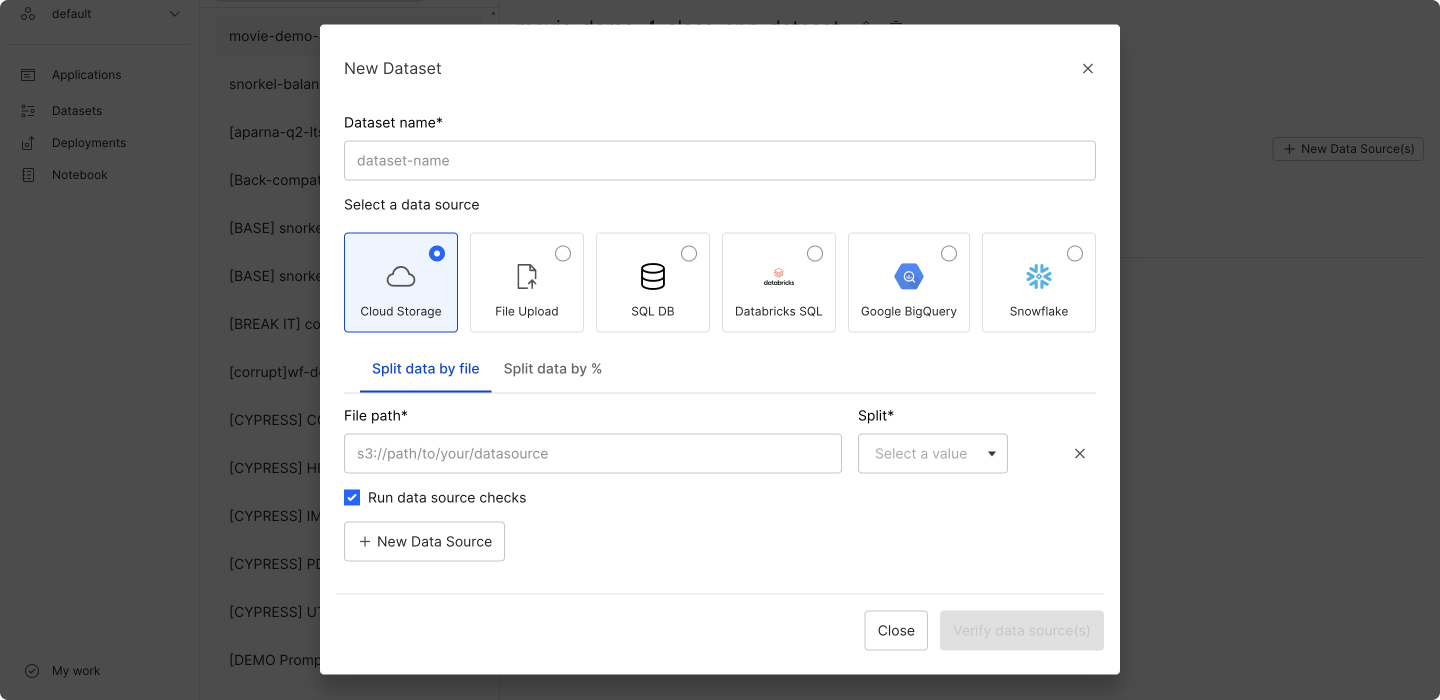
In the New dataset modal, enter a dataset name and select your data data source. See Supported data source types for more information about the data source types that we support.
Step 2: Assign splits to data sources
There are two ways to assign splits to data sources:
- Manually with the Split data by file option.
- Automatically with the Split data by % option. If you select this option, then you will also need to define your ground truth column in step 5.
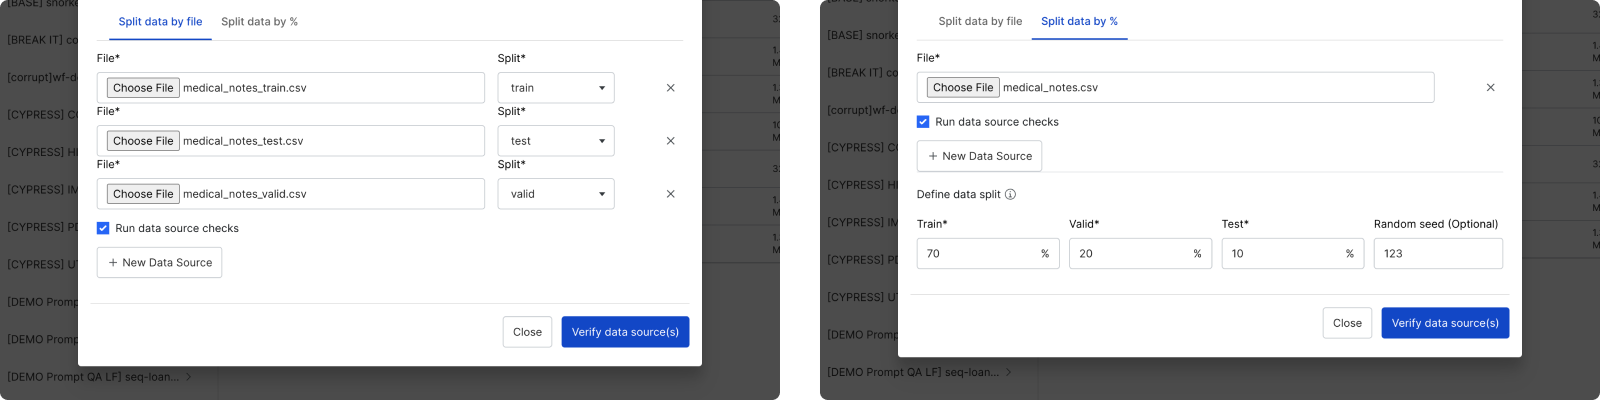
If you have a large amount of unlabeled data, we recommend splitting your training split data into smaller data sources. You can enable a subset of data sources for faster initial development before scaling up to all of your data.
Step 3: Validate data sources
After uploading your data sources, click verify data source(s). Run data source checks is selected by default to automatically run basic checks such as detecting NaN values.
- If the verification succeeds, you will see a green checkmark next to each data source.
- If the verification fails, you will see warnings and/or errors next to each data source.
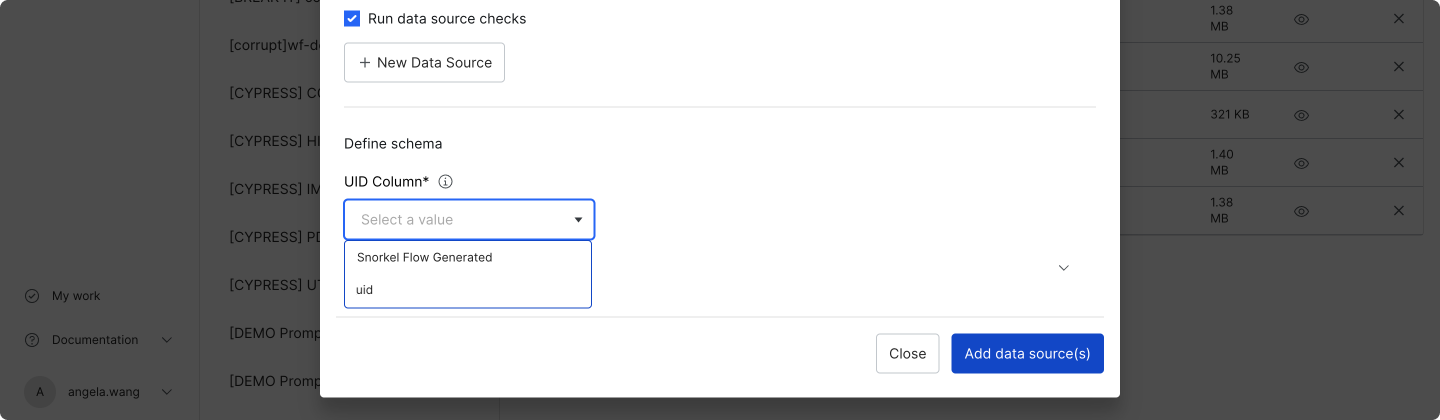
Step 4: Choose UID column
Once all of your data sources are verified, choose a UID column that is unique for each row across the dataset. This UID column can be either text or an integer. If your dataset does not have that type of field, then choose Snorkel Flow Generated to have Snorkel Flow generate a UID column.
A new column, context_uid, will be added to your data once the dataset is created. This will be populated with either the selected UID column or the Snorkel Flow Generated UID.
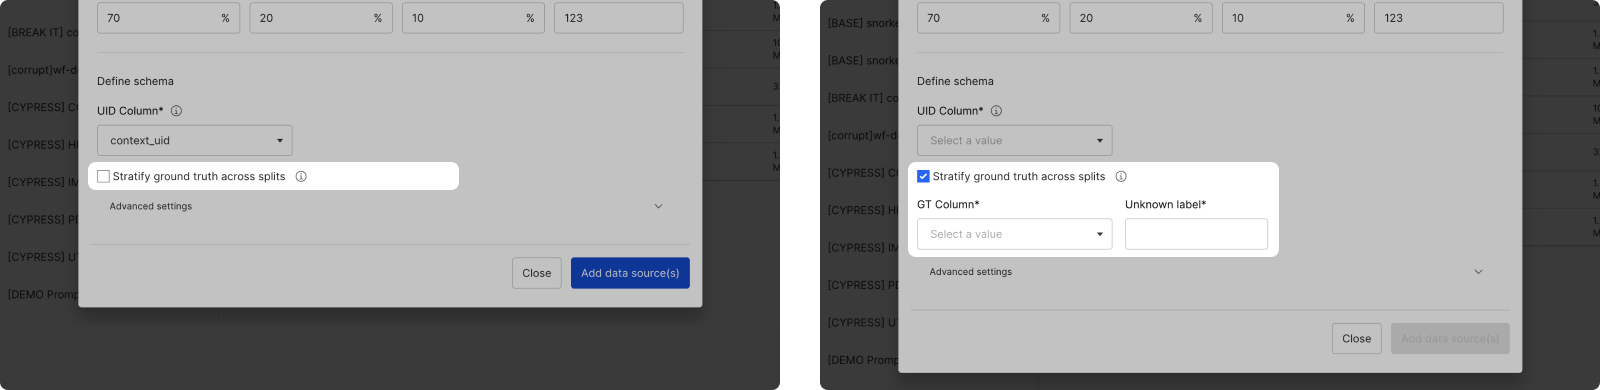
Step 5: Define ground truth column (conditional)
If you chose to automatically split your data with the Split data by % option in step 2, then you will have an option to Stratify ground truth across splits. This ensures that the ground truth (GT) labels are evenly distributed across the splits.
- If you opt-in to stratify ground truth, you will be asked to provide the GT column and the value corresponding to UNKNOWN ground truth.
- If you opt-out, the data will be split at random.
Step 6: Complete dataset upload
Click Add data source(s) to complete the dataset upload. Now you can use this dataset in any application!